Things You'll Need
Pink or white fondant
Wax paper
Pearl luster dust
Lemon juice
Thin-gauge wire
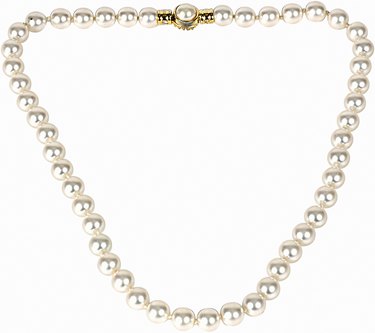
Make an elegant and edible fondant pearl necklace and a pair of earrings from your choice of colored fondant for some coordinating edible jewelry. Give the necklace a pearl-like shine with some edible luster dust and adorn a cake with the jewelry for a fashion-themed birthday celebration or other special event. The edible accessories are easy to make and do not require any previous cake decorating experience. You can make the necklace and earrings up to a week in advance of the special day to make sure you have plenty of time to make the perfect edible jewelry set.
Fondant Pearl Necklace
Step 1
Mold the pink or white fondant into small balls with a diameter of about 1/4 inch. Make about 62 balls. Place the balls on a piece of wax paper.
Video of the Day
Step 2
Mix a little bit of pearl luster dust with about 1 tbsp. lemon juice. Paint the mixture onto each of the fondant balls.
Step 3
Cut a 16-inch-long piece of thin-gauge wire.
Step 4
Slide each of the fondant balls onto one end of the wire and push them over to the other end. Fill the entire wire with the fondant balls, leaving about 1/4-inch gap at each end.
Step 5
Bring the two wire ends together and twist them together to make the necklace shape. Let the fondant dry for 24 hours.
Fondant Pearl Earrings
Step 1
Mold the pink or white fondant into 6 small balls and place them on a piece of wax paper.
Step 2
Mix some lemon juice and pearl luster dust together and paint the mixture onto the balls.
Step 3
Cut two 1 1/2-inch pieces of thin-gauge wire.
Step 4
Shape one end of each wire into a hook-style earring.
Step 5
Slide three of the fondant balls onto the opposite end of each wire and let the fondant earrings dry for 24 hours.
Video of the Day