Things You'll Need
Baby Lock serger
Spools of thread
Scrap piece of fabric
Project fabric
The Baby Lock serger was invented in 1964 when a group of Japanese engineers decided to make a smaller version of the industrial serger for home use. Sergers make sewing faster, simpler and more enjoyable by finishing edges to give your sewing projects a professional look. This machine is similar to a sewing machine in that it stitches the seam but sergers also trim the excess fabric from the edges, allowing you to finish your projects in a fraction of the time. The current Baby Lock sergers use what is called "jet-air threading," which makes them the quickest and easiest sergers to thread.
Step 1
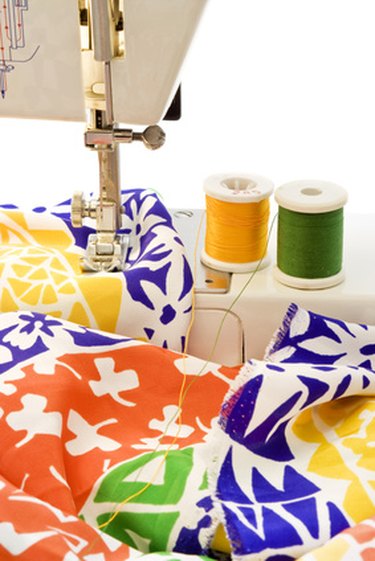
Put spools of thread onto the spool guides on the Baby Lock serger. Leave approximately a six-inch tail on the spool to make threading easier.
Video of the Day
Step 2
Pull the first thread through the lower looper and press the threading lever. This lever uses air to bring the thread through the loopers and needle quickly and without trouble. If your serger is an older model that does not have this feature, refer to the threading diagram. The color-coded threading diagram shows where to thread each one of the spools properly before threading all of them through the needle.
Step 3
Lift the presser foot and slide a test piece of fabric into the machine. Set the stitch pattern and tension desired before sewing.
Step 4
Stitch about three inches or so to ensure you are getting the type of stitch you desire before starting on your project fabric. Keep the scrap fabric handy for future rethreading.
Video of the Day