Things You'll Need
Pendant
Round-nose pliers
Wire cutters
Felt
Scissors
Pin back
Jeweler's glue
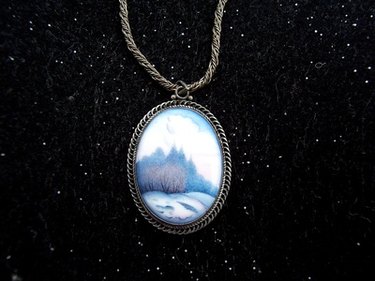
If you own an old pendant necklace that doesn't suit your style, but you love the pendant design, convert it into a brooch with a pin. A pin brooch is a more flexible accessory than a necklace pendant; attach it to a jacket lapel, the front of a sweater, one side of a purse, the buckle of a belt, the pocket of a pair of jeans or a hair barrette. Convert a pendant necklace to a brooch using jewelry tools and supplies available at most craft stores.
Step 1
Remove the pendant from the necklace chain or strand. Many pendants are hanging by an attached bail that will slide off of the end of the necklace with the smallest clasp section. If the pendant is attached via a split jump ring, separate the ring at the split using round-nose pliers. Push or pull the ring wire back or forward to open the ring. You can also cut a solid jump ring with wire cutters to remove the pendant. If the pendant will not slide off the necklace or if a jump ring is not attached, cut the strand on one side of the pendant with wire cutters or scissors. Save the necklace components for future craft projects.
Video of the Day
Step 2
Examine the pendant design to determine whether or not the attached bail, or other connectors, will be visible as part of the brooch design. Cut the bail or connectors with wire cutters to remove them if they are visible.
Step 3
Cut out a section of felt to fit the back of the necklace pendant. Trim the felt so that the perimeter is smaller than the overall outline of the pendant.
Step 4
Glue the felt onto the back of the pendant with jeweler's glue. Allow the glue to dry completely, up to 24 hours, according to the package directions.
Step 5
Place the pendant facedown with the felt side facing up. Glue the pin back onto the center of the felt with jeweler's glue. Allow the glue to dry completely before wearing the brooch.
Tip
Restring cut necklace strands with or without a new pendant using beading wire or beading cords.
Warning
Protect your eyes when cutting small wire bits from the necklace pendant. The cut wire bit may fly in any direction as you snip it from the pendant.
Video of the Day