Things You'll Need
Image editing software
Printer
Iron on transfer paper
Iron
Light-colored fabric
2 wooden dowels
4 cabinet knobs
Sewing needle
Thread
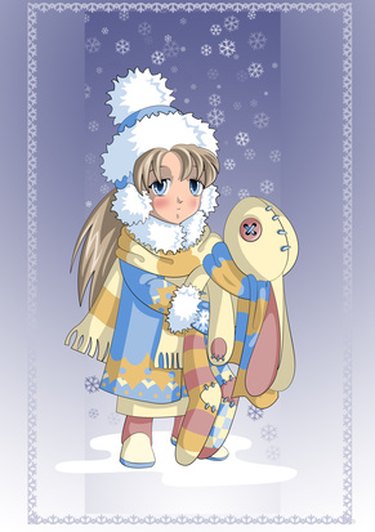
Hanging an anime wall scroll shows your interest in a particular anime show or movie. These scrolls, made out of fabric instead of paper, do not wrinkle or crease as easily as normal posters. Many online stores sell commercially constructed scrolls made of vinyl fabric and iron rods, but you can make your own at home with only a few materials. Making your own allows for more personalization and more options.
Step 1
Search for images of your favorite anime using your preferred online search engine. Use images from as many of shows and movies as you want. Use either multiple images or a single image to feature on your scroll.
Video of the Day
Step 2
Arrange your images using image editing software. The necessary procedure will vary depending on which program you use, but you will generally need to create a new file, open up each picture and drag and drop each image into the new graphic space. Resize and arrange the images according to your personal preference. Skip this step if you only use a single image.
Step 3
Print your desired graphic onto a sheet of iron-on transfer paper. Before printing, go into your Print Preferences menu and select Mirror Image. This will print the image in reverse on the transfer paper, so that it will transfer correctly to the fabric.
Step 4
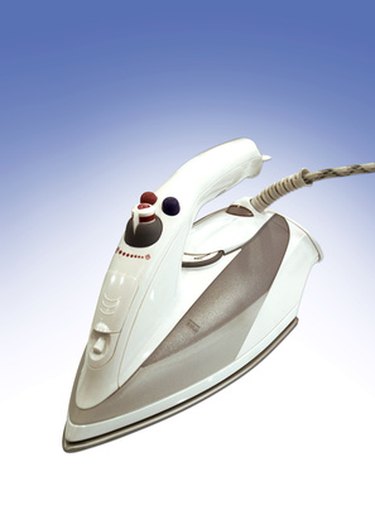
Iron the transfer sheet onto your clean piece of fabric. White or other light colors of fabric work best. Place the transfer sheet image side down on the center of the fabric, leaving plenty of room around all sides, and slide the iron across slowly. Apply even pressure as the iron covers the entire sheet. Iron the entire sheet carefully before removing the paper backing to reveal your image on the fabric.
Step 5

Attach decorative cabinet knobs at the end of each wooden dowel, two knobs to each dowel. Screw the knobs directly into the wood, or superglue the knobs onto the ends if screws are not attached to the knobs.
Step 6
Hem the edges of your fabric to avoid fraying. Sew the fabric at the top of your scroll around one wooden dowel, then sew the bottom of the fabric around the other dowel.
Step 7
Use leftover thread, yarn or ribbon to hang your scroll on the wall. Attach the thread to the ends of the top dowel, and hang it on a hook, pin, tack or nail in the wall.
Tip
Cut your fabric to a larger size than your printed image so that you will enough room to hem the edges or attach the dowels.
Consider bringing your desired graphic and fabric to a specialty shop if you do not have access to a printer or to iron on transfer paper.
Warning
Use your iron carefully to avoid burns. Check to ensure that the iron is on the right setting according to the type of fabric you are using.
Practice using scrap fabric and scrap transfer paper to avoid making mistakes in your actual project.
Video of the Day