Aprons can be the perfect gift for so many occasions. Whether it is a housewarming present, a Mother's Day or Father's Day present, or just something for the culinary lover in your life, a handmade apron is a keepsake that will last a lifetime. Use our free apron sewing pattern to make an apron for just such an occasion! Simply wrap it around your favorite homemade casserole, and you have the perfect gift in hand. This DIY apron also makes a great beginner sewing project.

Video of the Day
Things You'll Need
Free apron pattern
2 yards cotton, linen, or other woven fabric
Fat quarter in a coordinating cotton
2 yards of 1-inch twill tape or ribbon
Coordinating thread
Fabric scissors
Universal sewing needle
Pins
Iron
Ruler
Seam ripper
Sewing machine
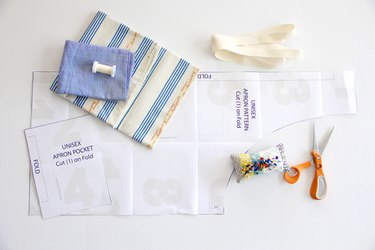
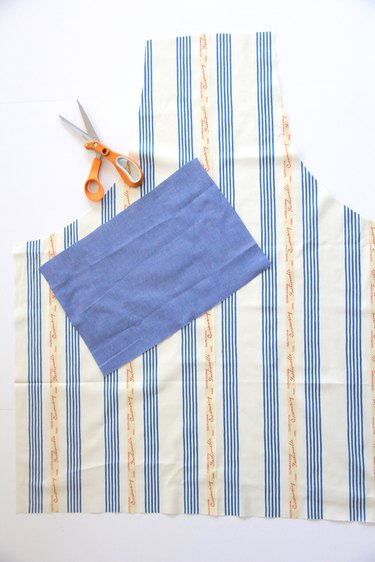
Step 1: Cut Out Apron Pattern
Print out the apron sewing pattern, making sure the two-inch test square is to size. Tape the paper pattern together following the pattern instructions. Cut out the paper pattern. Place the paper pattern directly on top of your fabric on the fold, and then cut around the paper pattern. Repeat for both the apron pattern piece and the apron pocket.
Video of the Day
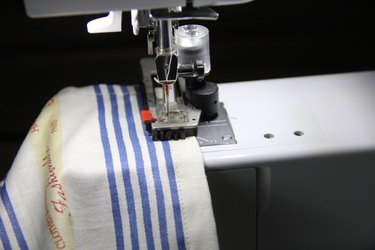
Step 2: Press and Sew All Apron Edges
Fold all raw edges of the apron 1/2 inch towards the wrong side and press. Fold again another 1/2 inch and press again, enclosing the raw edge. For the top of the apron, fold the top edge down 1 inch and press. Pin and sew around.
Tip
When folding and pressing the curved edges, simply fold and press as you go. The fabric will have been cut on the bias for these curved edges, so it will be easy to manipulate.

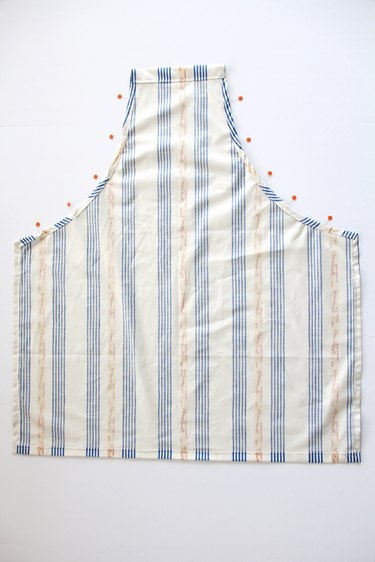
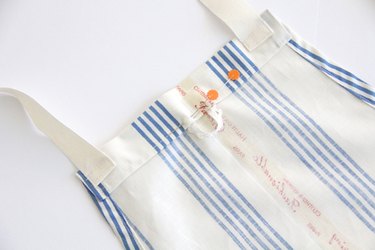
Step 3: Sew Buttonholes
Following the instructions in your sewing machine manual, attach the sewing machine buttonhole foot. Sew the buttonhole directly onto the side seam of your apron, where marked on the sewing pattern. The extra two layers of folded fabric underneath will be enough of a cushion for the buttonhole so that the fabric does not tear. Repeat for both sides of the apron, and then carefully open up the buttonhole center with a seam ripper.
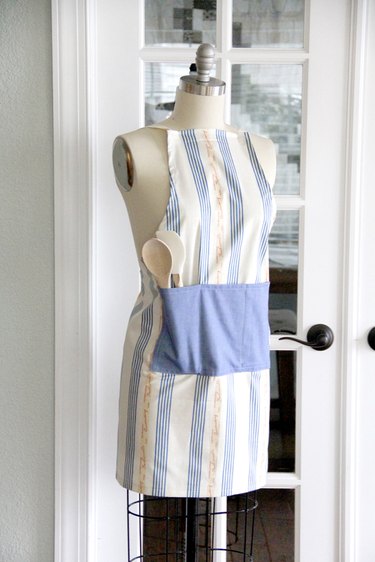
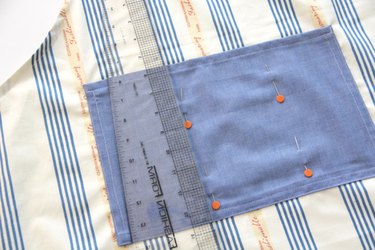
Step 4: Sew the Apron Pocket
Fold all raw edges of the apron pocket 1/4 inch toward the wrong side and press. Fold again 1/4 inch and press, enclosing the raw seam. Pin and sew around. Place the pocket wrong side down on top of the apron body, where marked on the sewing pattern. Pin around the side and bottom edge. Sew in place, reinforcing your stitches at the top side corners of the pocket.

Using a ruler to help, use a fabric marker or pins to make straight lines along the outside of the pocket. Use the pocket line placement guide on the pattern if help is needed for location. Sew a straight line along the outside of the pocket to create separated pockets on the apron.
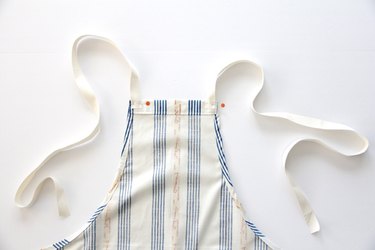
Step 5: Sew Twill Tape or Ribbon to Apron
Cut the two yards of twill tape or ribbon in half, so that you have two 1-yard length pieces. Fold down one end of the twill tape 1/4 inch toward the wrong side, and pin to the top corner of the wrong side of the apron, with the folded edge in between the apron and the twill tape. Sew a small rectangle along the edge of the tape to secure, and repeat for other side. Fold the other dangling end of the twill tape 1/4 inch toward the wrong side, and 1/4 inch again enclosing the raw edge. Sew a small straight line to secure, and repeat.
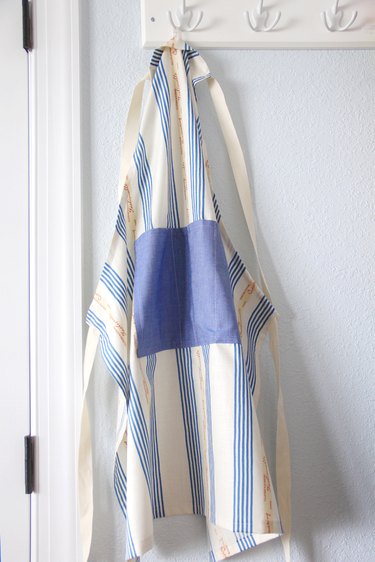
Step 6: Sew a Hanging Loop (Optional)
If desired, you can add a small loop to help hang your apron. This is not necessary, as you can easily hang the apron with the ties, but it's a nice touch. To add a small hanging loop, simply cut a piece of ribbon 3-inches long. Slip the ribbon ends underneath the top center seam, approximately 1 inch apart. Sew in place to secure.
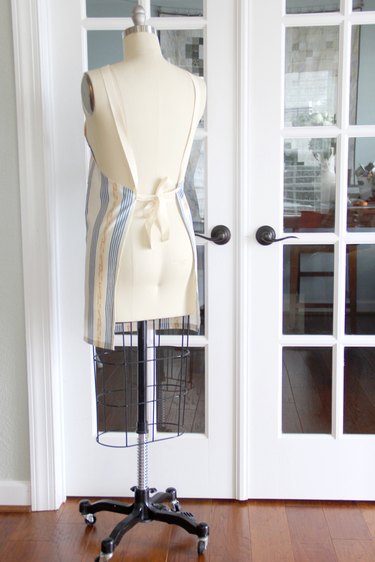
How to Tie the Apron
To wear the apron, simply slip the ties through the buttonholes and tie in the back. A slight twist to this would be to cross the ties along the back, or to wrap the tie around the front of your waist. Either way, you have a beautiful, crisp unisex apron for the culinary lover in your life.