Whether you're hand whittling on the front porch or using power tools in your workshop, wood carving is a way to express your creativity. Some craftsman carve wood strictly for pleasure, while others turn a tidy profit from their creations. Regardless of your purpose, there are several small projects which beginners can enjoy, and which they can sell if they so choose.
Wooden Figurines
Video of the Day
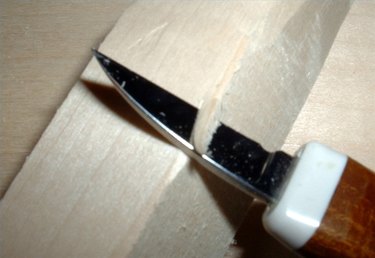
Whittling is a relaxing wood carving activity, and takes very little time to do.
Video of the Day
Balsa wood is easy to whittle because it is soft, and accepts paint well if you choose to paint your figurine.
Small wooden figurines are ideal for whittling, as is miniature furniture for doll houses. Not only are these things easy to carve using nothing more than a knife and balsa wood, but they are popular items at flea markets.
Wood Spirits
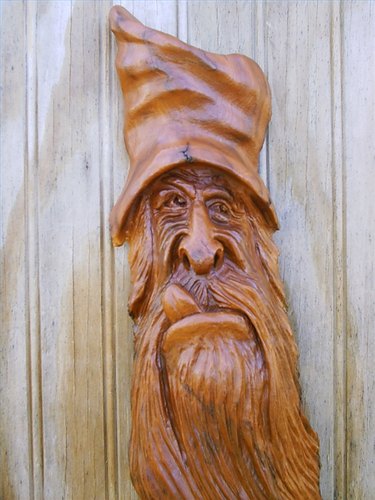
Wood spirits are legendary spirits thought to ward off evil in the woods. The spirits are a combination of human features and elements of nature, and are typically carved into walking sticks, wall hangings, or even directly on a tree in bas relief. You may design your own wood spirit, or use a free pattern (see Resources).
Easy Furniture
Dremel power carvers enable wood carvers to attach cutters, sanders, and engravers, all to the same tool. This gives you the freedom to use one tool for an entire project.
If you're up to a challenge, try using a Dremel to craft furniture. Start with something easy, like a simple table or chair. If you have a daughter, consider making her a little tea table.
Hand-Crafted Wooden Jewelry
Most people don't think of wood when they think of jewelry, but wooden jewelry is a novelty and very popular at flea markets. Wooden jewelry, finished with nothing more than a dark stain, is attractive and functional as well. Try carving wooden rings, lockets, or even bracelets. You may carve jewelry with either a knife or a power carver.