Things You'll Need
Paper
Pencil
Scissors
Paper clips
Tape
Paper chains first originated in Victorian England as a popular craft. The chains were constructed at home by women and children and used to decorate the home for the holidays. Paper chains, which require only basic craft supplies, are still made today and used in much the same manner. Paper angel chains, which resemble a string of angels holding hands, can be strung about the home and used to decorate Christmas trees, banisters and mantles.
Step 1
Draw the silhouette of an angel on a piece of paper about four inches tall and three inches wide. Make sure the hands and skirt of the angel touch the sides of the paper.
Video of the Day
Step 2
Fold a piece of paper in half lengthwise. Turn it so that it is a long rectangle, about four inches tall. Fold the rectangle accordion style, back and forth, making several small rectangles, three inches wide.
Step 3
Secure the angel template you drew in step one to the top of the folded paper with paper clips. Cut out the shape of the angel, cutting through all layers of paper at once. Leave the fold uncut along the edges where the hands and feet touch the sides of the paper.
Step 4
Remove the paper clips and template and unfold the paper chain. You should have two chains with three angels each if you used a standard sheet of 8 1/2" x 11" paper. There will be an unfinished angel at the end of the chain. Remove this angel from the chain.
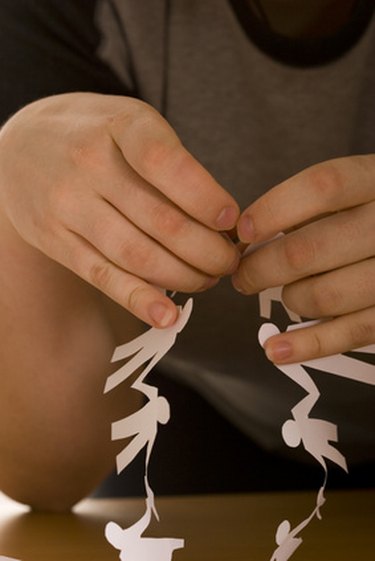
Step 5
Connect the two chains by taping the angels' hands and skirts together with clear tape at the end of one chain, and the beginning of the next. Continue to make additional chains and connect them in this manner until you have achieved your desired length.
Tip
For a longer chain with fewer taped joints, use a large roll of craft paper and fold it as many times as you can while still getting the scissors to cut through it.
Video of the Day