Things You'll Need
Nuts and bolts
Canvas bag
Chisel and hammer
Water-based stain
Paintbrush or paint roller
Metal cans
Clear polyurethane sealer
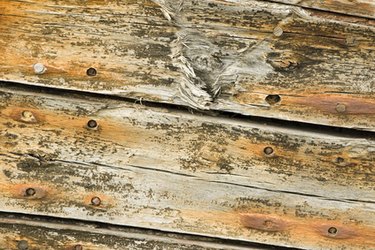
Regardless of whether you are refinishing a piece of furniture or a wood floor, the antiquing and distressing process can transform the look and feel of wood. New furniture can be made to look old and newer wood floors can be aged to reflect years of wear and tear. The process of distressing wood is much the same, regardless of the surface, and takes a small amount of time. Most of the supplies needed for this project can be found in your local hardware or home improvement store.
Step 1
Place some miscellaneous nuts and bolts in a canvas bag that closes. Close the bag and hit the surface of the wood with the nuts and bolts. This will produce indentations in the surface of the wood. Do this in a random manner; you don't want to create a predictable pattern.
Video of the Day
Step 2
Use a chisel and hammer to create more distress in the surface of the wood. In a random manner, hit the surface of the wood with the chisel and hammer; create gouges and marks throughout the surface. Concentrate on surfaces that tend to see the most wear, such as edges and legs of furniture, or in the middle of a floor.
Step 3
Apply a water-based stain to the wood with either a paintbrush for a small area or a paint roller for a large area such as a floor. Make sure to fill in the gouges and marks that have been added with the nuts, bolts, hammer and chisel. These marks will then stand out because they are slightly darker from the stain. Allow the stain to dry thoroughly.
Step 4
Create rings on the surface of the wood. Fill tin cans of various sizes with hot water and place them randomly on the surface of the wood. Let them sit for about 10 minutes. This process will produce dark rings on the surface of the wood.
Step 5
Apply a coat of clear polyurethane sealer with a paintbrush or a paint roller, depending on the size of the surface. Allow to dry completely.
Warning
Work in a well-ventilated area. Wear a mask when staining or adding the polyurethane sealer.
Video of the Day