Things You'll Need
CD case
Scissors
Construction paper
Ruler
Glue stick
Wrapping paper
Buttons
Ribbons
Glitter
Shells
Blue jeans
Super glue
Xacto knife
Ribbon or twine
Tissue box
Popsicle sticks
Magnet
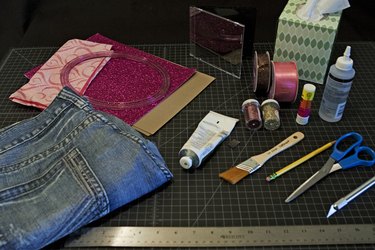
Photo frames crafted by hand from everyday items that would have landed in the trash add a creative, one-of-a-kind touch to your home. They also make great gifts when filled with snapshots chosen especially for the recipients and are a project the family can do together. Check your recycling and trash receptacles and you may find the materials needed to make your own photo frames.
CD Case Frame
Step 1
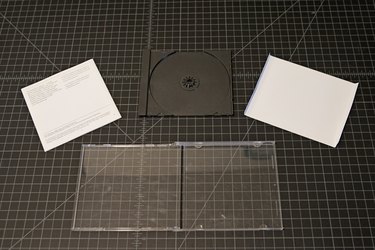
Open the CD case and remove the plastic part that used to hold the CD. Take out any inserts. You want a case that is clear of all contents.
Video of the Day
Step 2
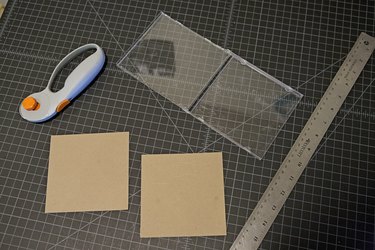
Cut two pieces of construction paper to fit the case's back and front covers. Use a ruler to measure the case's size or trace around the inserts you removed. Insert one piece of paper in the front of the CD case and the second piece in the back.
Step 3
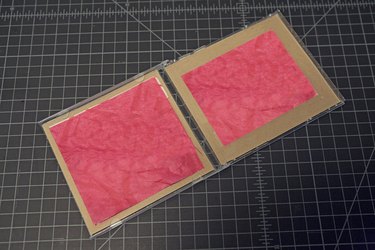
Glue two pieces of heavy wrapping paper that contrast with the construction paper onto the inside of the CD case, one on each side.
Step 4
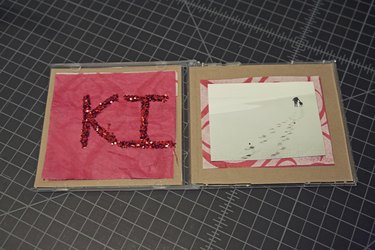
Decorate the left side of the case with anything you choose. Ribbons, glitter, buttons, shells and stickers work well. Use your imagination. Choose the photo you wish to use and glue it to the right side of the open case.
Blue Jeans Frame
Step 1
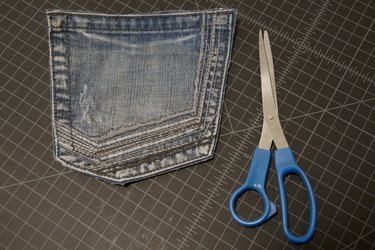
Cut around the back pocket of a pair of old jeans. Be sure not to separate the pocket from the pant leg. Cut a square in the front of the pocket the right size to hold your picture.
Step 2
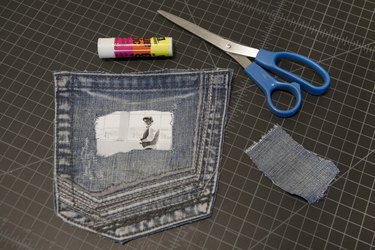
Slide the picture into the pocket so that it is centered in the square you cut. Glue it to the inside of the pocket. Decorate around the picture using any objects you like.
Step 3
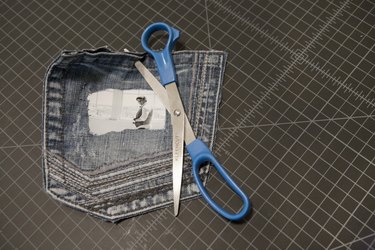
Poke a hole into the pocket's top, above the decorations, with scissors or an Xacto knife.
Step 4
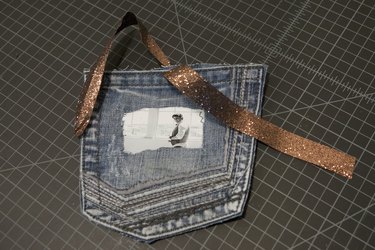
Thread a ribbon or piece of twine through the hole so that you can hang the picture on the wall.
Tissue Box Frame
Step 1
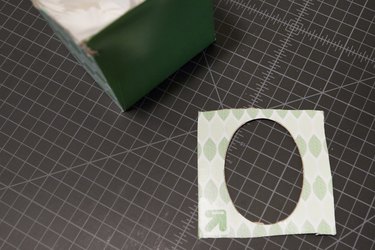
Cut the top off a small, square tissue box.
Step 2
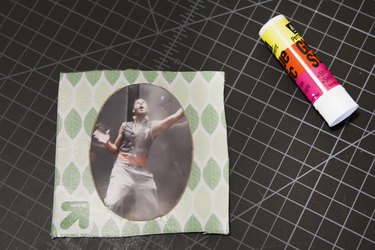
Glue a photograph to the inside of the top so that it shows through the oval.
Step 3
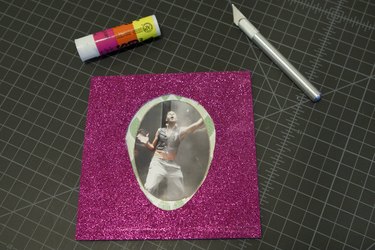
Decorate the frame. Cut a piece of construction paper, heavy wrapping paper or scrapbook paper a little larger than the frame and cut out an oval so that the picture will show through. Glue the paper to the frame. Make a border using Popsicle sticks, beads, rhinestones or ribbon, gluing them around the perimeter of the frame.
Step 4
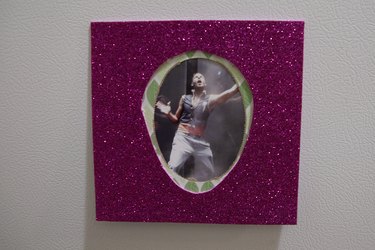
Fasten a magnet to the back of the frame with superglue and hang it on your refrigerator.
Tip
Try using a tissue box with a pattern on it rather than covering the top with construction paper and decorations.
Video of the Day