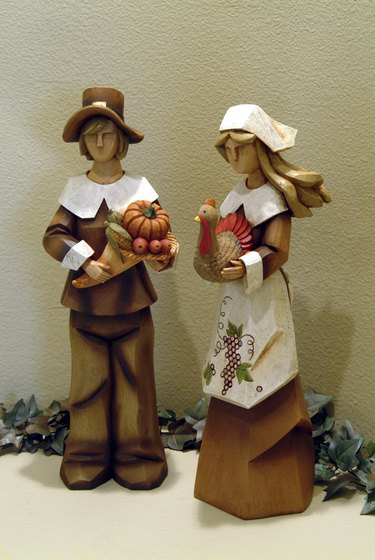
Exude piety, humility and devotion wearing a Colonial-style costume. Men, women and children of the Colonial period dressed in a simple fashion. Basic dresses, and tunics with breeches, are easily enhanced with Colonial-specific accessories. Colonial costume elements can be created from paper or fabric, depending on the occasion.
Colonial Bonnets
Video of the Day
Colonial costume bonnets can be easily constructed using a piece of legal paper. Measure one of the long edges of the paper. At 6 1/4 inches cut a 3-inch V into the paper. Cut another V into the paper 6 1/4 inches from the other end. This will make three distinct sections on one side. On the uncut side, make a 1-inch fold to create the front outer edge of the bonnet. Turn the outside cut sections toward each other and overlap them across the center section. Tape them in place. Attach a ribbon at the bottom edge of the front of the bonnet.
Video of the Day
Colonial Hats
You can also make a Colonial hat from construction paper. Make a headband that encircles the top of the head. Draw a pilgrim's hat onto a piece of black construction paper. It should be tall, and narrower at the top than bottom. It should also have a wide hat brim. Add a construction paper buckle, and glue the hat to the headband.
A tricorn hat was also popular during the Colonial period and can be made out of pre-stiffened felt. Measure a circle across the top of your head to determine the diameter. Draw that circle onto a piece of paper. Extend that circle by 6 inches to create the brim pattern. Cut the center hat pattern from the circle and cut it out in felt. Cut a piece of felt to create the side walls of the hat. Cut out the remaining brim pattern. Attach the pieces with hot glue. Wet the hat brim and turn the brim upward. Tape the tricorn folds in place and allow the hat to dry.
Jerkins or Vests
Young and old men both wore vests called jerkins during the Colonial period. These vests were made from either leather or dyed fabric. Easy Colonial vests can be made from paper shopping bags. Paint a shopping bag with black paint and let it dry. Wad the bag up into a ball and then iron the paper flat to create a leather-like texture. Cut a slit up the front of the bag, and cut a neckhole in the top of the vest. Add armholes into the sides of the vest.
Shawls
Shawls for boys and girls can be made from a basic vest pattern. For the a girl's shawl, use the upper portion of the pattern. Place the pattern onto a piece of poster board and outline the top portion from the chest upward. Draw an arch from the top of the armhole to the bottom of the armhole. It should resemble a sleeve. Use this pattern to make a fabric or paper shawl. Attach a ribbon to each side of the shawl at the neck for a fastener. Use the upper portion of the vest pattern from mid-chest upward to create the Colonial boys vest. Instead of cutting a curve for the armhole, cut a straight line. Leave the side seams unsewn. Add a ribbon tie at the neck.