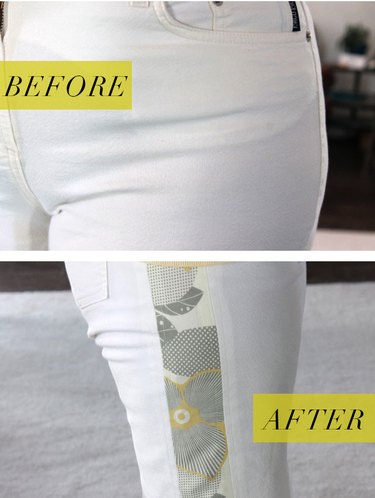
Add a stylish twist to those favorite pair of pants that no longer fit and make them a little more comfortable at the same time. If your pants are just a tad bit snug, you will only need a seam ripper to alter them. However, if you need to add more room, you can mix in a new pattern or texture by inserting a fabric gusset to the sides.
Video of the Day
Watch the video tutorial
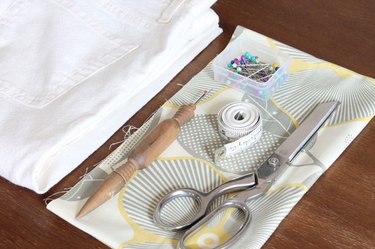
Things You'll Need
Seam ripper
Measuring tape
1/8 to 1/4 yard of coordinating fabric
Sharp scissors
Iron and ironing board
Sewing machine with a 90/14 universal needle
Pins
Option 1: No Gussets
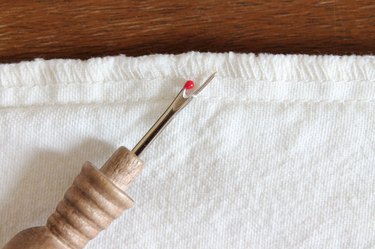
If you only need to create a little bit more room to make your pants more comfortable, and the seams of your pants have been finished with a serger, it might be enough to simply use a seam ripper to take out the first row of stitching on each side of your pants. This technique will give you an extra 1/2 inch or so on each side.
Option 2: Adding Fabric Gussets
If you need more than 1/2 inch of extra room, you can add some fun fabric gussets to the sides.
Step 1
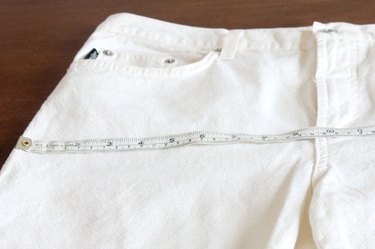
Start by measuring around the widest part of your hips. Write this measurement down. Then measure the circumference on your pants where they are the widest. Subtract the pants measurement from your hip measurement. This will tell you how much extra room you need to make your pants fit. Now divide this number by 2. This will tell you how wide each fabric gusset will need to be on each side. Add 2 inches to that number to allow for the 1/2-inch seam allowances.
For example, if after subtracting the pants circumference from your hip circumference, you find you need a total of 6 more inches, then 6/2=3+2=5. So each fabric gusset will need to be cut to 5 inches wide.
Step 2
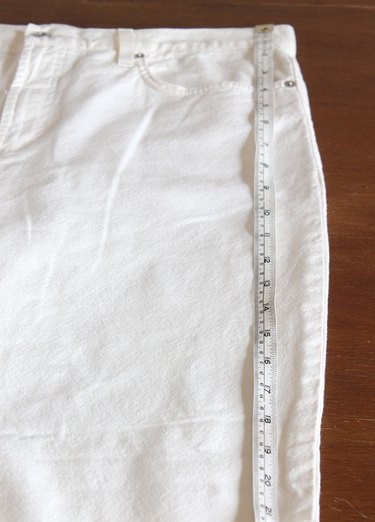
Now use a tape measure to find the length of your pants.
Step 3
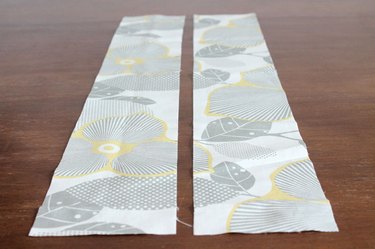
Cut two fabric gussets that are the the same size as your determined length and width.
Step 4
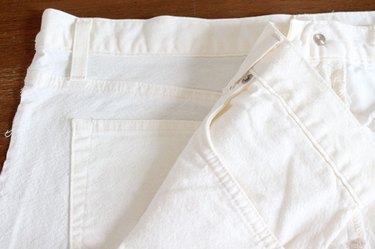
Use a sharp pair of scissors to cut the side seams on the pants as close to the inside seam as possible.

Step 5
When you get to the waistband, just cut right through it. When you are finished cutting, both side seams of your pants will be open.
Step 6
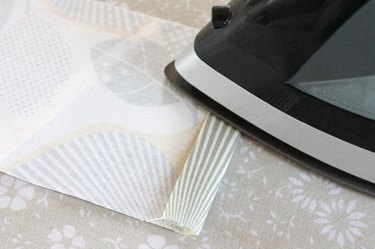
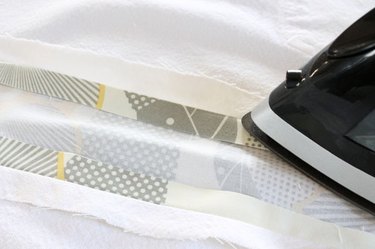
Fold and press 1/4 inch under twice on each short side of your fabric gussets.
Step 7
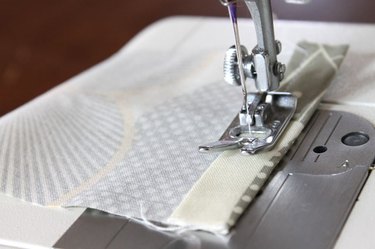
Sew the folds on the short ends of each gusset to create a finished hem.
Step 8
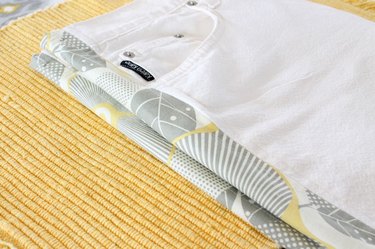
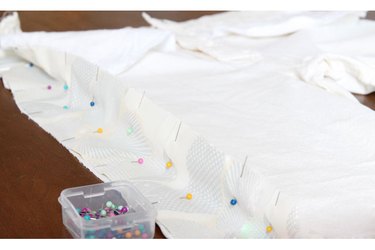
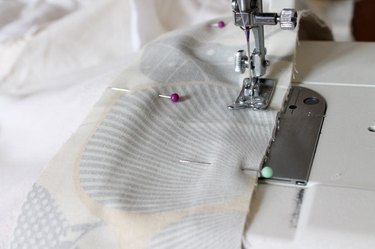
With the right sides together, pin the gussets into the sides of the pants.
Step 9
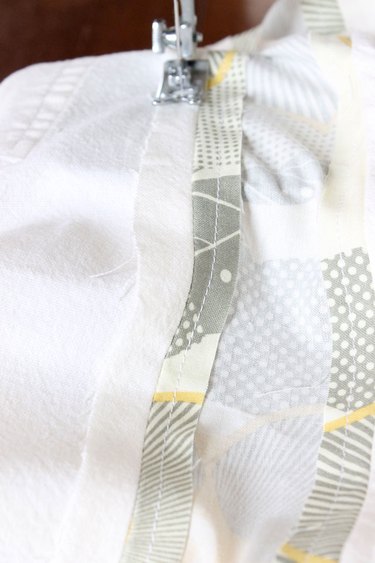
Sew each side of the gusset onto the sides of the pants with 1/2-inch seam allowance. Be sure to remove the pins as you sew.
Step 10
Press each of the new side seams open with an iron.
Step 11
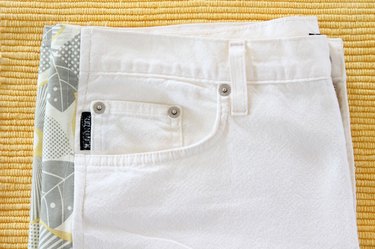
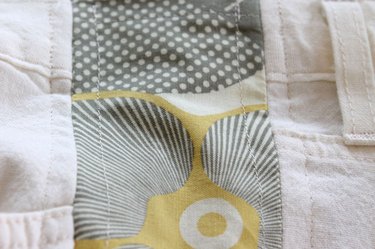
To finish your seams and keep them from fraying, topstitch close to each side seam.
The topstitching will also give the pants a nice finished look.
Now slip on those pants again and enjoy your new comfort and style.