Things You'll Need
Tape measure
4-inch metal studs
6-inch metal studs
Permanent marker
Carpenter's square
Straight-cut aviation snips
No. 2 Phillips tip
Screw gun
No. 8, self-tapping pan head screws
The current trend of framing with metal studs has grown in popularity because of their affordability and lightweight nature. Although they are lightweight, metal studs are as strong as wooden studs for non-load-bearing interior walls. Using metal studs to frame a wall in your home requires changing what you know about residential framing, as metal studs cut and install in a different manner than their wooden counterparts. A standard framing difference comes in connecting two walls and making a usable corner for installing drywall or wood paneling.
Step 1
Measure the distance between your installed lower and upper stud rail mounted on the floor and ceiling with the tape measure.
Video of the Day
Step 2
Mark two 4-inch studs and one 6-inch stud by pulling the tape measure along each stud and place a mark on each stud with the permanent marker. Extend each length mark across the face of each stud by resting the base of the carpenter's square on the flange of each stud, aligning the front edge of the carpenter's square with each length mark and dragging the permanent marker along the aligned edge to create a cut line on the face of each stud.
Step 3
Cut each stud to length with the straight-cut aviation snips.
Step 4
Place the 6-inch metal stud between the top and bottom stud rails, and align the face of the 6-inch stud with the stud rails of the wall intersecting the corner. The face of the 6-inch stud should extend roughly 1 5/8 inch past the stud rails of the intersecting wall stud rails.
Step 5
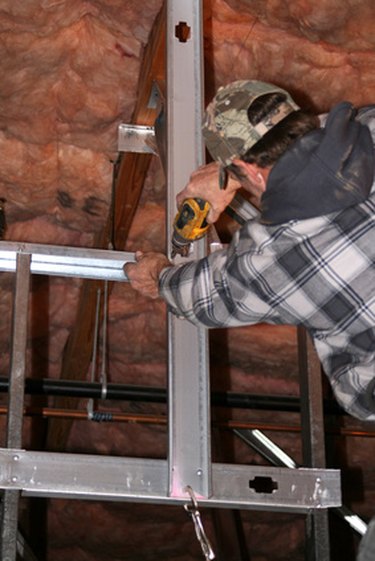
Insert the No. 2 Phillips tip into the screw gun and run two No. 8 self-tapping screws through the flange of both the top and bottom stud rails, into the face of the 6-inch stud.
Step 6
Insert the two cut 4-inch metal studs into the stud rails of the intersecting wall, with the flange of each stud resting against the face of the 6-inch stud. The face of each 4-inch metal stud must face outward, with the flanges of the studs facing each other.
Step 7
Secure the flange of each 4-inch stud resting against the face of the 6-inch stud with No. 8 self-tapping screws to complete the framing of the corner with metal studs.
Video of the Day