Things You'll Need
Chipboard
Ruler
Scissors
Paper clamps
Paper tape
Rubber bands
Spray adhesive
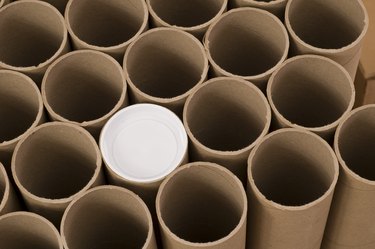
Cardboard cylinders can be used in everything from making models to creating toys. Larger and thicker cylinders are used to ship documents and to protect fragile objects from damage. Making cardboard cylinders is easy and worthwhile for special sizes or shapes that are not readily available.
Step 1
Purchase a long sheet of chipboard. Chipboard is a thin type of cardboard that is often found on the backs of notebooks. Paper Source stores sell the chipboard in large sizes up to 48 inches long.
Video of the Day
Step 2
Cut two pieces of chipboard into two rectangles with scissors. The short side of each rectangle should be the same as the length of the cylinder. For this example, cut the length 3 times the length of the short side.
Step 3
Measure the top of each chipboard at half its length and mark this spot as A. Mark the top right corner as B.
Step 4
Mark the bottom left corner as C. Measure the bottom of each chipboard at half its length and mark this spot as D.
Step 5
Draw a line between A and C. Cut along this line. Draw a line between D and B. Cut along this line.
Step 6
Take corner B of one chipboard and curl it under toward the left until B touches D. Use a paper clamp to clamp these two points together. Take corner C of the same chipboard and curl it under and toward the right until C touches A. Use a paper clamp to clamp these two points together.
Step 7
Moisten brown paper tape with water and tape along the seam where the cylinder touches. Use rubber bands to help the cylinder hold its shape while the paper tape cures. Allow the tape to dry for one hour.
Step 8
Remove the clamps and spray the outside of the cylinder with spray adhesive. Glue your second piece of cut chipboard over the first chipboard with the seams opposite. This will strengthen the cylinder.
Step 9
Cut paper tape longer than the length of the cylinder seam. Moisten and place your tape so that you can tuck each end inside the cylinder. Use rubber bands over the tape to hold the tape and the chipboard in place while both dry.
Tip
If you add many layers for a thick cylinder, you will need to make outer layers slightly longer to accommodate the depth of the chipboard.
Make ends for your tube by tracing the finished tube's circular end on a piece of chipboard twice. Cut out both circles and affix one to each end of the tube using paper tape or spray adhesive.
For a quick easy cylinder on the go, simply roll a sheet of thin cardboard, glue or tape the overlap, and if necessary, add paper secured by rubber bands to cover the two ends.
Video of the Day