Things You'll Need
Artist canvas with wooden frame
Measuring tape
Batting
Scissors
Staple gun
Fabric
1/2-inch wide ribbon
Decorative push pins
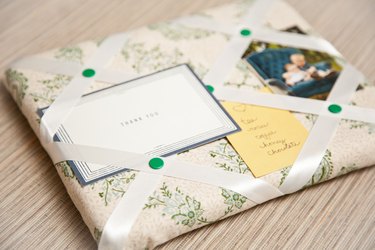
A picture board is similar to a bulletin board, but covered in fabric and lined with decorative ribbons. Also called a French memo board, you can customize a picture board to your specifications from soft plywood or foam board. Standard size canvases with wooden frames also work as a simple structure for a picture board. The decorative ribbons function as inserts and holders for photos, notes and other thin paper items.
Step 1
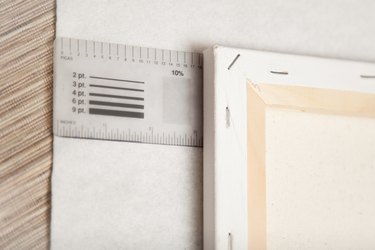
Cut a section of batting that is 3 inches wider and 3 inches longer than the front and edges of the artist canvas. Lay the batting open on a flat work surface.
Video of the Day
Step 2
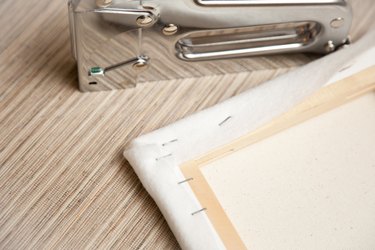
Center the canvas face down on top of the batting. Pull the sides of the batting up over the edges of the canvas. Staple the batting to the wooden frame on the back of the canvas with a staple gun. Staple the batting from the center outward, placing staples every 1/2 inch or so along the perimeter of the canvas. Overlap the batting at the corners before stapling it in place.
Step 3
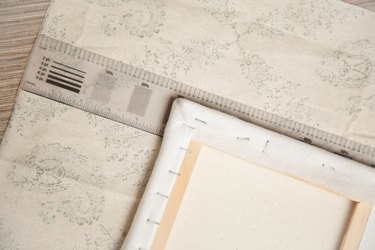
Cut a section of fabric that is 5 inches wider and longer than the front and edges o the canvas. Place the open fabric face down on a flat work surface.
Step 4
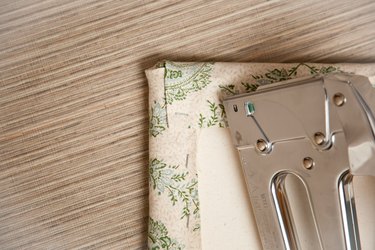
Center the canvas on top of the fabric, batting side down. Pull the sides of the fabric over the edges of the canvas. Staple it to the wooden frame the same way that you stapled the batting.
Step 5
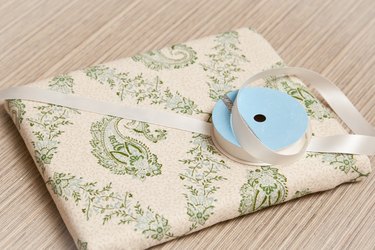
Cut strips of 1/2-inch wide ribbon to fit diagonally or vertically and horizontally across the front of the picture board. Ribbons placed diagonally create a completely different look than those placed horizontally and vertically. For diagonal ribbons, begin measuring the ribbon placement 3 inches from the top right corner. For vertical and horizontal ribbon placement, simply measure the length and width of the face of the board. Add 4 inches to the length of each ribbon strand to account for wrapping and stapling no matter which way you plan to place them.
Step 6
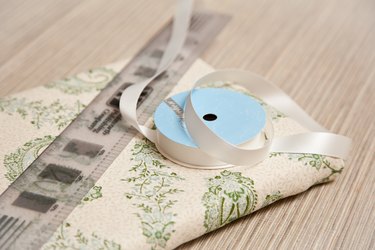
Cut enough ribbon strands to fit across the board diagonally every 3 to 4 inches, from the top right corner to the bottom left corner and from the top left corner to the bottom right corner. Cut enough horizontal ribbons to fit in stripes every 4 inches down the length of the canvas from top to bottom. Cut enough vertical ribbons to fit every 4 inches across the width of the canvas from side to side.
Step 7
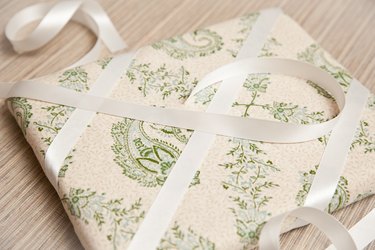
Staple one end of each ribbon to the wood frame on the back of the canvas. Pull the ribbons tight across the canvas in the direction you chose. Make sure that the ribbons are taut. Staple the remaining ends of the ribbons to the wood frame opposite from the first end. Add all of the vertical ribbons before attaching the horizontal ribbons. For diagonal design, add all of the ribbons going from the top right to the bottom left before attaching the ribbons going from the top left to the bottom right.
Step 8
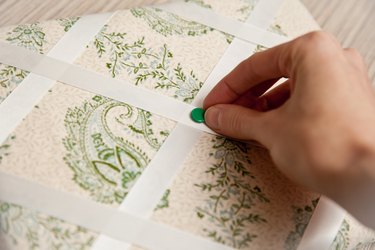
Insert decorative push pins into the canvas wherever the ribbons cross.
Video of the Day