Things You'll Need
Crown molding
Miter saw
Finish nails
Wood glue
Caulk
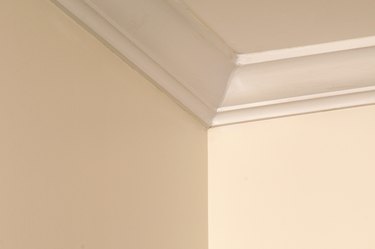
In many homes, crown molding runs seamlessly from room to room. However, there are cases where it is necessary for crown molding to end. Whether the crown molding ends because it is butted against tile or a doorway, or because the ceiling height changes, you need some way to finish off the molding for a professional look. Homeowners can install the end on a piece of crown molding with a little work and attention to detail. Knowing where to start can help.
Step 1
Make an outside miter cut on the last piece of crown molding. Do not nail the last piece of crown molding into place until you have done this. Measure how long the last piece needs to be. Make an outside miter cut to length by setting the miter saw to 45 degrees. Place the crown molding into place upside down. The molding's bottom edge should sit against the fence of the saw and the other edge should rest against the table. Carefully make the cut.
Video of the Day
Step 2
Nail the last piece of crown molding into place on the wall with finish nails.
Step 3
Cut an outside miter at a 45-degree angle on a scrap piece of molding. The scrap should be at least one foot long.
Step 4
Make the wedge-shaped cap by setting the miter saw for a 90-degree angle. Place the scrap molding flat on the saw. Cut the piece so that it comes to a point at the bottom edge.
Step 5
Glue the cap into place instead of nailing it. Nailing the small piece might split it. Use caulk to fill in any holes on the crown molding.
Video of the Day