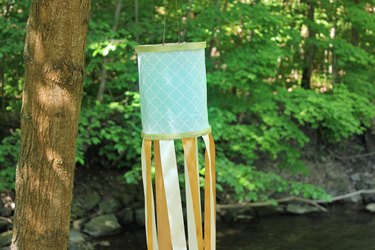
If sewing is not your forte, a no-sew fabric windsock is an easy craft that adds a colorful piece of art to your favorite hangout space. Hang it on a tree branch or porch and enjoy the view as the breeze blows.
Things You'll Need
7-inch wooden embroidery hoop, 2
Thin hemp cord or twine, 2 feet
Fabric, 1 yard
Measuring tape
Ballpoint pen
Scissors
Hot glue gun and hot glue
1 1/2-inch-wide ribbon, 24 feet (multiple colors if desired)
1/4-inch-wide ribbon, 3 1/2 feet

Step 1: Measure the Embroidery Hoop
Use the tape measure to determine the circumference of the embroidery hoop. Add 2 inches to the circumference and make note of the new measurement. The additional 2 inches will be used to cover up any uneven lines in the fabric when the windsock is assembled.
Video of the Day

Step 2: Measure the Fabric
Choose a height for the windsock. The windsock pictured is 8 inches high. Measure the desired height vertically on the backside of the fabric and make a mark along the edge. Place your tape measure horizontally on the mark you just made and measure out the measurement you determined in Step 1. Use a pen to mark the measurements.
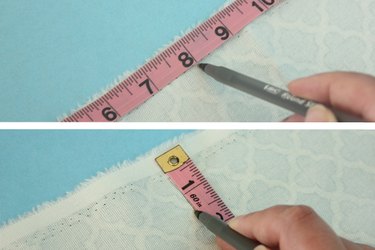
Tip
Use a ballpoint pen to mark the fabric. A felt-tip pen may bleed through the fabric.
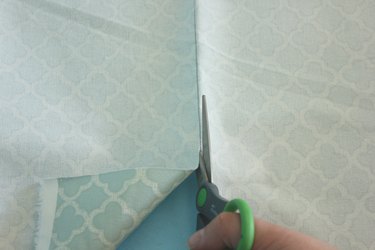
Step 3: Cut the Fabric
Cut the portion of fabric you just measured. Keep the lines as straight as possible.
Step 4: Tie the Hemp Cord
Tie the 2-foot piece of hemp cord on each side of the wooden embroidery hoop. This will form the top of the windsock and allow you to hang it when it is complete.
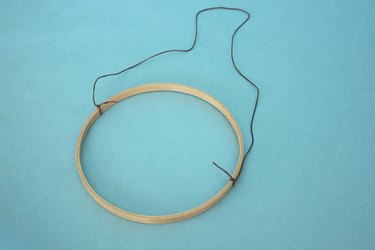
Tip
You can make the hemp cord longer or shorter depending on how low you want the fabric windsock to hang.
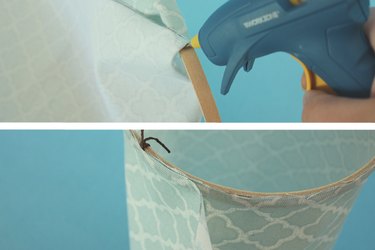
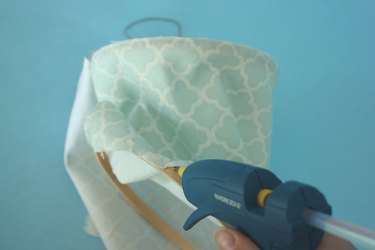
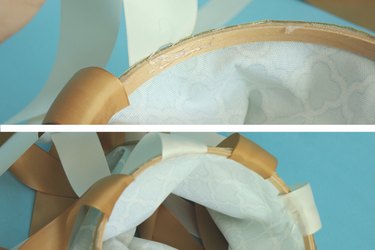
Step 5: Glue the Fabric to the Top
Use the glue gun to attach the fabric to the top embroidery hoop. Do not glue the extra 2 inches of fabric overlap when you finish.
Warning
Use caution when using the hot glue gun. Hot glue can cause burns on your skin.
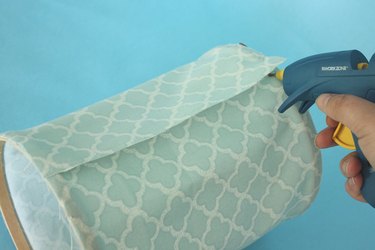
Step 6: Glue Fabric to the Bottom
Use the glue gun to attach the fabric to the bottom embroidery hoop.
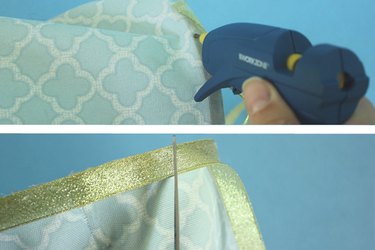
Step 7: Glue the Overlap
If the fabric edge looks uneven, trim the overlapping fabric to create a straight edge. When the edges are straight, glue the overlapping sections of fabric together.
Step 8: Glue Decorative Ribbon
Use the glue gun to attach decorative ¼-inch-wide ribbon around the top and bottom hoops of the windsock. The ribbon disguises any uneven lines along the fabric edges and adds decorative appeal.
Step 9: Cut the Ribbon Strips
Cut the 1 ½-inch-wide ribbon into eight equal length strips. The ribbon pieces pictured are each 34 inches long.

Tip
A few dabs of clear nail polish along the ends of the ribbon help prevent fraying.
Step 10: Glue the Ribbon
Use the hot glue gun to glue the strips of ribbon to the inside of the bottom embroidery hoop.
Tip
Alternate ribbon colors to add an extra pop of color.
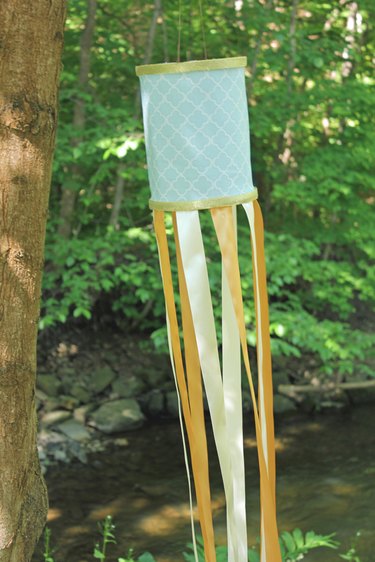
Step 11: Hang the Windsock
Hang your new fabric windsock in an outdoor area that receives an adequate amount of light breeze. Be sure to bring the windsock indoors during bad weather to avoid damage to it.
Video of the Day