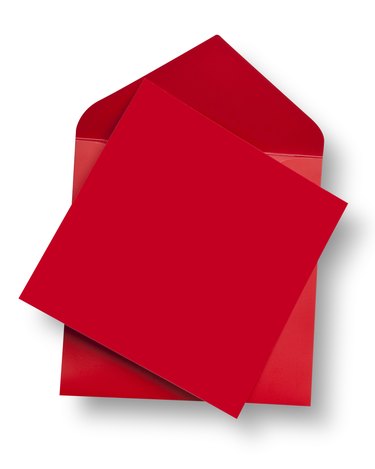
Handmade square cards require square envelopes to mail them. Making your own square envelopes gives you the artistic freedom to create an envelope that perfectly coordinates with the greeting card it contains. Your custom-made cards deserve envelopes that are as carefully handcrafted as the cards themselves. With a single sheet of scrapbook paper, you can make a square envelope with finished measurements of 5 inches square.
Video of the Day
Things You'll Need
8-1/2-by-8 1/2-inch square piece of scrapbook paper
Ruler
Bone Folder
Scissors
Glue, glue stick, or double-sided tape
Step 1
Create an envelope from scrapbook paper that coordinates with the handmade card. Cut it down to make an 8-1/2-inch square sheet of paper.
Video of the Day
Step 2
Lay the paper down, wrong side up, on a flat table so that it is in a diamond shape, with one point straight up and another straight down.
Step 3
Measure in from the left hand point 3 1/4 inches and make a vertical score line using your ruler and bone folder.
Step 4
Rotate the paper 90 degrees and repeat the previous step. Continue until you have measured 3 1/2 inches in from all four points and created four different score lines.
Step 5
Cut away the small triangles formed between the score lines at the corner of the square created from the score lines. Cut the triangle out where the score lines cross over each other. If you scored the paper properly, there should be four small triangles you need to cut away when the paper is facing you with one point up and another down.
Step 6
Fold along each one of your score lines so that point of each folded piece is toward the center of your envelope.
Step 7
Unfold all but the bottom triangle. Run a thin bead of glue along the left side of the bottom triangle and fold the left triangle in toward the center, holding down firmly until the glue sets. Repeat with the right-hand flap. Do not let the glue spill over into the inside of the envelope, or you wont' be able to set anything inside.
Step 8
Insert your handmade card into the top of the envelope. Add a dab of glue to the inside corner of the top flap and fold down to seal the envelope.
Step 9
Embellish the finished envelope with stamps, stickers, glitter glue or any other embellishments. Address the finished envelope as usual.
Tip
For different looks, use glittered or gold-foiled scrapbook paper.
Warning
The postal service does require additional postage for square envelopes. Check rates before mailing.