Things You'll Need
Rubber bands
Bowl
Food coloring
Gloves
Paper towel
Stencil
Permanent marker
Accessories
Glue
Stamping device
Nowadays, it seems like everyone is wearing rubber band bracelets. This popular accessory is often used to promote causes, music bands and even politicians. Companies can make you personalized rubber band bracelets if you desire. Instead of spending a ridiculous amount of money on these bracelets, why not make your own? It is easy, cheap and downright enjoyable to make your own rubber band bracelets.
Step 1
Choose what rubber band size you desire. If you plan on personalizing the bracelet with words or decorations, make sure the rubber band is wide enough to support the adornments. Try the rubber band on to ensure it fits comfortably.
Video of the Day
Step 2
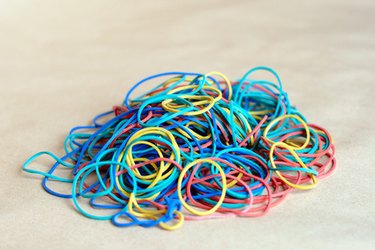
Choose which color you would like your rubber band bracelets to be. Bright colors can attract attention, which is good if you are wearing the bracelets for promotional purposes.
Step 3
Pour warm water into a bowl that is large enough to hold the rubber bands. Apply food color drops to the water. The number of drops you add depends on how bright or rich you desire the color of the bracelet to be. The more color you add, the darker and deeper the color will be.
Step 4
Drop the bracelets inside the bowl of food coloring and water. Let the rubber bands soak until they have reached your desired color.
Step 5
Remove the bands with gloved hands and allow them to dry on paper towels. Apply your desired adornments once the rubber band bracelets have dried. Use a stencil and thin permanent marker to write words, or glue gemstones or other decorations on the rubber band bracelets.
Tip
You can dye multiple bracelets at the same time, just make sure that each one is covered in the dye.
Use stamping devices to imprint words or pictures onto the rubber bands.
Video of the Day