Things You'll Need
18-gauge copper wire
Beads
Wire cutters
Needlenose pliers
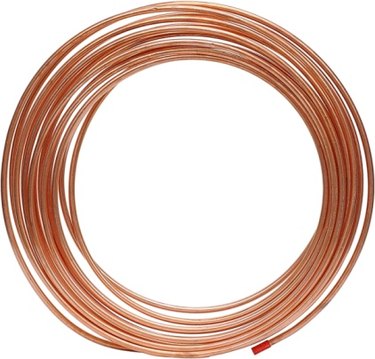
Copper is used as an alternative to gold or silver jewelry because of its unique reddish color. It is a useful alternative for people who have sensitive skin, because it is a nonreactive metal that rarely causes irritation. Copper bracelets are often worn by people suffering from arthritis, who believe that it helps relieve pain and stiffness. Ideal for jewelry, copper wire is inexpensive, widely available and pliable enough to be bent into all kinds of shapes.
Step 1
Wrap copper wire loosely around your wrist three times; this is the length of wire you will need. (Allow some extra wire if you want quite a few twists and loops in the strands of your bracelet.) Cut the wire to length with the wire cutters.
Video of the Day
Step 2
Bend one end of the wire over to create a loop using the needlenose pliers. Use about 1/2 inch of wire to make the loop; clamp the tip of the wire and bend it around in a curve until it touches itself.
Step 3
Shape the wire using the needlenose pliers, or fingers if you find them easier. After the first loop, create a bend in the wire to the left or right. Bend the wire again, in a smaller or larger curve, in the other direction. Each time, curve the wire back to resume the same line again.
Step 4
Place the wire on the table. Your bends should lie flat — do not bend the wire upward or downward when you are shaping it. The wire should resemble a snake flat on the table, wriggling but heading straight forward. The bracelet must wrap around your wrist when you are finished, so the curves and bends must always return to one direction; no curve should permanently change the direction of the wire.
Step 5
Make big curves and little curves, left and right. Overlap the wire in a loop, and lay it on the table and press it flat. You can overlap the wire by turning it back on itself before resuming its normal direction — but make sure the wire remains flat, with no upward or downward skews in direction.
Step 6
Smooth the curves and bends with your fingers as you go, so that all the shapes are smoothly curved.
Step 7
Insert the wire into a bead. Continue twisting the wire. Trap a bead in a loop, and another on a bend. Add beads in this same way as you continue to shape the wire.
Step 8
Wrap the bracelet around your wrist to check its sizing, then flatten it out again. Stop forming the copper when you have done enough to wrap around your wrist. Leaving 1 inch, cut the wire with the wire cutters. Turn this inch of wire back on itself with the needlenose pliers, as before, to make a loop.
Step 9
Wrap the bracelet around your wrist and gently bend it into your desired shape, so that it fits your wrist perfectly. You do not need to fasten the ends; the copper should stay in the shape in which you form it.
Video of the Day