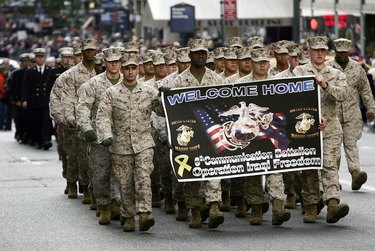
Some construction techniques for parade banners apply no matter what material you use. The best banners have very large print so onlookers can read them half-a-block away and a strong color contrast between the background of the banner and the letters. All banners need support too, with wooden dowels both along the top, with a portion of the dowel jutting out on each side as handholds, and along the bottom to keep the banner from flapping in a breeze.
Paper Banners
Video of the Day
For a one-time use, paper banners offer a quick and easy solution. Use the heaviest paper you can for durability. Cover your painted lettering and designs with clear contact paper if there is any chance of rain on the day of the parade. Depending on the weight of the paper, you can glue the banner onto the dowel or staple it on with a heavy-duty staple gun. Vary your banner by cutting a scalloped bottom edge or gluing on adornments such as feathers or sequins.
Video of the Day
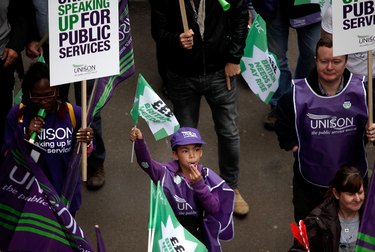
Cloth Banners

As a rule, the heavier the fabric the better for durability in a banner you plan to use multiple times. But if children will hold the banner, a lightweight fabric, such as felt, is durable but easier to carry than canvass or heavy cotton. Use either fabric paint or foam, with spray on adhesive, for letters and pictures. To attach a fabric banner to a dowel, use either fusible adhesive to create a sleeve for the banner, or sew tabs onto the top of the banner for the dowel to slide onto.
Clothesline Banners
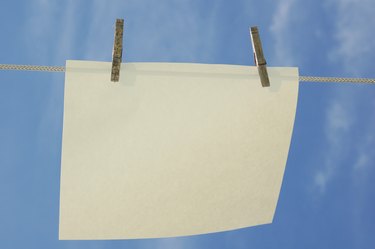
With a clothesline banner, made either from paper or fabric, each individual letter hangs separate from one another. You will still need large letters and a dowel as well. If you use bright colors and sparkle from glitter, letters alone make an eye-catching banner, but you can also attach other objects or pictures between the words on the banner or on either side of the words. For a green St. Patrick's day banner, for instance, hang shamrocks and pots of gold on either side of the message.
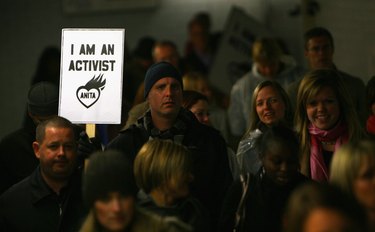
Individual Banners
For banners carried by one person, you need an organization name or message that is short, so the onlooker can read the banner easily. Individual banners also need the greatest color contrast of any banner; Use a bright, primary color like red or green and paint letters in either black or white. Individual banners can either carry an entire word or can consist of just one letter, with the word coming together as the individual banner holders walk along side-by-side.