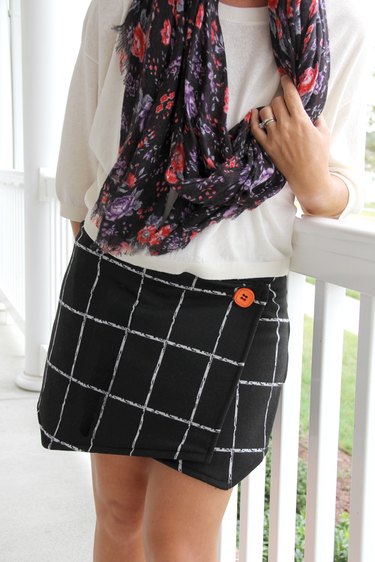
Turn any pair of shorts into a skort in no time! All you need are some basic sewing skills and fabric, and you can make this adorable asymmetrical wrap skirt that is totally on trend for fall. A perfect wrap front skort DIY that will have you stepping out in style, while amazing your friends with your mad sewing skills. If only they knew just how easy it was to make.
Got shorts? Let's go...
Video of the Day
Video of the Day
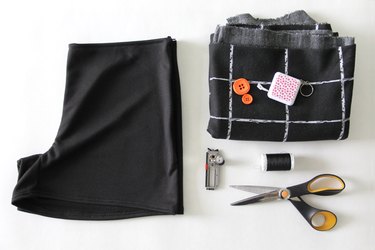
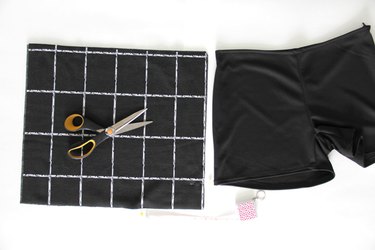
Things You'll Need
1 pair of shorts
1 yard coordinating mid-heavyweight fabric
2 buttons
Coordinating thread
Rotary cutter or scissors
Pins
Measuring tape
Sewing needle
Buttonhole foot
Sewing machine
Tip
The sewing needle should match the fabric being used. For example, for knit fabrics use a ball point needle, and for woven fabrics use a universal regular point. Size of needle should always be determined based on the weight of your fabric; 90/14 or 100/16 are recommended for this project. Shorts can have either a side zipper or front zipper opening for this refashion. For the best results, try to choose a pair of shorts that are not too bulky, and have a nice slim fit.
Step 1: Measure Shorts
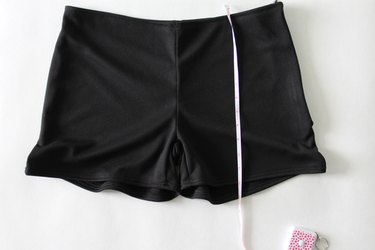
Lay your shorts out nice and flat on a smooth surface. Grab your measuring tape and, starting at one side seam, measure the width of the shorts to the opposite edge. Record your number; this will be called your 'Skirt Width.'
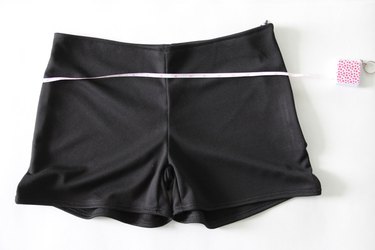
With your shorts still nice and flat, measure the length from the waistband to 3 inches below the hem. Record this number; it will be called your 'Skirt Length.'
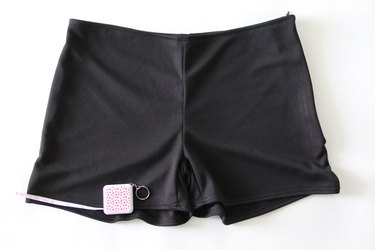
Lastly, measure your leg opening from the side seam towards the crotch, stopping at the halfway point. Record this number as the 'Asymmetrical Point.'
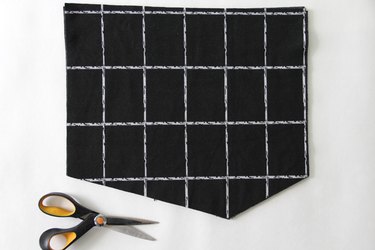
Step 2: Cut Wrap Skirt Pattern Piece
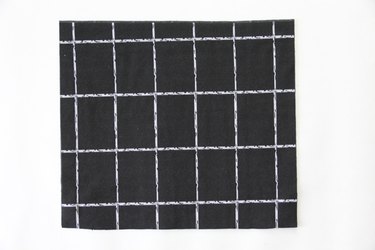
Cut four rectangles of fabric to your skirt width by your skirt length measurements. When cutting, it is helpful to use pattern weights to ensure that the fabric doesn't shift. These will be your 'wrap skirt' pattern pieces.
Lay your shorts next to a wrap skirt pattern piece, lining up the side seam of your shorts with the length of your wrap skirt. The top of your wrap skirt should be level with the top waistband of your shorts. Using a pin, mark where the hem of your shorts measures in length on your wrap skirt on both sides of the wrap skirt. Then, along the bottom of your wrap skirt measure in from one side and mark where your asymmetrical point measurement lands.
Place all four wrap skirt pattern pieces on top of each other, with two right side up, and two wrong side up (this will ensure that you have mirror image pattern pieces for an exterior and lining). Cut out the hem of your asymmetrical wrap skirt pattern pieces, using a rotary cutter or scissors. Cut a straight line from one side pin down to the asymmetrical point, then back up to the other side pin.
Step 3: Sew Wrap Skirt
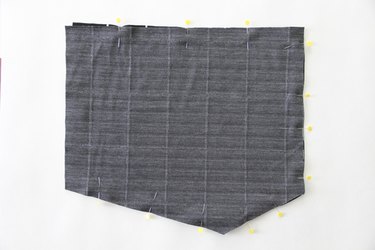
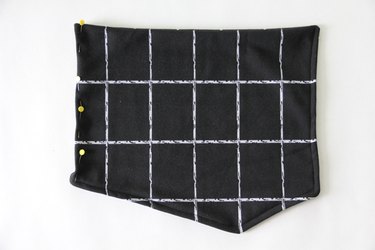
Place two wrap skirt pattern pieces right sides together, matching up all seams. Pin around the top, one side edge, and the bottom. Sew using a 1/2-inch seam allowance. Repeat for the other two wrap skirt pattern pieces.
Clip all pointed corner edge seams, being careful not to cut through your stitches. This will ensure that the wrap skirt edges lay nice and flat.
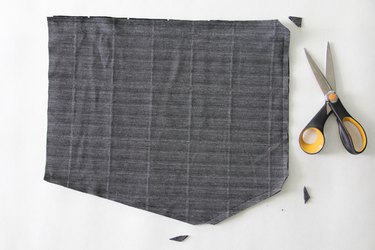
Turn the wrap skirt pieces right-side out, using a finger or blunt pointed object to push out edges. Press. Sew around all seams with a straight stitch 1/4 inch away from seam to topstitch.
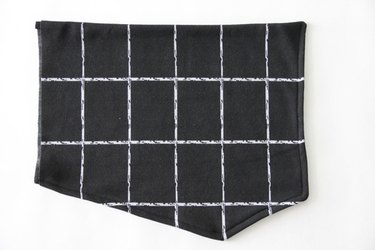
Turn your raw skirt side seam 1/2 inch toward the wrong side and pin in place. Sew a straight stitch down the edge to secure. Repeat for both wrap skirt pattern pieces.
Step 4: Sew 1 Side of Wrap Skirt to Shorts
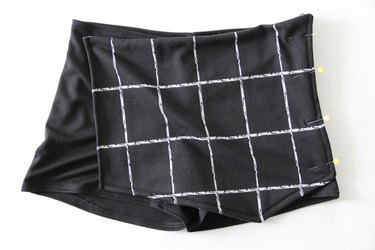
Place one of your wrap skirts along the side seam of your shorts, right-side up. The side of the wrap skirt being pinned should be the one closest to the asymmetrical point. Pin the side of the wrap skirt to the side of your shorts, lining up the skirt with the side seam of your shorts, making sure to pin only through the top layer of your shorts. Sew skirt to side of shorts, sewing as close to the wrap skirt side seam as possible with a 1/8-inch seam allowance.
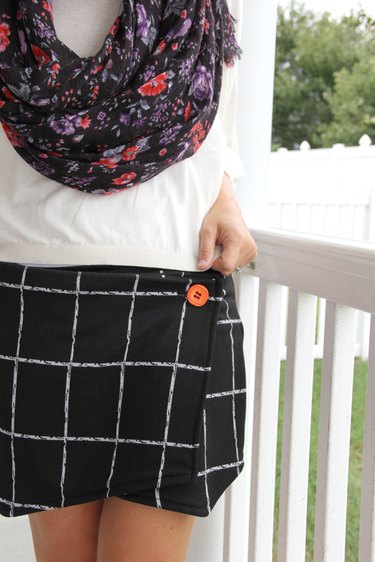
Step 5: Sew on One Button and Buttonhole
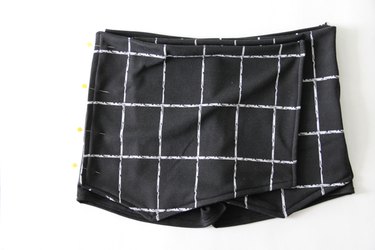
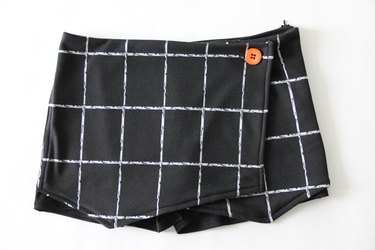
Press the skirt nice and flat along the top of your shorts. Grab one of your buttons and determine where you would like it to sit on the open flap side of your wrap skirt (Note: 1 inch from the top corner of the skirt is a good position). Mark where your button is sitting, by placing two pins along the side edges of the button.
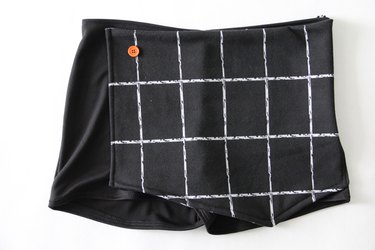
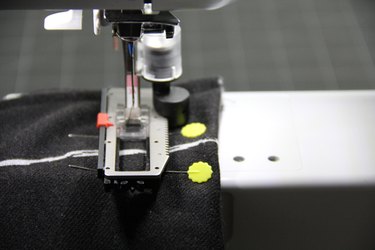
Using your buttonhole sewing foot, sew a buttonhole directly onto the skirt front where marked. Once finished, use a seam ripper to carefully open the buttonhole opening in between your stitched buttonhole lines. Sew a button on with needle and thread directly onto the shorts front, underneath the buttonhole.
Step 6: Sew on Other Side of Wrap Skirt
Line up the remaining wrap skirt pattern piece on the opposite side of the shorts, matching up the side closest to the asymmetrical point with the side seam. Pin in place and sew, using a 1/8-inch seam allowance.
Step 7: Sew on Other Button and Buttonhole
Repeat Step 5, marking where you want your button and buttonhole placement using the two pins on either side of the button for marking. Sew the buttonhole onto the top wrap skirt, and sew the button underneath the buttonhole onto the other side of the wrap skirt.
Step 8: Press
For a clean professional finish, always press your handmade clothes before wear. This ensures that they look their best at all times.
