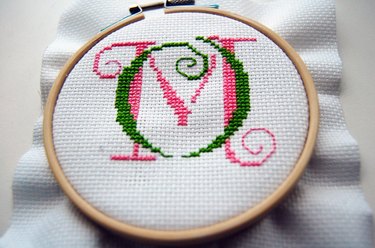
The simplest way to embroider letters is to follow a stencil letter that has been transferred to a piece of cloth. Embroidering letters, especially monograms, add a personal touch to hand towels, pillowcases and even for a simple framed medallion for wall decoration. Hand embroidery requires few tools and is not expensive, just a little time is required.
Things You'll Need
Video of the Day
- Cross stitch canvas / aida cloth (16 count is better for beginners)
- Number 24 tapestry needles
- Disappearing ink pen or washable ink pen
- Plastic letter stencils in font of choice.
- Two colors of 6 strand embroidery floss.
- Embroidery hoop
- Scissors
- Ruler
Video of the Day
Stenciling the First Letter
Cut a piece of canvas slightly larger than your frame. Make sure to trim away excess so you only have a 1/2 inch border remaining - more than this can get caught up in your stitching and become a nuisance.
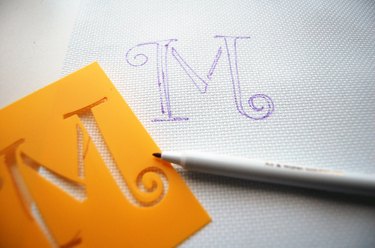
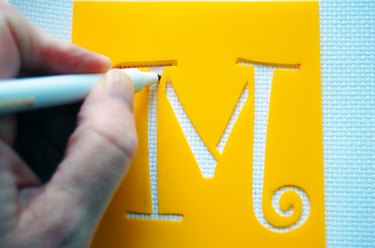
Lay your fabric flat on a hard work surface. Center the stencil on the fabric and trace the stencil with the disappearing ink pen.
Step 1: Stenciling the Second Letter (for a Monogram)
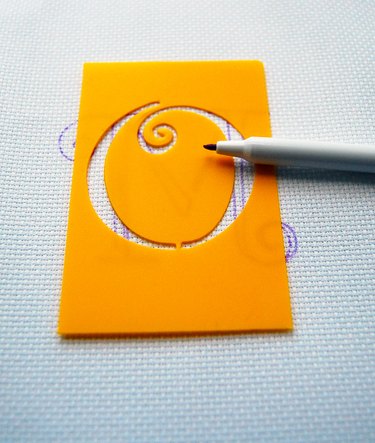
After stenciling the first letter, lay the second letter centered over the first letter. Generally, you can eyeball this, but use a ruler if it makes you more comfortable.
Mark the center of the stencils at the top with a permanent pen, then mark the center of the first stencil on the fabric with the disappearing ink pen and line up the second stencil to the mark.
Step 2: Start Stitching
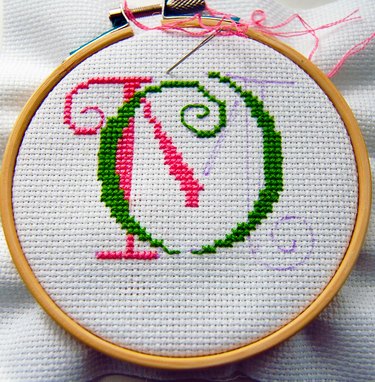
Stitch the second letter first as it will be the dominant initial. Choose two colors in high contrast to each other, such as pink and green or red and black, so that each letter is distinct and easy to read.
Cut a 12-inch length of floss from the skein. Separate two threads from the six and thread the needle. Tie a knot at the end. Starting at the bottom of the letter and working your way up, begin filling in the letter with little x-shaped cross stitches. When the letter curves, you will need to stitch the cross stitches in step with the curve. Occasionally you will only make a half stitch or a series of running stitches to match the line of the curve.
When you have completed a thread, leave a long enough tail (6") to weave into the back stitches and start a new line of thread.