Things You'll Need
fabric
thread
scissors
sewing ruler
sewing machine
iron and ironing board
Optional: serger
Optional: point turner
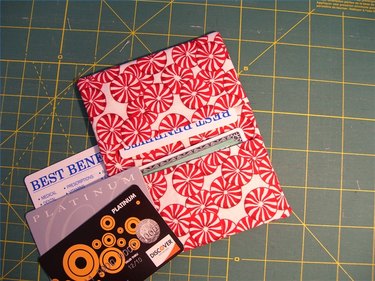
Gift cards are a popular gift to give and to receive. However, wouldn't it be nice to personalize a gift that's a little impersonal? Plus, this gift card holder can be reused or recycled for business cards or as a small wallet. It's truly the gift that keeps on giving! In the following tutorial, there are step-by-step directions with photos.
Step 1
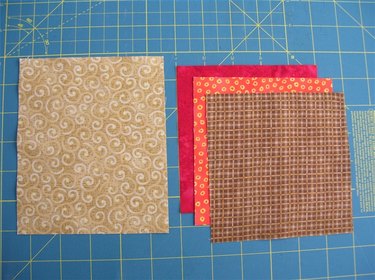
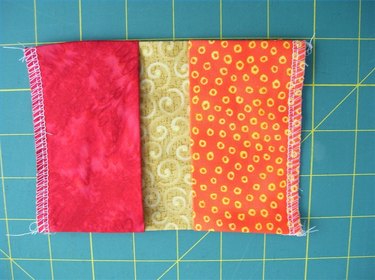
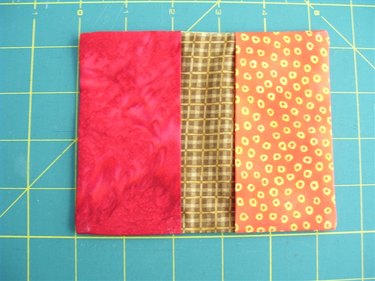
Cut your fabrics, as shown: the card holder's outside is 5" x 6" (shown on the left); the other 3 pieces are all 5" x 5" squares (shown on the right). For illustration purposes only, 4 different fabrics are shown.
For the finished sample shown at the top of this article, we used 1 piece of fabric with a black background, which was 5" x 6" (see last image), and 3 coordinating fabric pieces with a white background, which were 5" x 5" each. Use coordinating fabrics for your project.
Video of the Day
Step 2
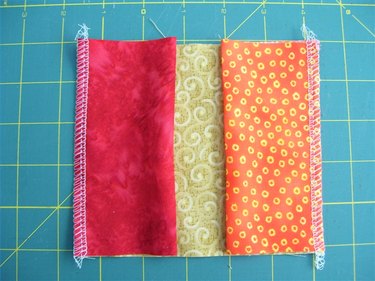
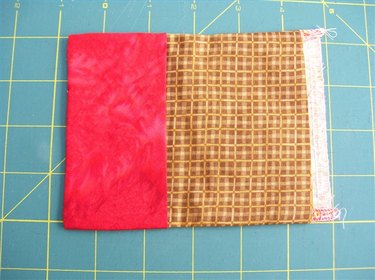
Fold two of the 5" x "5 squares in half, WRONG sides together. Lay the folded squares on right side of the 5" x 6" fabric. Serge or stitch both ends.
Step 3
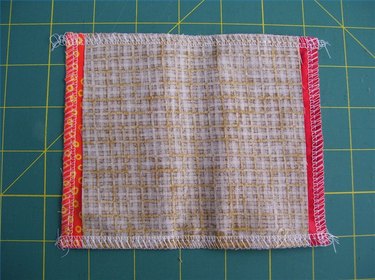
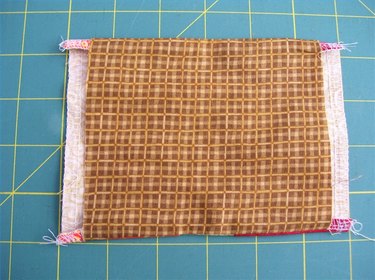
Center the last 5" x 5" square on top of the previously stitched fabrics (right sides together). This is an approximate center; it is not precise. The raw edges of this last piece will match up or meet the raw sides of the other fabrics, but it will NOT meet the stitched ends. Serge or stitch both sides.
Step 4
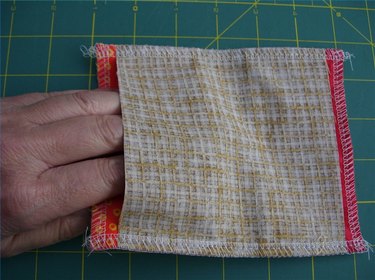
You're done sewing! Now, it's just a matter of turning and pressing. Reach in-between the last piece of fabric and the first three pieces of fabric; turn, as shown.
Step 5
Press side seam allowances in (toward the project).
Step 6
Turn project over and double-check your stitching.
Step 7
Then, turn one of the folded squares right-side out. For crisp corners, use a point turner on each corner. Press. (The lining is shown in the photo below.)
Step 8
Repeat for the other folded square. Press.
Step 9
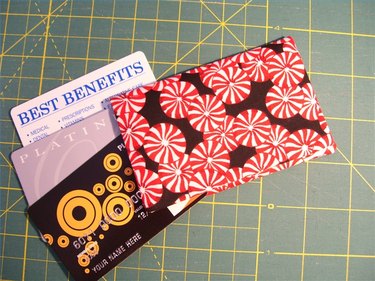
Insert a gift card (or two), and fold closed. Now you've ready to go with a custom-made present that not just another gift card!
Tip
For your first gift card holder, do not use fabric with directional prints. Use fabrics with all-over prints until you are comfortable with cutting, folding & stitching. This gift card holder can also be made with remnants from other projects. So, you can make a coordinated wallet (instead of a gift card holder) and matching purse or tote bag.
Warning
Always be careful with sharp notions like scissors and heated tools like irons.
Video of the Day