Things You'll Need
Memory wire
Measuring Tape
Memory wire shears or wire cutters
Beads or gemstones 6mm or 8mm (53 for the Hail Mary and 6 for Our Father)
Spacer beads (seed beads)
A Crucifix and Miraculous Medal
Needle-nose pliers
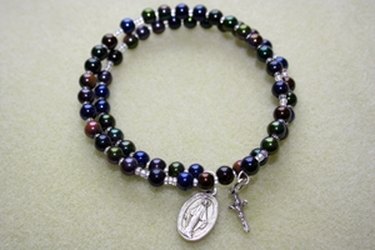
A rosary is a prayer tool that helps us to meditate on the life of Jesus Christ while articulating a background "soundtrack" of Our Fathers and Hail Maries. Rosaries are made in different ways; one of my favorite is the coil memory wire wrap rosary bracelet. The coil memory wire wrap rosary bracelet is a fun project to make on your own or with older children. They make a perfect gift for First Communion, Confirmation or Christmas.
Step 1

Extend the memory wire along with the measuring tape and measure about 18 inches. I find it helpful to stick one end of the memory wire through the metal hole at the beginning of my measuring tape making sure the wire extends over the front side of the measuring tape.
Video of the Day
Step 2

Use the wire shears or wire cutters to cut the memory wire. Depending on the type of beads or gemstones that you are using you might need a little more or a little less wire. There is a bit of trial an error into this so don't be afraid to experiment.
Step 3
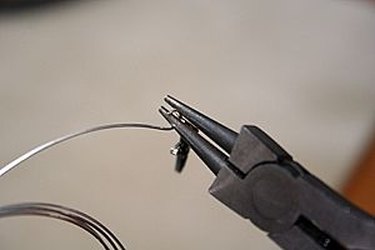
Take one end of the memory wire and insert the crucifix. The crucifix should be facing towards you. Take the needle-nose pliers and with the wire end curving downwards take the end with the pliers and start making a loop backwards making the wire go upwards. Make sure the crucifix stays within the loop you are creating. Close the loop by making the wire tip touch the rest of the wire and tighten. This part might be tricky because if you tighten the wire too much it might break. Again, experiment.
Step 4

On the other end of the wire insert a bead and slide it all the way until it touches the loop you created on step two. This will be our beginning Our Father bead. Ad three spacer beads. Then ad one bead, one spacer bead, another bead, another spacer bead, and another bead and three spacer beads. That completes the first three Hail Maries before starting the reflection on the Mysteries.
Step 5
Continue working for each Mystery by adding one bead and tree spacer bead for the "Our Father" and then a bead and a spacer bead for each of the ten Hail Maries. Finish with 3 spacer beads before the next Mystery Our Father bead. In the end you should have 5 sets of 1 our Father bead and 10 Hail Mary beads. The last set ends on the last Hail Mary bead.
Step 6
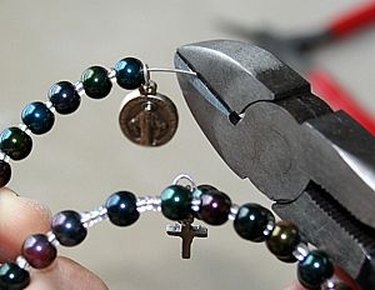
Insert the Miraculous Medal facing the same way as the crucifix after your last Hail Mary bead. Count again to make sure you have the right amount of sets and the right amount of beads per set.
Step 7
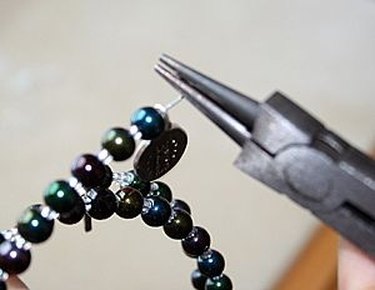
Take the needle-nose pliers and with the wire turning downwards bend the wire end upwards and backwards to make a loop making sure the medal is caught in the loop (just like the crucifix on step three). Make sure to take good hold of the beads so they do not fall out during the loop making. Also make sure that the tip of the wire is well tucked in touching the rest of the wire.
Tip
Have your wire tip point upwards when inserting the beads to prevent your beads from sliding back out of the wire Work on each set, count the beads to make sure it is complete and then slide it to the back towards the loop.
Warning
Make sure to try to avoid leaving sharp wire ends un-tucked as they can scratch your wrist when wearing the bracelet.
Video of the Day