Things You'll Need
Level
Pencil
Drill
Drill bit set
Faucets
Pipe wrench
Plumber's tape
Sink basket
Screwdriver
Toggle bolts (optional)
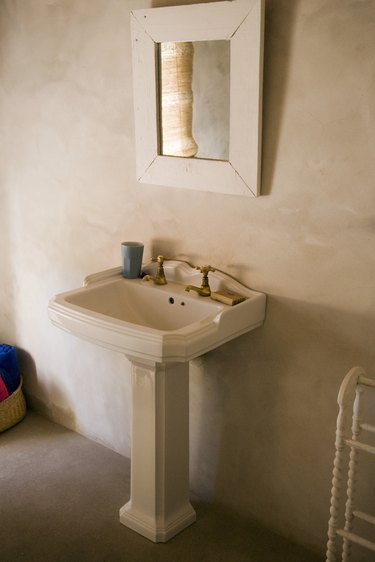
Installing a Kohler pedestal sink is a space saver in smaller bathrooms or in bathrooms where you desire a vintage or antique appearance. Kohler pedestal sinks do not have large vanity countertops to install so the installation process is not much more difficult than hanging an object on the wall. Because of the weight of the sink basin and pedestal, it is a good idea to enlist the help of a second person for to help make this installation easier.
Step 1
Place the vertical pedestal post against the wall over the drain and water lines. Position the Kohler sink basin on top of the pedestal post. Ask a second person to check the top of the sink basin with a level to ensure the sink rests in a level position.
Video of the Day
Step 2
Mark the mounting holes for the sink and pedestal onto the wall with a pencil and then place the pedestal and sink basin of to the side.
Step 3
Drill pilot holes into the wall at each marked location. If the hole will not go into a stud, drill a hole large enough for a toggle bolt. If possible, however, position the sink so all of the mounting holes go into studs. This is the ideal situation.
Step 4
Attach the faucets to the sink basin with the hardware supplied with the faucet. In most cases, a pipe wrench helps to tighten the plastic retaining nuts to the threaded posts on the faucet.
Step 5
Connect the hot water and cold water supply lines to the threaded posts on the faucet with your pipe wrench.
Step 6
Place plumber's putty around the hole in the sink pedestal and then attach the sink basket to the basin with the pipe wrench. Wipe away excess plumber's putty with a rag.
Step 7
Attach the sink basin to the walls with the supplied screws and/or toggle bolts.
Step 8
Attach the downpipe extending from the sink basket to the S-trap extending from the floor or wall. Tighten the compression nut on the S-trap as tight as you can by hand.
Step 9
Place the pedestal over the plumbing and against the wall. Secure it into place with the supplied screws and/or toggle bolts.
Video of the Day