Looking for the perfect DIY gift? You can make a pair of cozy, warm, fleece lined mittens from a couple of outdated sweaters in under an hour. I like to call these "Smittens." Your friends and family will love receiving a unique pair of earth friendly, handmade Smittens this holiday season.

Video of the Day
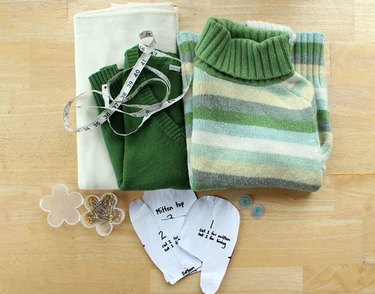
Things You'll Need
Two coordinating sweaters
1/4 yard of fleece
Buttons
Measuring tape
Pins, needle, thread
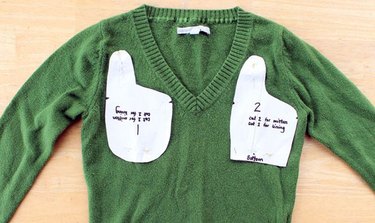
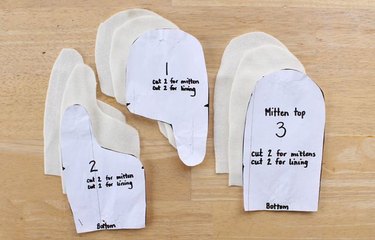
PDF mitten patterns (Mittens Pattern 1 and Mittens Pattern 2)
Cut off one of the sweater arms to use for the mitten top.
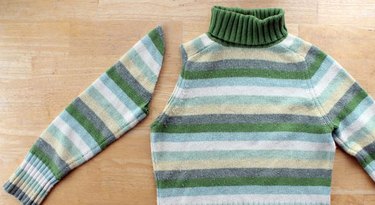
Pin and cut two mitten tops (pattern piece #3) from the sweater sleeve. If you're using a striped sweater, be sure to match the stripes.

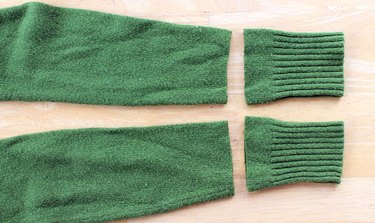
Cut 4 inches off the bottom of each coordinating sweater sleeve. Set these aside for later to use for the mitten cuffs.
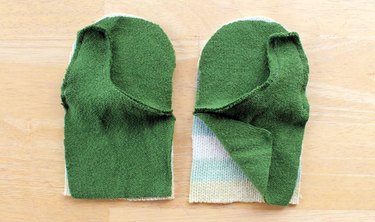
Pin and cut two pieces of pattern piece #1 and pattern piece #2 from the coordinating sweater.
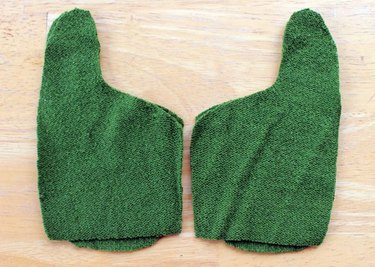
Your outer mitten pieces will look like this. It's a good idea to lay them out this way to ensure you will end up with a right and a left mitten.
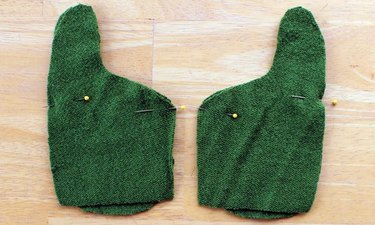
Place the right sides together like the photo. This is very important so you don't end up with two left thumbs.
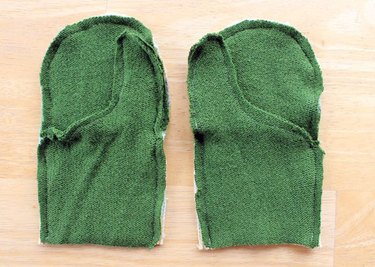
Pin together matching the marks on the pattern. Start at one pin and sew around the mitten to the other pin with a 1/4 inch seam allowance.
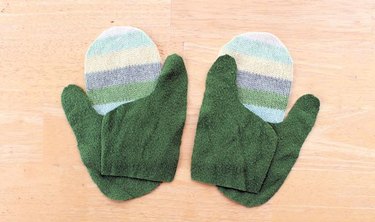
Open this piece and place it on the mitten top piece with right sides together.
Pin and sew around the outside edge of the mitten with a 1/4 inch seam allowance. Leave the bottom open.
Repeat this process with the fleece lining pieces.
Turn the lining right side out and place the cuff over the bottom edge of the lining with right sides together. Line up the raw edges and sew a 1/4 inch seam around the bottom edge of the mitten lining.
Turn the fleece lining inside out.
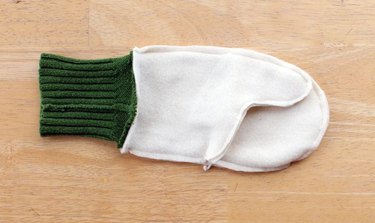
Place the lining on your hand.
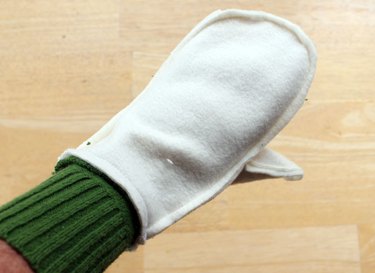
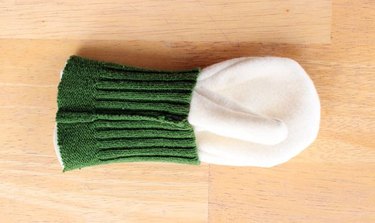
Turn the outside of the mitten right side out and slide it over the lining so now wrong sides are together.
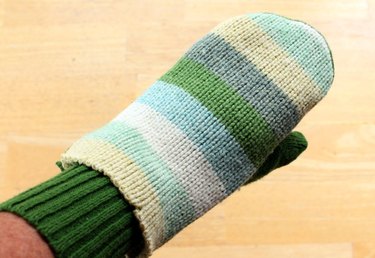
Fold the cuff up over the raw edge and attach with a button.

And now you have the perfect, inexpensive, DIY gift- a unique pair of warm and toasty Smittens.