Things You'll Need
Sewing machine
Straight pins
Thread
Iron
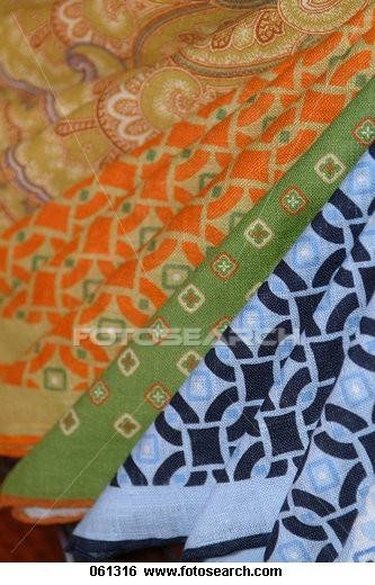
Handkerchiefs have been used for years to wipe runny noses. People carry them in their pockets and use them as needed. Handkerchiefs are also tied around the head as a sweat catcher. Maybe you've seen handkerchiefs tied around the face of a cowboy in an old Western movie? Handkerchiefs serve more than one purpose. They are usually made from a thin, lightweight cloth, easy to fit in a pocket, but occasionally they are made thicker and larger. Hemming a handkerchief is easy no matter what the size. There are only four sides with four edges to hem.
Step 1
Lay your handkerchief out on a table. Iron it flat and smooth.
Video of the Day
Step 2
Fold one side up 1/4-inch. Iron it flat. Fold the same side up another 1/4-inch. Iron the hem flat and pin in place.
Step 3
Fold the remaining three sides exactly the same way, ironing the hem-lines flat and pinning them in place.
Step 4
Thread the needle on your sewing machine. Place the handkerchief under the needle with the needle lined up 1/8-inch in from the edge. Drop the foot.
Step 5
Run the sewing machine along the line until you get 1/8-inch away from the end. Lower the needle, lift the foot, turn your handkerchief perpendicular so it is going in another direction.
Step 6
Continue the procedure until you've sewed all four hem-lines. Remove the pins.
Tip
Handkerchiefs come in many different shapes and sizes. They are usually small and convenient, but you can create your handkerchief to be any size you choose. You can also make your hem as big or small as you want.
Warning
Pin the corners carefully to make sure they stay square while sewing.
Video of the Day