Rubber stamps are a great way to personalize stationary and add fun textures to scrapbook pages, but purchasing individual stamps can get expensive - fast! Making your own stamps is a lot easier than it looks and you can customize the size of the stamp to fit your project from gift tags to tote bags!
Video of the Day
Things You'll Need
Rubber Erasers
Print Making Block or Rubber Carving Block
Soft lead pencil
Paper
Scissors
Carving Tool and Blades
Cutting Mat
White Labels
Wood Blocks
Ink Pads or Paint
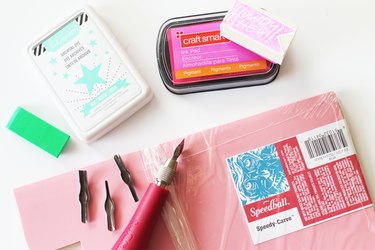
You can buy inexpensive packs of erasers at most dollar stores, but printmaking and carving tools are items you'll need to source from your local craft supply store.
Video of the Day
Warning
The blades used in this project are sharp, so while stamping is safe, the carving part of this project is not recommended for children!
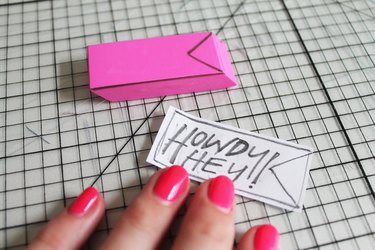
Step 1: Sketch Your Design
Using a soft lead pencil, sketch out your stamp design on a piece of paper and cut out. Leave a 1/8" margin around your design.
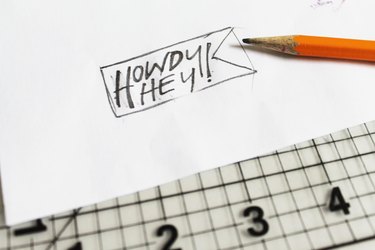
Tip
If free-handing your design proves to be difficult, try creating a design on the computer and printing it out. Just remember to reverse the image so letters stamp in the proper orientation!
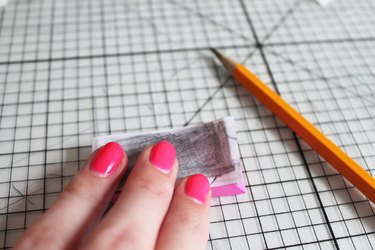
Step 2: Transfer Design
Center your design on the eraser or rubber block, sketch side down, and, using a pencil, rub the surface of the paper to transfer the image. If your design includes words or numbers your design will be mirrored.

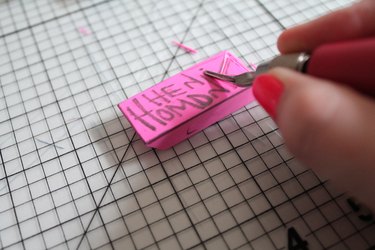
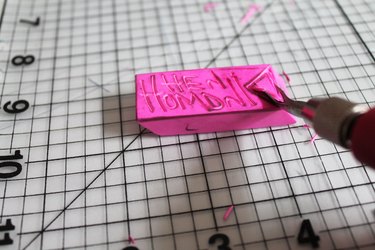
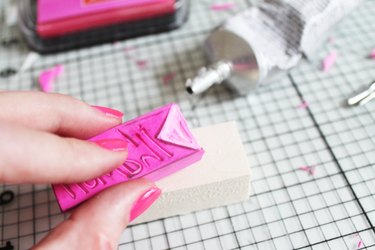
Step 3: Carve Design
Using the appropriate size blade for your design, carefully carve away the negative space that is not part of your stamp design. Remember that you can't undo what you carve out, so go slowly and switch to a smaller blade for small details.
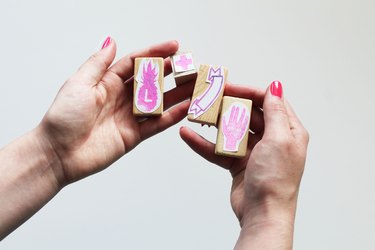
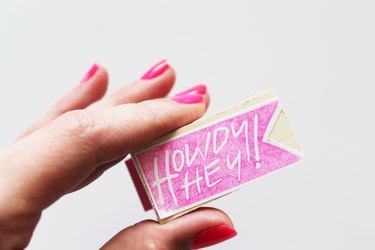
Step 4: Attach to Block
After you're done carving, attach your finished stamp to a wood block with a strong adhesive. Adding a wood block helps to distribute pressure evenly, ensuring a clean print with every stamp. Debut your stamp on a blank label and affix it to the top of your stamp for easy identification!
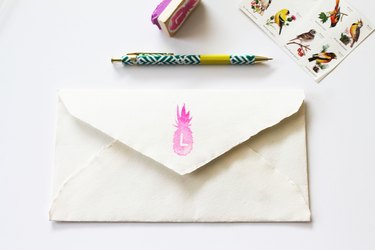
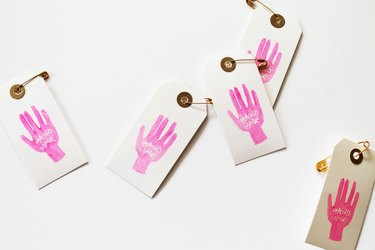
Step 5: Stamp
Test your stamp on a piece of scrap paper and clean up any edges or missed spots. You can use your stamps on paper or fabric, just be sure to use the right inks or paints for the material!
Try making return address stamps as housewarming gifts, stamped wrapping paper or create a logo stamp for your small business! Have ideas for us? Leave them in the comments below!