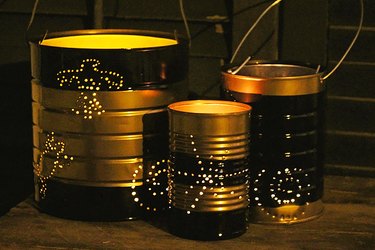
Lighting plays an essential role in setting the mood for any event or space. Rather than tossing your tin cans in the recyclable bin, gather them up and turn them into radiant backyard luminaries. Whether you're decorating a wedding venue or entertaining outdoors, these charming homemade lanterns are sure to create a relaxing and cozy atmosphere.
Video of the Day
Things You'll Need
Tin cans
Sandpaper (any medium grit)
Stencils
Tape
Nail
Hammer
Spray paint
18-gauge wire
Wire cutters
Newspaper or scrap paper (optional)
Pliers (optional)
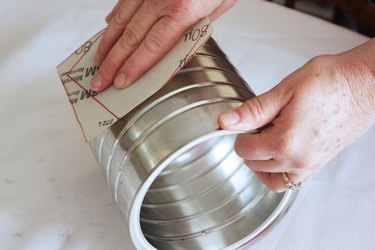
Step 1
Lightly sand the tin cans until they are no longer glossy. This creates a rough surface to which the spray paint can adhere. Be sure to wear eye protection while sanding.
Video of the Day
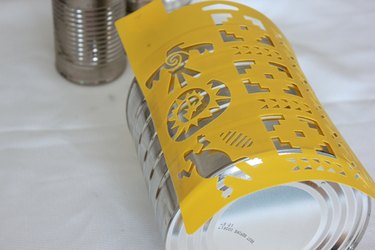
Step 2
Tape your stencil onto the can. Plastic stencils work best because they are less likely to slip once taped down, but you can also print a design from your computer, cut it out and tape that down to use as a stencil.
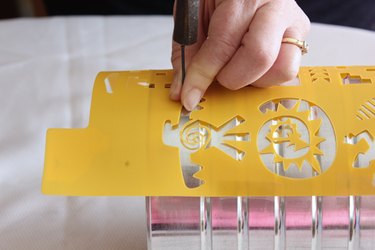
Step 3
Begin punching holes in your tin by gently tapping the nail into the tin with the hammer -- tap along the outline of the stencil. Do not hit the nail too hard or you may dent your can. In addition to your design, use the nail and hammer to puncture a hole at the top of both sides of the can. These holes will be used to attach the wires needed to hang the lanterns.
Tip
If your tin is extra thin, fill it up with water and let it freeze overnight before punching holes in the can. The ice will keep the can from denting when you tap the nail into it.
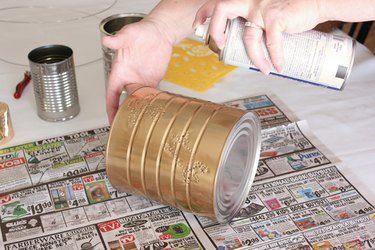
Step 4
Take your cans outside or to a well-ventilated space, cover your work area with newspapers and apply a thin coat of spray paint. Allow the paint to dry completely and add another thin layer of spray paint. Painting in thin, light coats prevents paint drips.
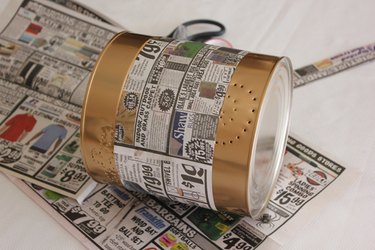
Step 5
To add decorative stripes to the can, cover the sections you wish to keep the original color by taping a strip of paper around the can.
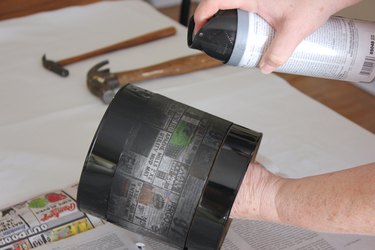
Step 6
Apply a thin coat of the second color. Allow the paint to dry and apply a second thin coat. Let the paint dry completely before removing the paper and tape. Spray paint in a well-ventilated room or outside if possible.
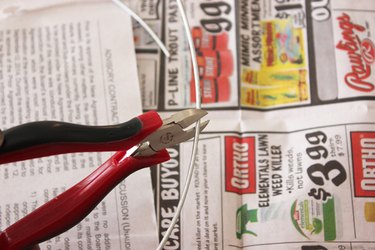
Step 7
Using your wire cutters, trim the wire to create handles for the lantern. The length of wire needed will depend on the diameter of your cans and how low you want them to hang. In general, they should be between 1-foot to 2-feet long.
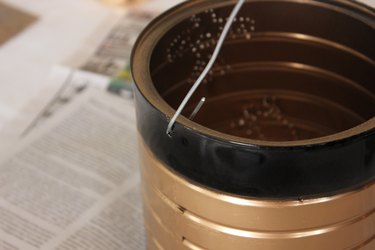
Step 8
Thread the wire through the hole you created near the top of the tin. Pinch the wire closed with your fingers or use pliers. Shape the wire into a curved handle and thread the other end into the hole on the other side of the can, pinching it closed.
Step 9
Place candles in the center of the cans and find the perfect spot to display your new luminous lanterns.