Things You'll Need
Button
Thread
Needle
Needle threader
Thimble
Scissors
Losing a coat button can leave you exposed to the weather. Replacing the button isn't difficult, and many coat manufacturers include one or more spare buttons, especially if the coat uses more than one button size or style. Check the pockets and the inside lining for the extra buttons. Some are placed in a plastic bag in the pockets and others are sewn discretely inside the front or side of the coat. Some button packets include matching thread, which makes button replacement easier.
Step 1
Retrieve the button that fell off or a spare, if you have it. If not, take the coat to a large fabric store to try to match the existing buttons. Use the buttons on the coat to match the appropriate size if you must replace all the buttons to make them match.
Video of the Day
Step 2
Match the coat's color when sewing on the new button. Place the end of the thread on the coat fabric, to locate the best match. Use a heavy all-cotton thread -- a 30- or 40-weight thread, for example, if you want durable wear. Check the quilting threads for that type of thread. If you can't find a matching color, use clear filament thread instead.
Step 3
Use a size eight to six sharp embroidery needle to accommodate the heavier thread without snapping. A thimble helps push the needle through the coat fabric if it sticks and can prevent needle pricks.
Step 4
Cut about a 24-inch length of thread per button. Use a needle threader to pull the end through to needle eye to prevent fraying the edge. Approximate the two ends of the thread together and tie the ends in a tight medium knot to prevent the thread from pulling out of the coat.
Step 5
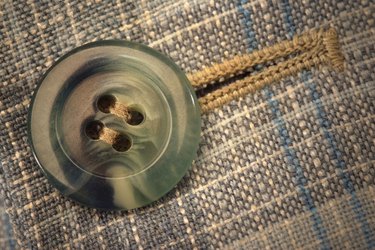
Observe the other buttons and see how they are sewn. If the button has more than two holes, replicate the existing thread pattern. Buttons without holes have a shank or loop on the underside, and each stitch wraps securely through the shank. Insert the needle in the original button location, coming from the wrong side of the coat to the outside of the coat so your knot is on the inside. Slide the needle through the button's thread holes, replicating the thread pattern and centered over the original location before pushing the needle back through the fabric. Pull the thread firmly, but not so tight as to break the thread, keeping the thread smooth and untangled.
Step 6
Push the needle back through the coat near where you took your first stitch, moving the end of the needle around if you don't initially hit the hole. Continue to make each stitch until the button feels secure and looks like the other buttons on the coat. End your last stitch with the needle on the inside of the coat.
Step 7
Pass the needle under the previous button threads and tie the knot securely around the thread to better secure the threads. Tie two to three knots in a similar fashion before clipping the thread behind the final knot.
Tip
If the thread won't be visible, use dental floss instead of sewing thread to make your buttons more secure.
Video of the Day