Things You'll Need
Eggs
Powdered sugar
Medium mixing bowl
Whisk or hand-held beater
Small mixing bowl
Almond flour
Whole milk, optional
All-purpose flour
Rolling pin
Butter
Baking pan
Parchment paper
5-inch circular cookie cutter or medium-size bowl
Pastry brush
Sealable container
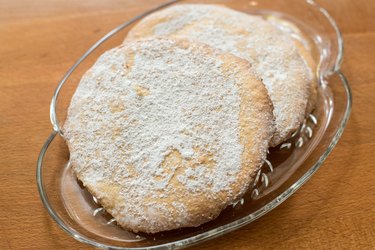
Oblaten wafers are a German delicacy commonly bought pre-made for use in cookie recipes or to eat with coffee or tea. They're thin and crisp, and have a slightly sweet nut flavor from the use of almonds in the dough. Homemade oblaten might not be a perfect match to those sold in stores, but you can make them in large batches from the comfort of your kitchen.
Step 1
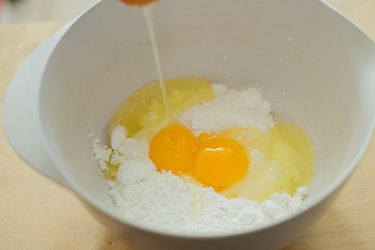
Combine eggs and powdered sugar in a medium mixing bowl; for every 2 eggs, add 1 1/3 cup of powdered sugar.
Video of the Day
Step 2

Blend the eggs and powdered sugar with either a whisk or a hand-held beater on low until the mixture is silky smooth. In a separate, smaller mixing bowl, set aside a few tablespoons of the egg and sugar blend for each 2 eggs you used.
Step 3
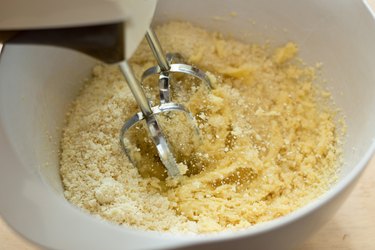
Add almond flour to the larger bowl containing the majority of the egg and sugar blend in an amount equal to that of the powdered sugar you used. Use the whisk or beater to blend the almond flour with the egg mixture until a ball of dough forms. Add a splash of whole milk to the batter if it is crumbly instead of smooth.
Step 4
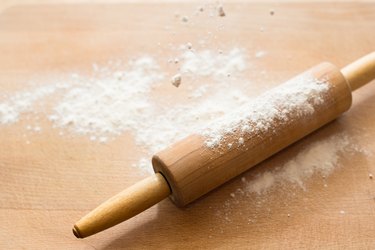
Dust a flat work surface and a rolling pin with all-purpose flour.
Step 5
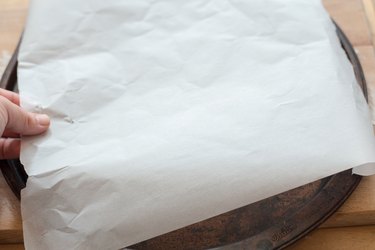
Spread a thin layer of butter over a baking pan and then place a sheet of parchment paper over it. Set the pan aside.
Step 6
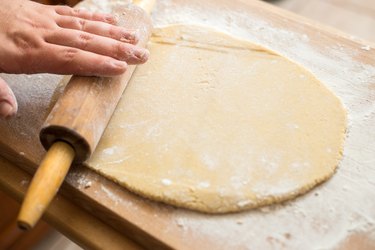
Roll the dough out until it is an even layer less than 1/3 inch thick, adding more flour as needed to prevent sticking.
Step 7
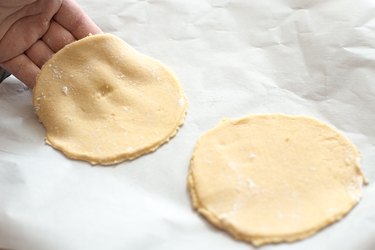
Use a circular cookie cutter with at least a 5-inch diameter, or a medium-size upside-down bowl, to cut wafers from the sheet of dough, and then transfer them to the parchment-lined baking sheet.
Step 8
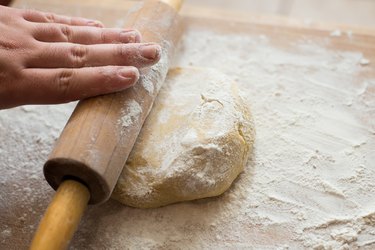
Roll out the excess dough and then cut more oblaten from it. Repeat this process until you have used all the dough.
Step 9
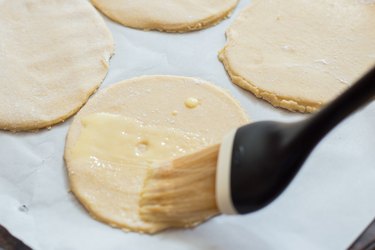
Preheat the oven to 325 degrees Fahrenheit. While it preheats, use a pastry brush to brush a layer of the egg and sugar blend you set aside earlier over each of the oblaten.
Step 10
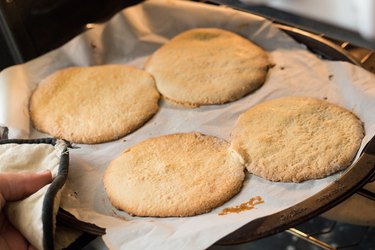
Bake the oblaten until they begin to brown slightly on the edges, which should take about 15 minutes, and remove them from the oven.
Step 11
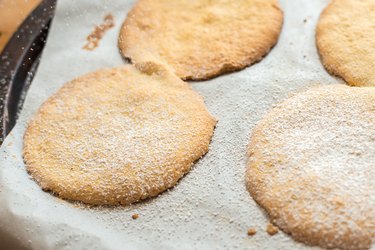
Dust the still-hot oblaten with powdered sugar and then wait at least 20 minutes for them to cool.
Step 12
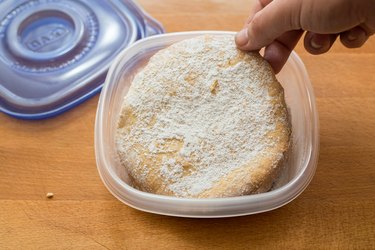
Serve the oblaten immediately and store any uneaten ones in a sealed container.
Tip
For crunchier oblaten, substitute 1/5 of the almond flour with chopped almonds.
Video of the Day