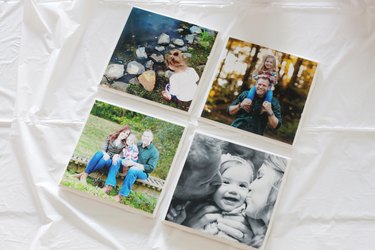
These photo tile coasters are simple to create and will allow you to protect your furniture and display meaningful photos at the same time. In just a few easy steps, you'll be able to take photos from your smart phone and turn them into a piece of art that everyone can enjoy.
Things You'll Need
4-inch square ceramic tiles, 4
4-inch square photos, 4
Scissors
Decoupage medium
Foam brush
Large piece of cardboard
6 disposable plastic cups
Level
Polymer compound (8-ounce kit)
Plastic spoon
Small piece of cardboard (approximately 2 inches square)
Straw
Dish towel
Straight-edge razor blade
Hot glue gun
4-inch square cork coasters, 4
Step 1:
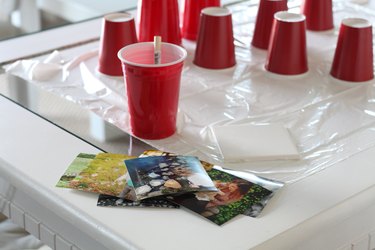
Cut your photos down to size, 4 inches by 4 inches. Instagram photos work well for this project because they are already the perfect dimensions. Most photo labs do not offer a 4-inch option, so when you get them printed, choose the 4-by-6-inch option and trim off the excess. You can also use a regular 4-by-6-inch photo, cut down to size.
Video of the Day
Tip
Scrapbook paper, wrapping paper or even fabric would work for this project as well.
Step 2:
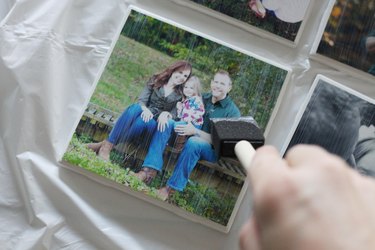
Use a foam brush to apply a thin layer of decoupage medium to the back of the photos. Then adhere the photos to the top of the ceramic tiles. Cover with another thin layer of medium. Cover the edges completely to create a quality seal over the picture. Allow the glue to dry thoroughly.
Step 3:
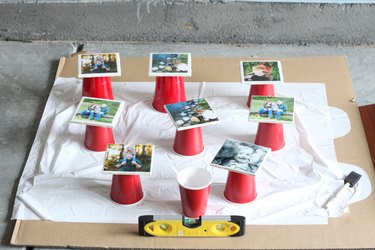
Lay out a large piece of cardboard to protect your work surface. Place your photo tiles on top of upside down plastic cups to elevate them. Use a level to double-check that your surface is even.
Step 4:
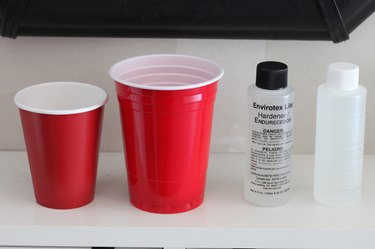
Prepare your polymer compound. The compound comes with two separate bottles. One is a resin and one is a hardener. Pour 1 ounce of the resin and 1 ounce of the hardener into a paper or plastic cup and stir well with a plastic spoon. To ensure the compound is throughly mixed, pour this mixture into another clean plastic cup and stir again.
Video of the Day
The proportions of the resin and hardener need to be as equal as possible. To help with this, you can create your own measuring device. Start by measuring out 1 ounce of water in a glass measuring cup and pouring it into a clear plastic cup. Then draw a black line with a permanent marker on the outside of the cup at the top of the water line. Pour the water out and then use this cup to measure out your resin and hardener.
Tip
If you want to make several coasters at once, just increase the amount of resin and hardener. Approximately 1 ounce of resin and 1 ounce of hardener will cover four coasters.
Step 5:
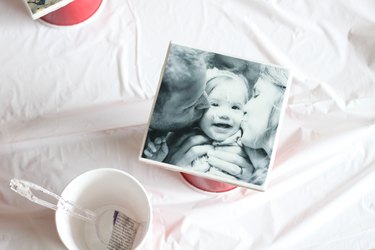
Gradually pour the mixture over each of the photo tiles, generously covering each one. Spread it around gently with a small piece of cardboard to ensure even coverage. You can also try using the back of the plastic spoon you used for mixing. You'll want the mixture to drip over the edges to ensure the top is completely covered. Work as quickly as you can, as the mixture will harden over time.
Step 6:
After the mixture has set for a few minutes you will notice small bubbles starting to form. Use a straw to blow gently on the surface of the tile. The carbon dioxide in your breath will pop the bubbles. Allow the finish to cure for at least 72 hours.
Step 7:
Next, lay down a towel to protect your work surface and the front of the photo tile. Then, turn the tiles over and remove the small drips from the back of the tile using a straight-edge razor blade. Apply gentle, even pressure when trying to remove the drips. Don't worry about getting it perfect, just get them as flat as possible.
Warning
Always push the razor blade away from yourself, and watch your fingers.
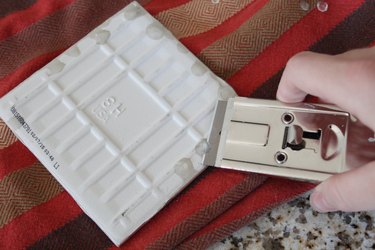
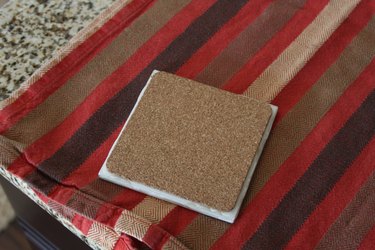
Step 8:
Apply a generous amount of hot glue to each of the cork coasters, and attach one to the back of each of the tiles. It is best to do these one at a time so the hot glue doesn't harden before you have time to attach it. This step is optional, but it gives a nice finished appearance to the back of the coasters.

Step 9:
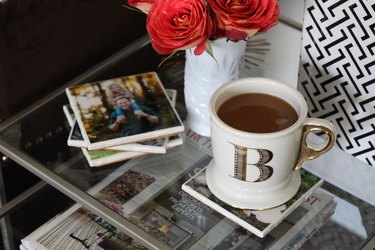
Place your coasters around your home.
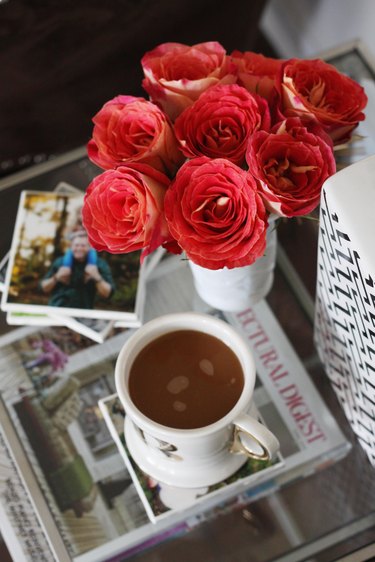
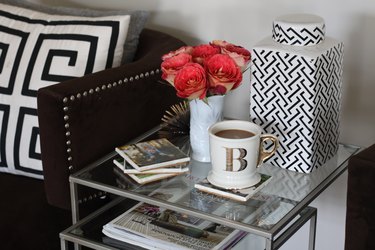
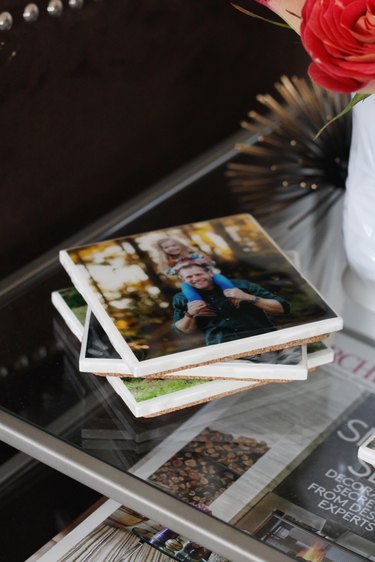
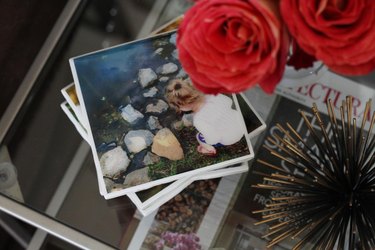
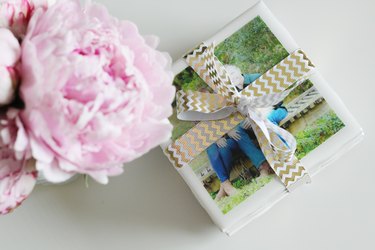
Family and loved ones will enjoy receiving these as gifts. Just wrap them up with some pretty ribbon and you're good to go.