Things You'll Need
Concrete paver
Design
Mosaic tiles
Thinset (grout specially used for adhering mosaic tiles to concrete)
Putty knife
Tile grout
Making a mosaic on a concrete paver is a fun way to dress up stepping stones. Another alternative is making a mosaic on select pavers in your patio. You can draw your design freehand or trace a design on the concrete paver, so your imagination is the limit.
Step 1
Begin with a concrete paver that has your design on it.
Video of the Day
Step 2
Determine what size mosaic tiles you will need. This will vary according to your design, but the mosaic tile should be no larger than the part of the design it is covering.
Step 3
Mix the thinset according to the manufacturer's directions. Thinset is a specially formulated grout that is used for gluing mosaic tiles to concrete surfaces. It is available at art supply and building supply stores.
Step 4
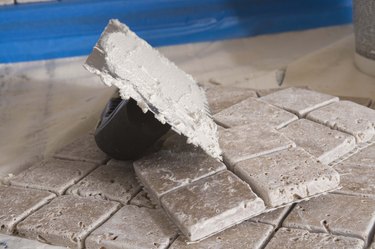
Spread a layer of thinset over a small area of your concrete paver with a putty knife. The thinset should be about 1/8 to 1/4 inch thick.
Step 5
Place the mosaic tiles on the concrete paver, one at a time. Leave a gap of an 1/8 of an inch or less between the tiles.
Step 6
Allow the mosaic tiles and thinset to cure for 24 hours.
Step 7
Grout the concrete paver with tile grout. Spread a think layer of grout over the entire paver stone with a putty knife, pressing the grout down into the gaps between the tiles.
Video of the Day