Things You'll Need
Plain serving tray
Scrapbook paper, variety of patterns
Scissors
X-acto knife and cutting surface (optional)
Craft glue
Water
Small dish
Foam paintbrush
Sharpie paint marker
Cut glass the size of the tray bottom or matte spray sealer
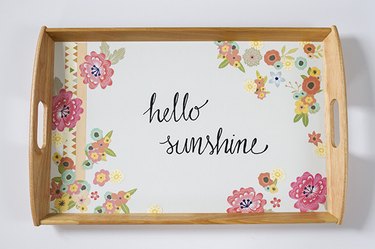
Serving trays add style and sophistication to your space. They are both functional and pretty and help to corral even the most wayward of accessories — anything from party supplies to favorite jewelry. Put your own stamp on a plain tray by incorporating a bit of decoupage medium and cut paper details, plus a custom saying that speaks to you.
Step 1
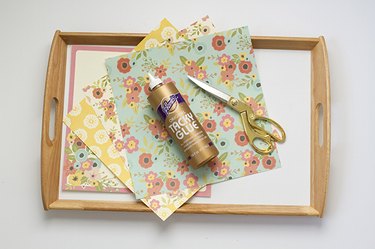
When gathering patterned paper for this project, work intentionally with a specific color palette or design style. This will help pull the pieces together visually. Scrapbook paper works best because of its thickness.
Video of the Day
Step 2
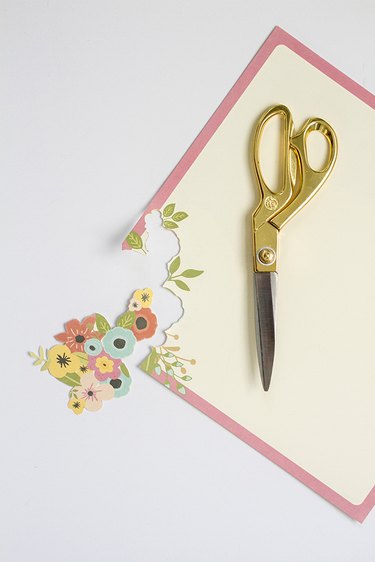
Use scissors to cut out shapes and designs from the patterned paper. If scissors prove to be too cumbersome for smaller detail cuts, use an X-acto knife and cutting surface.
Step 3
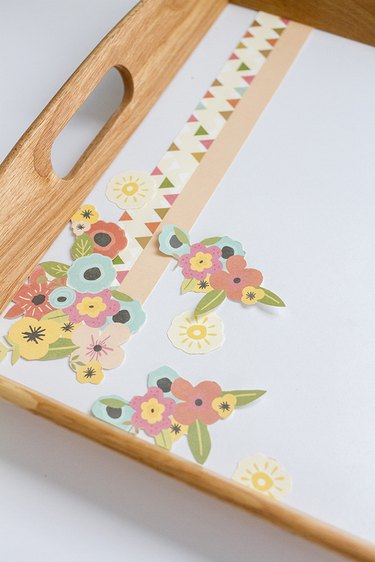
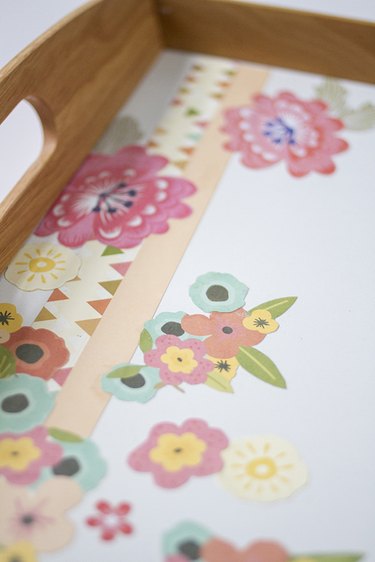
Lay the shapes on the tray as you cut them, filling in areas of the tray that feel too empty or bare. Overlap shapes in some areas to add dimension and interest.
Step 4
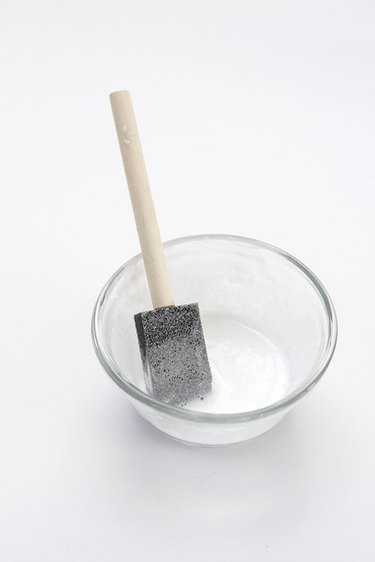
Fill a dish with a combination of 3 parts craft glue to 1 part water and stir well. Use a foam paintbrush to apply this decoupage medium to the underside of each cut piece of paper, and then lay it in place on the tray. Smooth out any bubbles and curling edges.
Step 5
Place and hold the palm of your hand down flat on top of each piece of paper for at least 30 seconds before moving on to the next piece of paper. This will ensure that the adhesive holds the paper to the surface of the tray.
Step 6
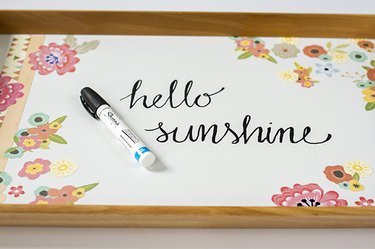
Add an extra touch by hand-writing a message onto the surface of the tray using a Sharpie paint pen. This could be a favorite quote or phrase or the recipient's monogram.
Step 7
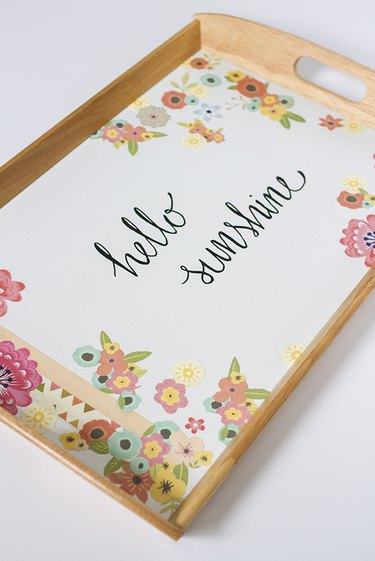
Finish the tray by adding a piece of cut glass on top of the center section, right over the paper details and written phrase. Two coats of matte spray sealer could take the place of the glass. Whatever method you use, this will help to ensure that your crafted design stays safe from liquids and scratches.
Tip
You may adjust the water to glue ratio of your decoupage mixture if needed. The solution should be loose but not runny.
Don't be alarmed by initial wrinkling. This will dissipate as the decoupage medium dries.
Video of the Day