Things You'll Need
Screwdriver
Gel paint/varnish remover
Paintbrush
Paint scraper
Newspaper
Sandpaper
Steel wool
Stain
Cotton rags
Tack cloth
Varnish or polyurethane finish
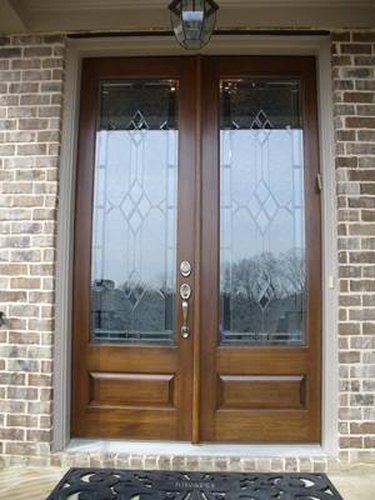
Wood is a fantastic surface to work with. It can be worked into a high glossy shine or it can have a smooth, sanded surface. Anyone that has an old solid wood door should consider restaining it before they toss it out for a new door. Take the time to restain it and you will be proud of yourself for completing a good project and saving money. Some of the old wood from 50 years ago or longer is harder than today's wood and will stand up to refinishing beautifully.
Step 1
Remove the door from the wall by lifting the hinge pin from all three hinges. Unscrew the hinge plates and the door knob with all its hardware. If there is any other hardware like coat hooks on the door, remove them.
Video of the Day
Step 2
Set the door up on a work bench in a well-ventilated area. Apply the gel remover to the door in long brush strokes going in the grain of the wood. Allow it to sit according to the time specified on the directions. Usually this is for about 10 minutes.
Step 3
Scrape the softened varnish or old paint off the door with a paint scraper. Be careful not to gouge the wood or you will have a lot of sanding to do later. Wipe the paint/varnish onto some old newspaper. Always work in the direction of the grain or you will have scratches across your door. Turn the door over and do the same to this side.
Step 4
Use some fine steel wool to work off any stubborn spots, and then clean the whole surface with a damp rag. Allow the surface to dry before continuing. The wood will be damp at this point and the grain will be raised, making it extra hard to get a smooth surface. Repeat on the other side of the door.
Step 5
Sand the whole door down with a medium grit sandpaper, again going in the direction of the grain. When it is smooth, change your sandpaper to a fine grit to get a very smooth surface. Wipe it down with a microfiber or tack cloth to remove all the dust.
Step 6
Apply the stain according to the directions on the container. Typically it is painted on in the direction of the grain and then wiped into the wood with a rag. A lot of the stain will end up in the rag, but keep working it until no more stain is coming off. Finish staining the whole door with this procedure.
Step 7
Seal the stain into the wood by applying a varnish or polyurethane coating. Allow it to totally dry and reapply all the hardware. Hang the door back on the hinges and insert the pins.
Tip
Use a toothbrush to get into small areas.
Warning
Always use eye protection and rubber gloves. Paint and varnish remover are highly toxic, so dispose of or store these items properly.
Video of the Day