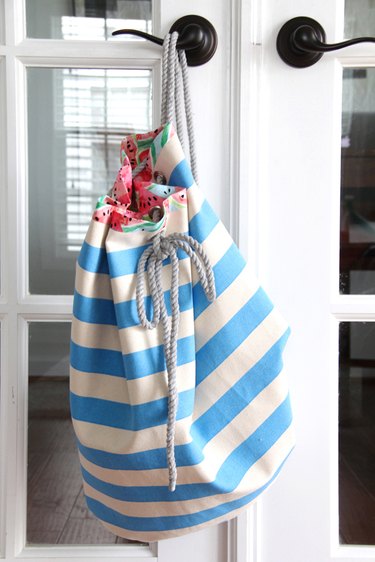
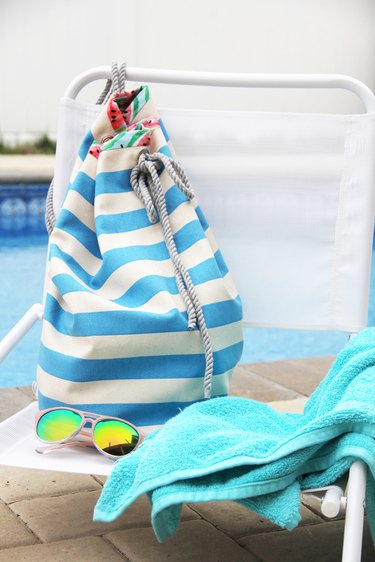
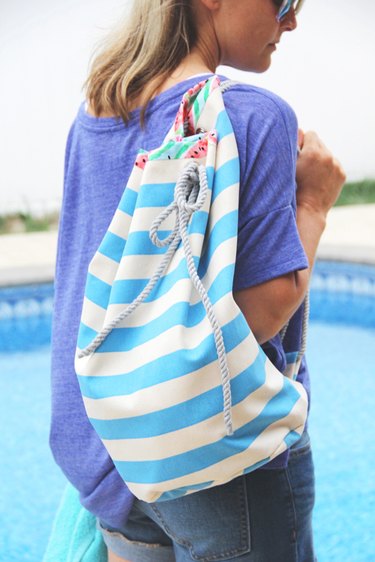
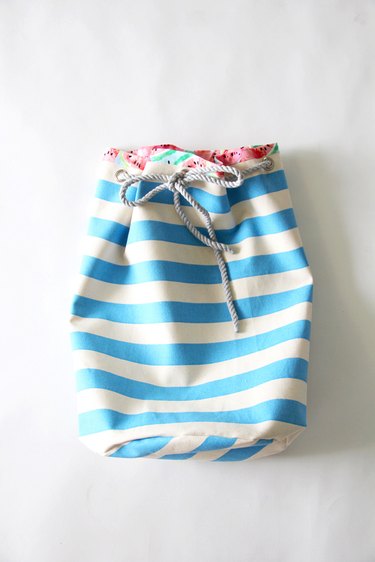
Drawstring bags are the perfect accompaniment for going to the beach in the summer. Their easy-to-open-and-close top allow for quick access to beach towels, books and sunscreen, while still being tall enough to try to withstand the ever invading sand. Make your own drawstring bag this season by downloading our free drawstring bag pattern; a fantastic sewing project for a beginner seamstress!

Video of the Day
Things You'll Need
1 yard home decor or twill fabric
1 yard cotton lining fabric
2 yards of 1/4-inch thick rope
1/2-inch grommets (8–10)
Grommet setter
Fabric scissors or rotary cutter and cutting mat
Pins
Thread
Heavy-duty universal regular point sewing needle
Sewing machine
Tip
You have the option to use buttonholes in lieu of grommets, if desired. Simply sew buttonholes along the top edge, instead of inserting grommets when you get to that step.
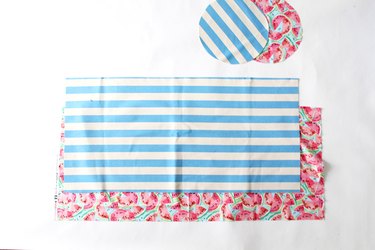
Step 1: Print and Cut Out Pattern
Print out the pattern pieces and tape together as indicated, matching all gray page lines and assembling the pages to meet in the center circle with the 'A' letter. Cut one drawstring bag bottom and one main body from both the exterior and lining fabric, as indicated. Also, cut one bottom strap from the exterior fabric.
Video of the Day
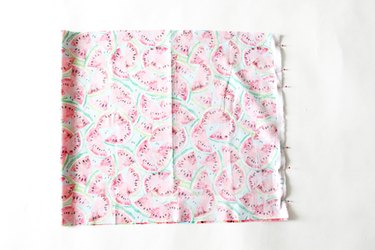
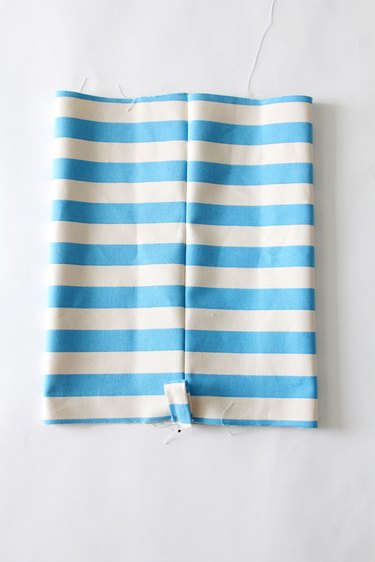
Step 2: Sew Main Body
Fold the exterior main body fabric right sides together, matching up the short side edges. Pin and sew, using a 1/2-inch seam allowance. Repeat for lining main body fabric, leaving a 4-inch opening along the middle of the seam. Pin and sew, leaving the 4-inch opening open in the center of the back seam. Press seams open.
Step 3: Sew Bottom Strap
Fold the bottom strap right sides together so that the long side edges meet. Pin and sew using a 1/2-inch seam allowance. Turn strap right side out and press.

Fold strap in half, meeting up the raw edges, creating a loop. Pin the raw edges of the loop to the bottom back center of the exterior bag body, where the seam is. Baste stitch using a 1/8-inch seam allowance to secure in place.
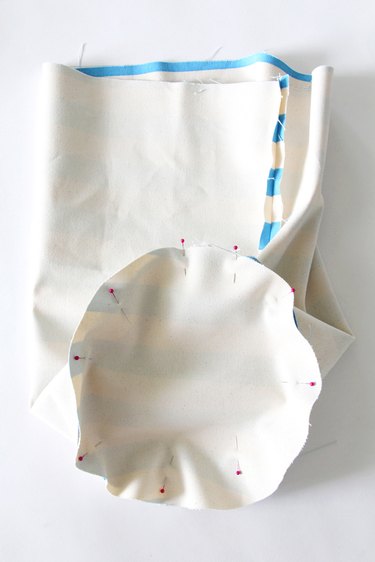
Step 4: Sew Bag Bottom
Pin bag bottom to the bottom of the main body, right sides together. There will be 'ease' in the circle, such as with sewing sleeves, which will help when pinning. Simply pin the circle to the main bag bottom, allowing excess circle fabric to hang off if needed. Sew around to secure, and trim excess seam allowance. Repeat for lining.
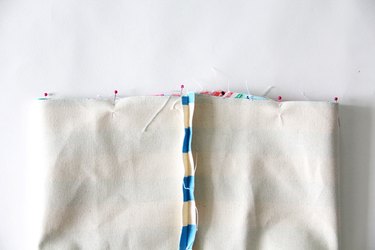
Step 5: Sew Lining to Exterior
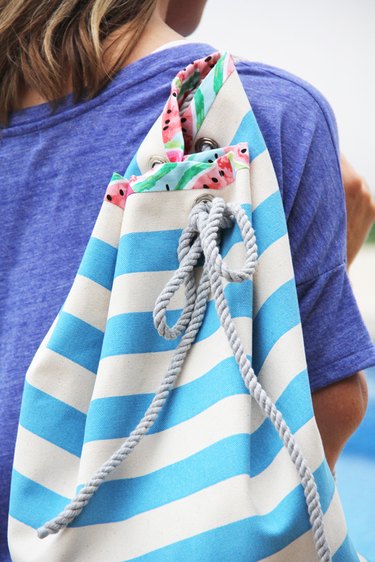
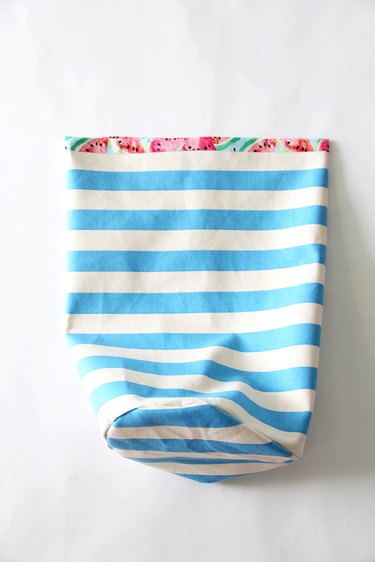
Slip bag lining inside the exterior, right sides together, matching up the back seam. Pin around the upper edge and sew using a 1/2-inch seam allowance. Turn right side out through the opening in the lining. Whipstitch opening closed, and push the lining inside the bag.
If desired, let the lining show 1/2-inch beyond the top of the bag and press around. This gives a faux bias tape finish to the upper edge. Sew around the top edge to secure.
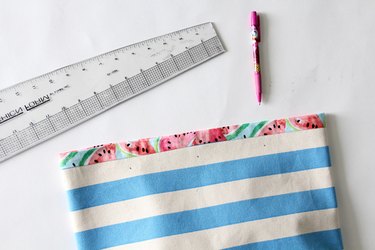
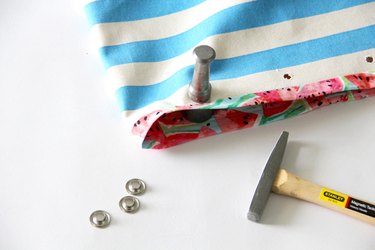
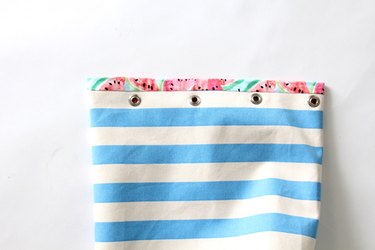
Step 6: Attach Grommets to Bag
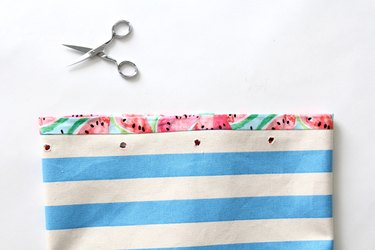
Measure around the upper edge of the bag, determining where you want each grommet. Following the instructions on the grommet setter and grommet instructions, attach grommets as instructed. I find it helpful to cut a small 1/4-inch hole in the fabric where the grommet will be going prior to hammering the grommet into the fabric.
Tip
As mentioned earlier, grommets are not necessary to complete this bag. Feel free to use buttonholes instead of grommets. To do this, simply measure around and determine where you want the buttonhole placement. Then, sew buttonholes using your buttonhole foot on the sewing machine.
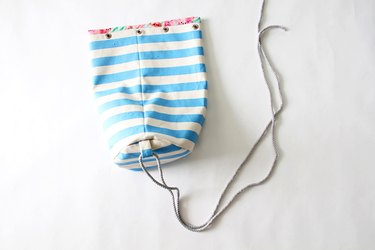
Step 7: Attach Rope
Slip the rope through the bottom strap of the bag, centering the rope in the strap. Bring the top up and through the grommets around the top of the bag, with both grommets coming through the front center grommet. Pull rope tight to secure top of the bag closed.
Step 8: Press to Finish
For a professional finish, always press your handmade creations. Simply slip the bag over the end of your ironing board, and press around, turning the bag as your iron. Wash and dry on the gentle cycle to care for your bag.