Home Sweet Home
Hacks, Tips & Tricks
Squeaky Clean
DIY Decor
Carpentry & Remodeling
Maintenance & Repair
Green Thumb
All Home Sweet Home
Chow Down
Main Dishes
Sweet Treats
Snacks
Copycat Recipes
Drinks & Cocktails
Sides & Appetizers
Veggie Faves
Food Hacks
All Chow Down
Get Crafty
Sew Simple
Fun Crafts
Art Projects
All Get Crafty
Let’s Celebrate
Valentine's Day
St. Patrick's Day
Easter
Mother's Day
Father's Day
4th of July
Back to School
Halloween
Thanksgiving
Christmas
New Year
Weddings
Baby Showers
Birthdays
Parties & Events
Gifts
All Let’s Celebrate
JOIN OUR NEWSLETTER
JOIN OUR NEWSLETTER
Home
Let's Celebrate
Parties & Events
Parties & Events
By
Kathryn Walsh
Grad Cap Decoration Ideas For Extra Pomp & Circumstance
Let's Celebrate
By
Rachel Syens
The Oscar Goes to...You! Tips for an Awardworthy Oscars Viewing Party
Let's Celebrate
By
Sophie Boudreau
Bubbly Party Ideas Inspired by the Aperol Spritz, Diet Coke & More
Let's Celebrate
By
Kirsten Nunez
Wednesday Addams Ideas For Halloween & Beyond
Let's Celebrate
By
Sophie Boudreau
13 Taylor Swift-Inspired Cupcakes That Will Leave You in a Lavender Haze
Let's Celebrate
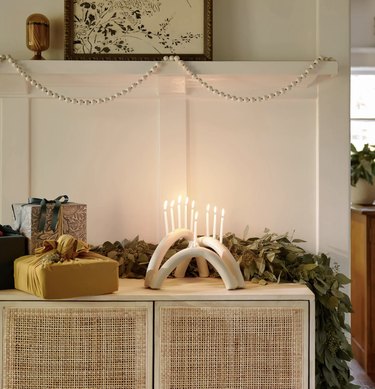
By
Jill Layton
Modern Menorahs for a Lit Hanukkah
Let's Celebrate
By
Jill Layton
Celebrate Hanukkah With These Dazzling Decorations
Let's Celebrate
By
Damarys Ocaña Perez
Creator Spotlight: Día de los Muertos Makeup Artist, Kahlovera
Let's Celebrate
By
Stacy S. Kim
Easy & Authentic Ways to Celebrate Chuseok
Let's Celebrate
By
Beth Huntington
Movie Night Idea: Transform Your Car Trunk Into a Theater!
Let's Celebrate
By
Kathryn Walsh
11 Ideas for Throwing a Stranger Things Party
Let's Celebrate
By
Kathryn Walsh
Magical Harry Potter Party Ideas
Let's Celebrate
By
Jill Layton
8 Picnic Blankets to Pack For Your Next Outdoor Adventure
Let's Celebrate
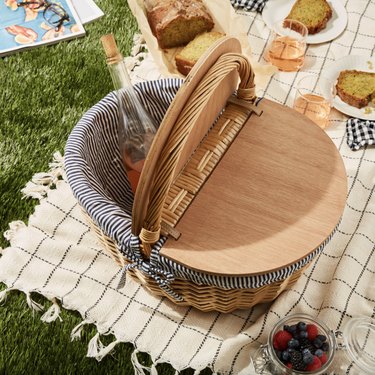
By
Jill Layton
The Very Best Picnic Baskets for Toting Summer Spreads
Let's Celebrate
By
Spencer Hall
7 Día de los Muertos-Inspired Decorations to Celebrate Latin Heritage Month
Let's Celebrate
By
Onayeme Jelugbo
10 Lawn Games You Have to Play in 2021
Let's Celebrate
By
Christina Nicole
These Large-Batch Christmas Gifts Will Save You So Much Money
Let's Celebrate
By
Zoe Lance
Your Thanksgiving Leftovers Game Is Going to Be So Strong
Let's Celebrate
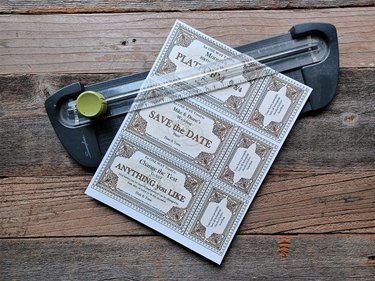
By
Trisha Sprouse
Feast Your Eyes on This Modern Thanksgiving Tablescape
Let's Celebrate
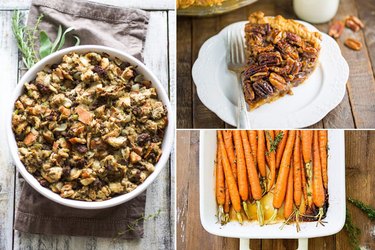
By
Reyna Abraham
Start Planning the Perfect Thanksgiving Dinner With These 23 Recipes
Let's Celebrate
By
Jonathan Fong
How to Make a Birch Branch Menorah
Let's Celebrate
By
Reyna Abraham
Use These Break-the-Fast Recipes to End Yom Kippur Right
Let's Celebrate
By
Jonathan Fong
Clever 3-in-1 Thanksgiving Centerpiece Idea
Let's Celebrate
By
Nicole Jahns
How to Throw a Dinner Party Like a Full-On Adult
Let's Celebrate
By
Nicole Jahns
How to Say "I Do" Like a Boho Bride
Let's Celebrate
By
Eve Epstein
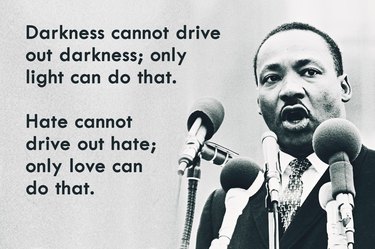
How to Honor Martin Luther King Jr. Day
Let's Celebrate
By
Chrystl Sanchez
13 Delicious Thanksgiving Sides That'll Make Turkey Insignificant
Let's Celebrate
By
Rogue Parrish
How to Play Bocce Ball
Let's Celebrate
By
Bethany DeVore
How to Make a Rustic 3-Tier Serving Tray
Let's Celebrate
By
Kelle Hampton
How to Plan an Ice Cream Social
Let's Celebrate
By
Jonathan Fong
Papel Picado: DIY Mexican Cutout Flags
Let's Celebrate
By
Maya Silver
What Is the Difference Between a Cocktail Reception & an Hors D'oeuvre Reception?
Let's Celebrate
By
Angie Diersman
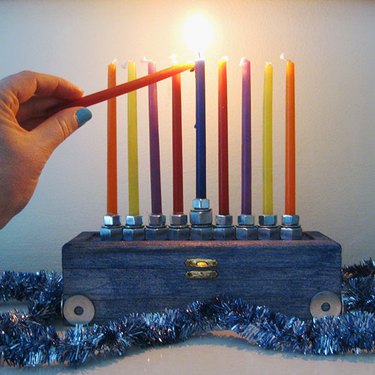
How to Make Creative Hardware Menorahs
Let's Celebrate
By
Angie Diersman
How to Make a Hanukkah Wreath
Let's Celebrate
By
Erica Roth
How Much Pulled Pork Do You Need to Serve 30-40 People?
Let's Celebrate
By
Megan Beauchamp
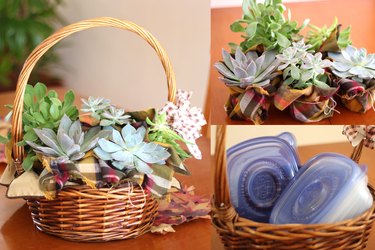
10 Homemade Hostess Gifts for the Holidays
Let's Celebrate
1
2
3
4
5
>
Report an Issue
Contact*:
Severity*:
High
Normal
Low
Description*:
Screenshot loading...
Cancel
Submit