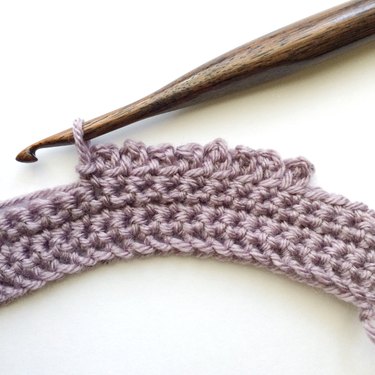
The picot stitch is a versatile stitch commonly used for the finishing edges on crocheted items, such as a blanket. There are several variations of the picot stitch; this article covers three techniques. Because the stitch is simple, the yarn and time requirements for each picot are very small.
Video of the Day
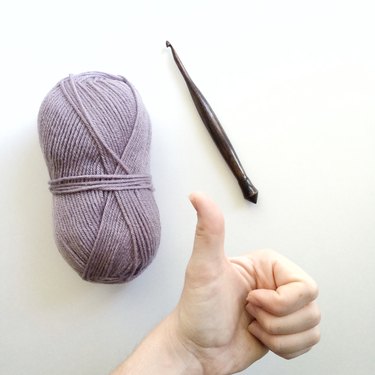
Things You'll Need
Crochet hook, appropriate for the yarn weight you are using
Yarn
How to Crochet a Picot Stitch
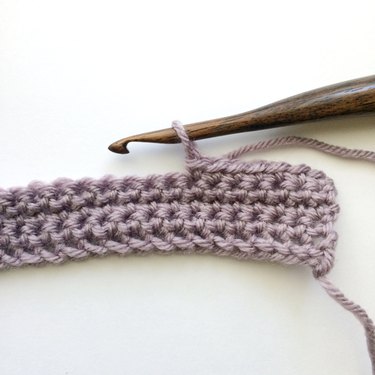
Following the pattern instructions or your desires, single crochet to where the picot stitch will be placed.
Video of the Day
Variation 1
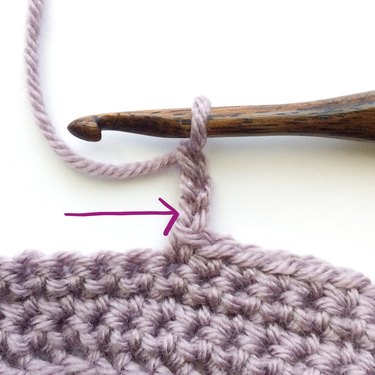
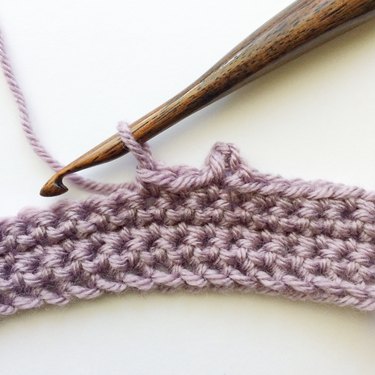
Step 1
Create three chains with your hook. Find the third chain from the hook (the first chain you made) and insert your hook in to the V of this chain.
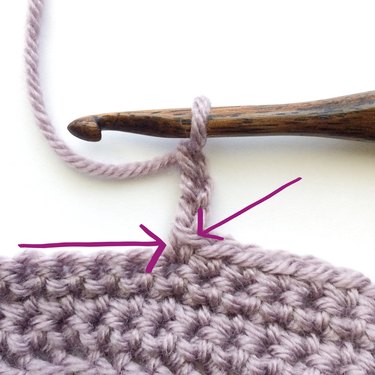
Step 2
After you have inserted your hook in to the third chain from the hook, yarn over and pull through all loops on your hook. This closes your picot stitch.
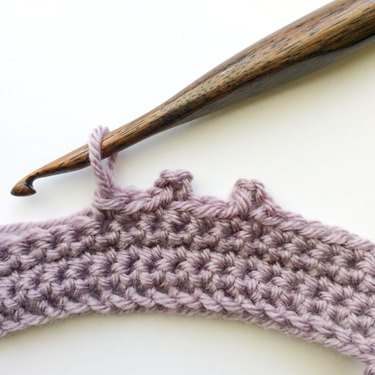
Step 3
After you have closed your picot, single crochet in the next stitch and continue single crocheting until you've reached the spot to create another picot stitch.
Variation 2
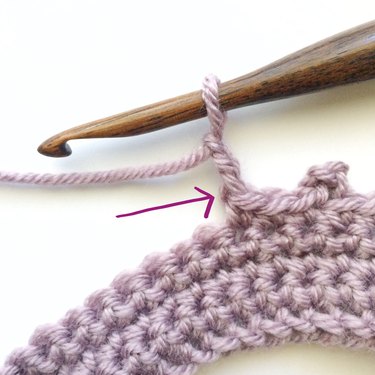
Step 1
Create three chains with your hook, and locate the front loop and the left leg of the single crochet stitch at the base of your chain three.
Step 2
Insert your hook in the front loop of the single crochet beneath the chains. Then insert your hook in the left leg of the single crochet. You should now have three loops on your hook: one from the last chain you made, one from the front loop, and one from the left leg of the single crochet you picked up.
Step 3
Yarn over and pull through all loops on your hook. This will close the picot.
Step 4
Single crochet in to the next stitch and continue on with single crochet until you've reached the spot to create another picot.
Variation 3
Step 1
Create three chains with your hook and locate the back ridge of the first chain made (third chain from your hook).
Step 2
Insert your hook in to the back ridge of the third chain from the hook.
Step 3
Yarn over and pull through all loops on your hook to close the picot.
Step 4
Single crochet in to the next stitch and continue with single crochet until you have reached the spot where you will create another picot stitch.
Tip
Picot stitches are usually separated by single crochets so each one is distinct. However, you can break the rules and put them one right after another for a ruffled look.