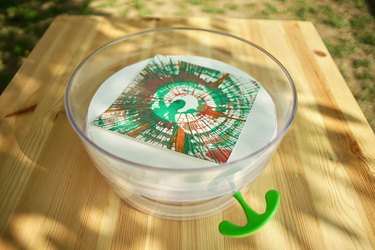
One of our favorite things about fairs and special events is the spin art booth. When liquid paint is dripped onto a spinning piece of paper, an amazing pattern can emerge! With an inexpensive salad spinner and a few tools, you can quickly make your own kid-powered spin art machine.
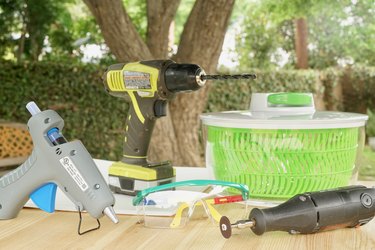
Things You'll Need
A cord-pull salad spinner
A rotary tool with cutoff wheel
Tin snips or side snip cutter
Hot glue gun
Drill
Safety glasses
Foam core board
Drawing Compass
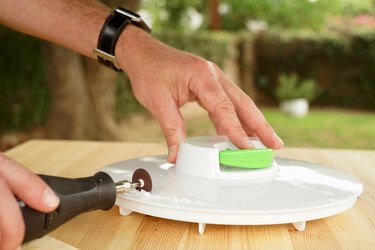
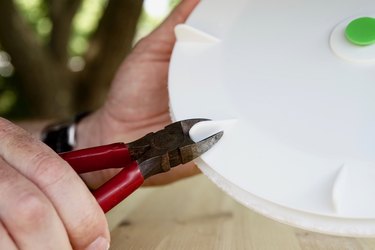
Step 1: Cut down salad spinner top.
Cut the top of the salad spinner down to a diameter of 9 3/8 inches. The top needs to sit upside down in the bowl with enough space to clear the knob on the inside bottom of the bowl. If you cut too little off the top, you can cut off more. If you cut off too much and the top goes too far down in the bowl, you can use globs of hot glue to support the top in the desired position. To make the cut, use a cutoff wheel on a rotary tool supported by a block of wood. Once the tool has cut into the plastic top, simply turn the top to make a perfect circle. A bandsaw makes this step even easier.
Warning
Safety glasses are a must! Cutoff wheels are some of the most dangerous tools you can use, as they can break and send shards flying at a very high speed. I prefer to to keep all body parts out of the potential line of fire when using a cutoff wheel.
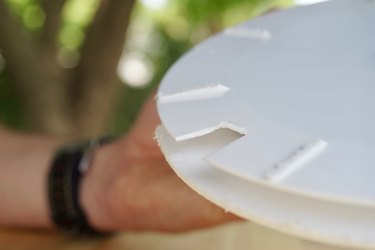
Step 2: Cut a notch in the edge of the top.
When the top is upside-down in the bowl you will need this notch to hot-glue the top in place. Tin snips work well for this, or you can use a rotary tool.

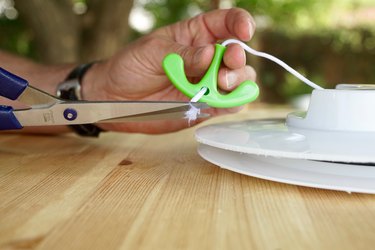
Step 3: Cut the fins off the spinner top.
This makes room for the pad supporting the art. Use tin snips or any kind of cutting tool.
Step 4: Drill a hole in the bowl.
Place the top upside-down in the bowl to check where the cord will be coming through the bowl. Drill a 1/4 inch hole. A special plastics bit works best, but working slowly with twist bit or spur-point bit will also do the trick. Use sandpaper to smooth the rough edges of the hole.

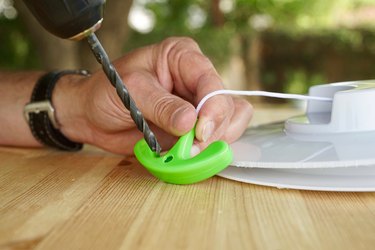
Step 5: Reposition the cord handle.
Pull the spinner cord out to its full length. Tie a slip knot (one that will release when pulled) in the cord to keep it from retracting all the way into the housing in later steps. Drill a 3/16 - 3/8 inch hole in the handle. Use tweezers to fish the cord out of the hole. Make sure that the slip knot is still in place at this point, because if the cord retracts all the way back in the housing, it's gone forever! (Don't ask me how I know.) Cut the knot off the end of the cord and pull it out of the handle.
Feed the cord through the hole from the inside to the outside of the bowl.
Insert the cord into the end of the handle and out through the hole we made earlier. Tie a knot in the cord and let the cord return to its original position in the handle. It's now safe to release the slip knot.

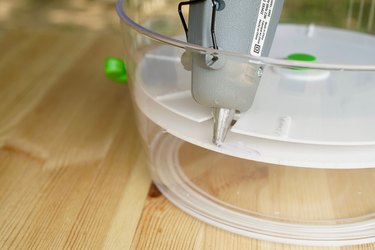
Step 6: Glue the top in place.
Place the top upside-down in the bowl so that the cord is aligned with the hole in the bowl. Make sure the top is level with rest of the bowl. Using the notch from step 2, hot-glue the top to the bowl.
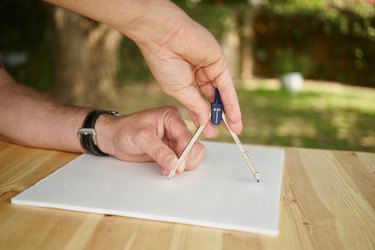
Step 7: Cut a foam core disk.
Use a compass to measure from the center of the top to 1/2 inch from the edge. Move the compass over to the foam core and draw a circle. Cut the disc from the foam core and cut a circle in the middle of the foam core to accommodate the raised green piece in the center of the top.
Step 8: Glue the disk to the top.
Hot-glue the foam core disc to the top of spinning surface.

Step 9: Make some art!
Use a glue stick to stick a piece of stiff paper or card stock to the foam core disc. Pull the handle to spin the paper and drip paint onto the spinning paper to make far-out designs! Watch the video above to see this spinner in action.
Video of the Day