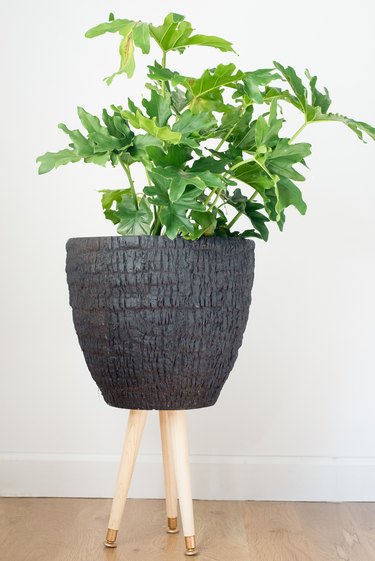
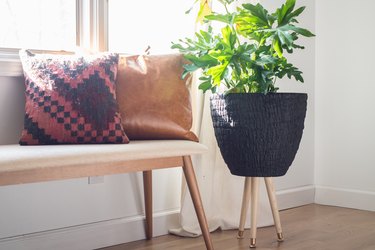
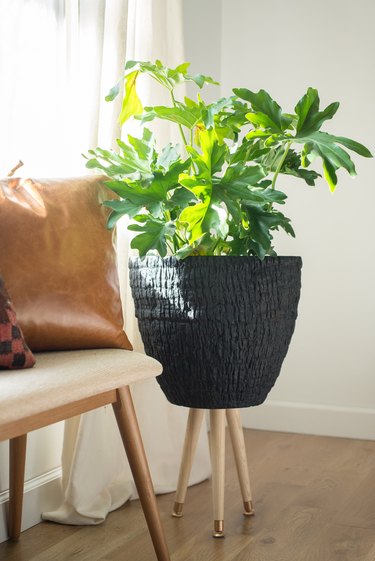
Have you fallen in love with midcentury decor? Of course you have — not only does it look classic and chic, but it also matches almost all surrounding styles. Give your resident house plant some midcentury legs to stand on by creating this planter in one afternoon. Specify the stand according to your plant's size and shape, and then build it in as few as three steps. Paint a gold accent on the tips for some fun midcentury flare, and you'll have another piece to add to your timeless collection.
Video of the Day
Things You'll Need
11 1/2-inch round taper table leg (3)
Angle top plates (3)
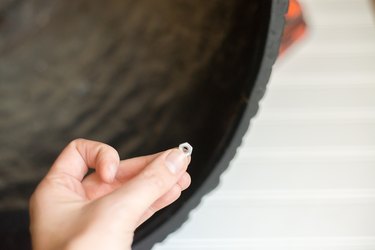
3/4 inch x 2 inch round combo screws with nuts, #8 size (12)
Plastic planter with flat bottom
Gold leaf
Paint brush
Drill
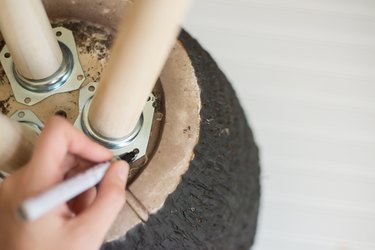
Step 1: Decide On Placement
To see that you have a good placement for the legs, screw them in on each angle top plate. Flip the planter over so that the bottom of the planter pot faces up. Then, take each leg and place it on the bottom of the planter pot. Evenly space them from one other. Place a mark on each hole so that you know where to drill.
Video of the Day
Tip
Mount the brackets about 1 1/2 inch away from the outside edge of the pot. This will ensure the brackets remain hidden while giving the planter as much stability as possible.
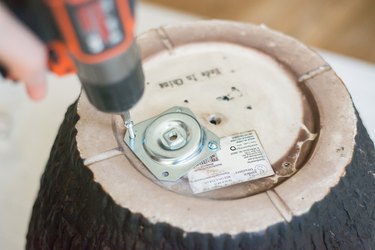
Step 2: Attach Angle Plates
Using a small drill bit, drill pilot holes on each of the marked areas. After the pilot holes are drilled, screw in the top plate to the planter with screws. Flip the planter over and tighten on a nut for each of the screws from the inside. Make sure each angle plate is firmly attached to the planter.
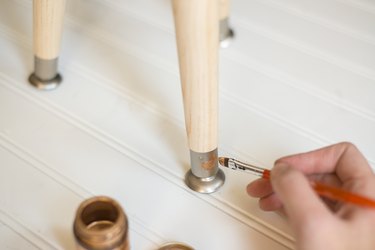
Step 3: Paint the Feet
Using gold leaf, paint the chrome part of each foot so that it looks like brass. Let the feet dry. Alternatively, you could stain or paint the legs and leave the feet chrome.
Step 4: Add the Plant
Fill the bottom of the planter with rocks to help with water drainage. Then, add your plant and enjoy.