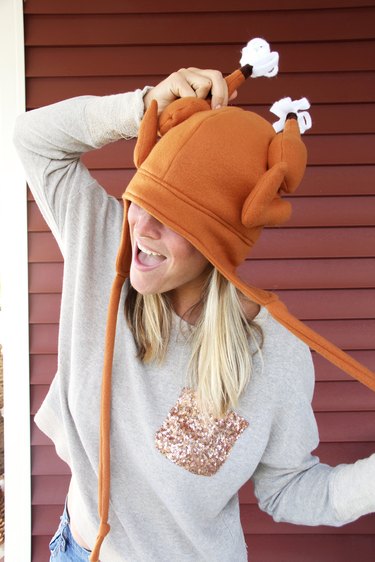
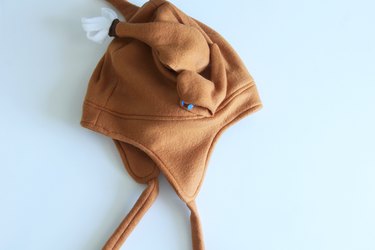
Who can forget that infamous scene in Friends where Joey gets the Thanksgiving turkey stuck on his head? I mean, who comes up with this stuff! Well, now you can have all the fun at your next Thanksgiving feast by sewing your very own turkey hat inspired by this classic TV moment. Download the free adult turkey hat sewing pattern and grab some fleece fabric to get started. After all, if you can't laugh at yourself, then who can you laugh at?

Video of the Day
There is power in looking silly and not caring that you do. -Amy Poehler
Video of the Day
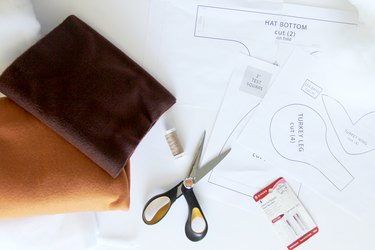
Things You'll Need
Free adult turkey hat pattern (download here)
¾ yard tan fleece fabric
Scrap dark brown fleece fabric
Scrap white fleece fabric
Poly-fil stuffing
Fabric scissors or rotary cutter
Fabric turner or safety pin
Pins
Thread
Universal regular point sewing machine needle
Hand sewing needle
Sewing machine
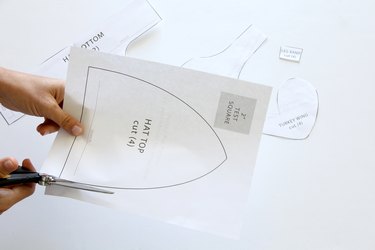
Step 1: Print and cut out pattern
Download the free turkey hat sewing pattern. Print out the pattern pieces and tape together as indicated — make sure your print settings are set to "no scaling" before printing. Match the gray page line on the hat bottom pattern pages and assemble the pages to meet in the center diamond with the "A" letter.
Before you cut out the pattern, make sure that it is printed to scale by measuring the two-inch test square. Cut out pattern pieces from the paper by cutting around the black border lines.
The hat top and hat bottom pattern pieces both have a "stretch" line indicated on them. This line indicates which direction the stretch of the fleece fabric should be prior to cutting out the pattern piece. Gently pull on the fleece fabric to determine which way the fabric stretches. It generally stretches from selvage to selvage.
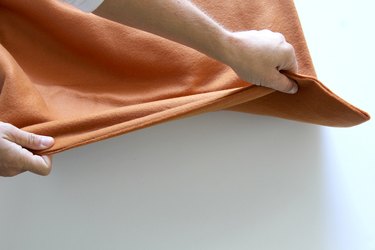
Make sure the direction of the stretch line on the paper pattern pieces line up with the stretch of the fleece fabric. Then, cut out all pattern pieces as indicated.
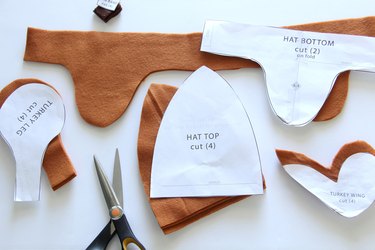
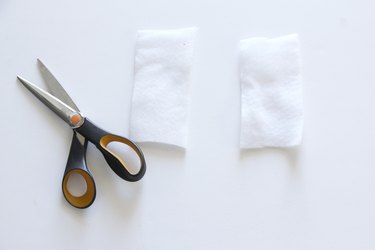
Additionally, you will need to cut the turkey leg bone pattern pieces. Cut two pieces of white fabric, 3 inches by 6 inches each.
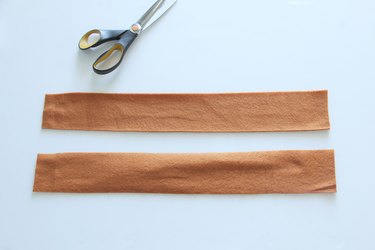
Lastly, and this is optional: If ties are desired, cut two tan fleece fabric pieces 2 ½ inches by 20 inches.
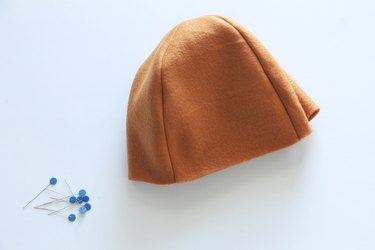
Step 2: Sew hat top
Place the two hat top pattern pieces right sides together. Pin and sew one side edge. Repeat for other two hat top pattern pieces.
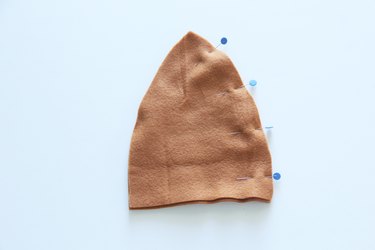
Place two hat top sides right sides together and pin along the entire upper curved edge. Sew around the top curved edge, pressing the center seam open while sewing. Turn right side out when done, pressing out all seams.
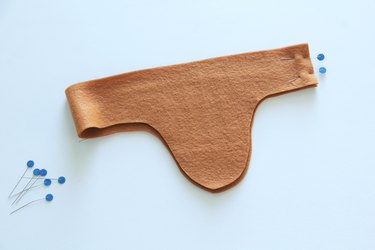
Step 3: Sew hat bottom
Fold the hat bottom in half, right sides together, matching up the short edge. Pin together and sew. Repeat for both hat bottom pattern pieces.
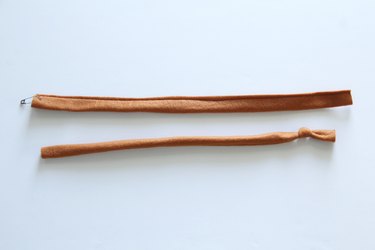
Step 4: Sew ties
Skip this step if omitting ties and proceed to Step 5.
Fold tie in half, right sides together, matching up the long outer edge. Pin and sew a straight line down the long outer edge. Trim seam allowance.

Using a fabric turner or safety pin, turn ties right side out. Tie a knot on the bottom end of the tie. Repeat for both ties.
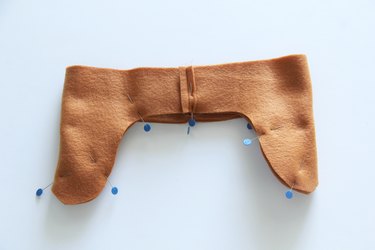
Step 5: Sew hat bottom together
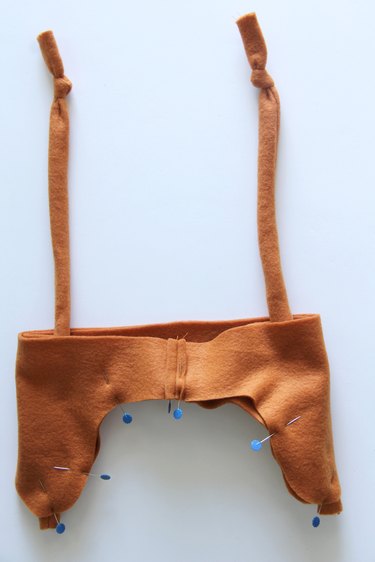
Slip the hat bottom lining around the hat bottom exterior, lining up all curved edges and the back seam. Pin around, and sew. Trim seam allowance.
See next photo if adding ties.
If ties are desired, prior to sewing the hat bottom lining to the exterior, slip the raw edge of each tie in between the lining and exterior hat bottom pattern pieces. Line up the raw edges of the ties with the bottom center of the ear flap. Pin in place. The bottom knotted edge of the ties should up coming up out of the top of the hat.
Sew around to secure, and trim seam allowance.
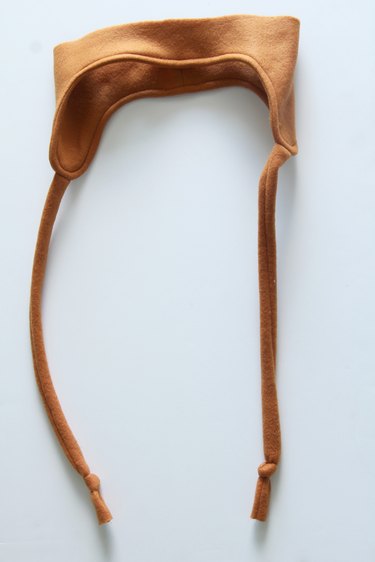
Turn the hat bottom right side out, using your finger to gently push out all seams. Edge stitch around the entire bottom edge to secure seam in place.
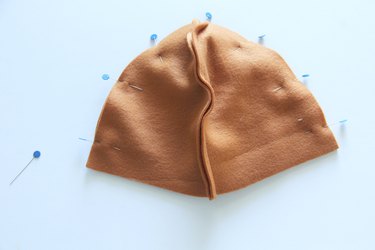
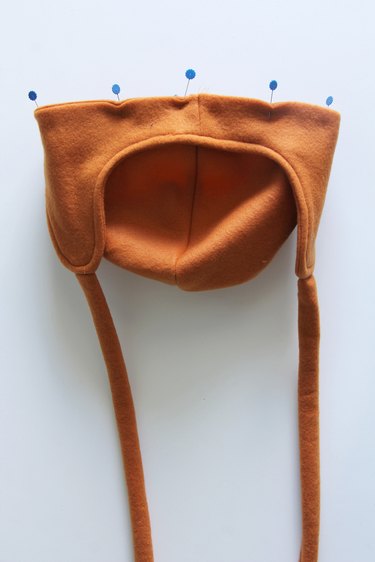
Step 6: Sew hat bottom to hat top
Slip the hat bottom around the hat top, right sides together, matching up the raw edges. Make sure the hat bottom back seam is aligned with one of the top hat seams. Pin around to secure and sew, using a serger, zigzag or stretch stitch.
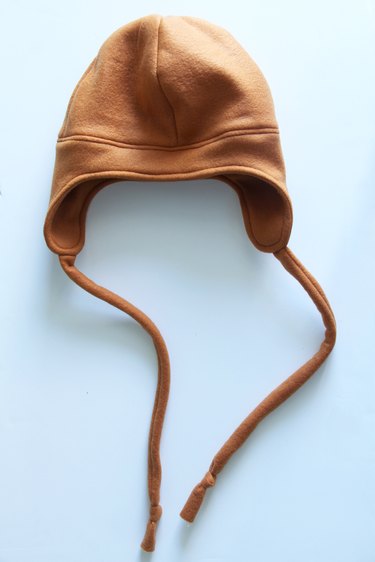
Push seam up, and sew around to secure seam in place with a long straight stitch.
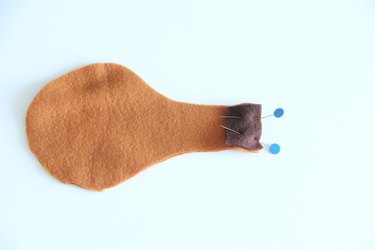
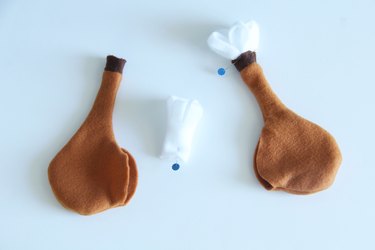
Step 7: Sew turkey legs
Place the turkey band right side together along the short upper edge of the turkey leg. Pin in place and sew. Repeat for other turkey bands and turkey legs.
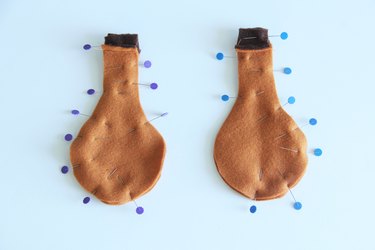
Place turkey leg pattern pieces right sides together, matching up the turkey band seam and outer edges. Pin around, leaving a 3-inch opening on the bottom curve of each turkey leg. Sew, being sure not to sew the 3-inch opening closed, leaving the top of each turkey band open. Turn turkey legs right side out, and press out all seams.
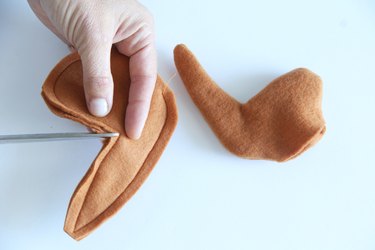
Step 8: Sew turkey leg bones
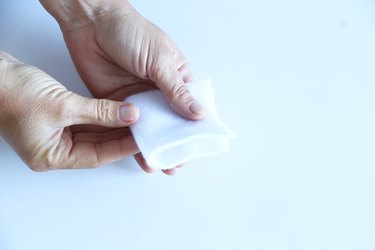
Fold the turkey leg bone fleece fabric in half, right sides together, matching up the short edges. Hold fabric in place with your hand at the short raw matched edges. Using sharp fabric scissors, cut small 1 ½ -2-inch slits in the folded side of the fleece fabric about ¼ inch apart each.
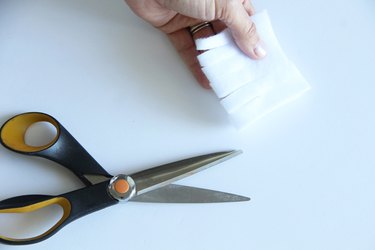
Fold both sides of the bottom raw edges of the leg bone fabric towards the center middle, creating a circle of fabric. Pin in place to secure, and repeat for both turkey leg bone pattern pieces.

Step 9: Insert bone into turkey leg
Slip the rolled bottom edge of the bone sewing pattern into the upper open edge of the turkey leg band. You may need to roll the bottom of the bone sewing pattern tighter in order to insert. Use a blunt object to help push into place. Pin and sew, using a few back and forth stitches with a hand sewing needle and thread to secure. Repeat for both turkey legs.
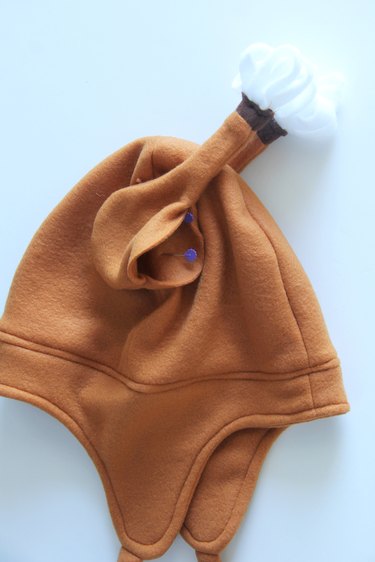
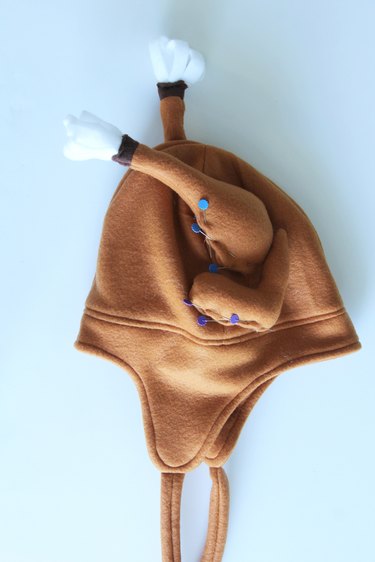
Step 10: Sew turkey legs to hat
Measure from the top center of the hat to the band where the hat meets the bottom, and determine the approximate middle. Pin the turkey leg in place along a side seam in the middle of the hat. You want the turkey leg to be at a 45 degree angle along the side seam of the hat, with the legs bones angling towards the back of the hat.
Pin turkey leg in place, inserting the pins into the opening of the turkey leg pattern piece. Sew around to secure, carefully pushing the top exterior of the turkey leg away from the sewing needle, and sewing on the inside of the turkey leg. Sew around in a small 2-inch oval to secure in place. Repeat for other turkey leg on other side of hat, making sure to align the legs so that they are in the same position.
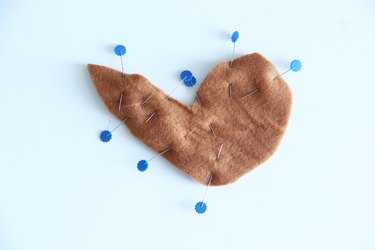
Step 11: Sew turkey wings
Place turkey wings right sides together and pin around. Leave a 2-3-inch opening along one of the outer edges. Sew and trim seam allowance. Repeat for both turkey wings.
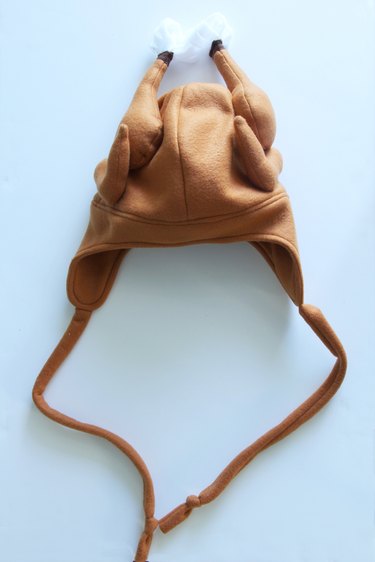
Step 12: Sew turkey wings to hat
Measure from the center of the turkey leg to the band where the hat meets the bottom, and determine the approximate middle. Pin the turkey wing in place along the side seam with the pointed edge of the turkey wing angling toward the front of the hat. Once again, pin the wing in place along the inside of the wing opening. Sew around in a small 2-inch oval to secure, pushing the top of the turkey wing out of the way while sewing. Repeat for both sides of the hat, making sure to align both turkey wings.
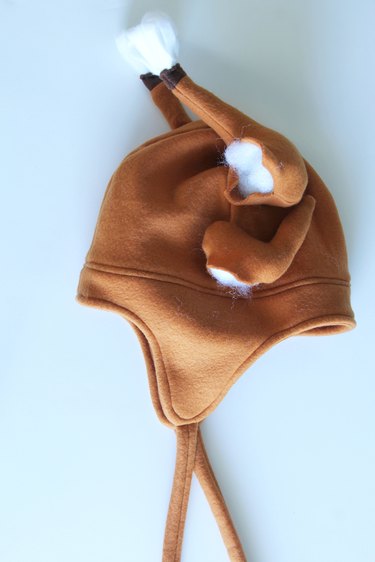
Step 13: Insert stuffing
Stuff small bits of Poly-fil, piece by piece, inside the turkey legs and wings. Use your finger to gently push stuffing into all corners. Repeat for all turkey wings and legs.
Once stuffed, turn the raw edges 1/4 inch toward the inside and pin together. Use a hand sewing needle and thread to whipstitch openings closed. Repeat for all turkey legs and wings.
If a less floppy turkey hat is desired, sew a few back and forth stitch in various spots around the turkey legs and wings to secure in place.
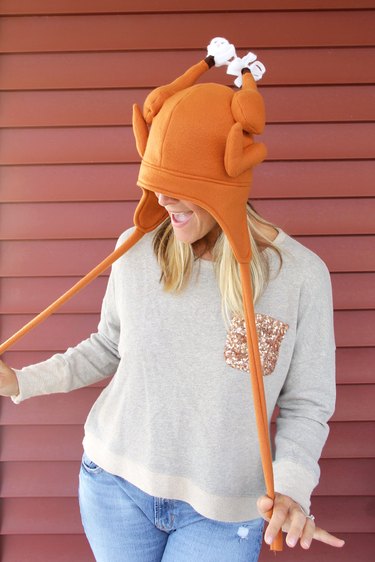
Now go have the best Thanksgiving ever. Sense of humor required.