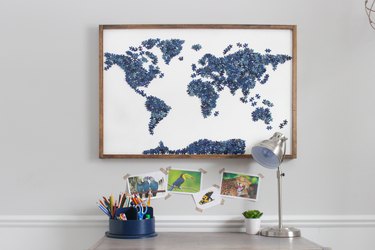
Puzzles can be so fun to put together with friends and family. However, once they are completed, they are either left out on display until one or two pieces go missing, or they are stored away, often never to be put together again. Instead of throwing puzzles away or donating unused puzzles, repurpose them into modern map wall art.
Video of the Day
Things You'll Need
750-piece puzzle
2 foot-by-3 foot plywood, 1/4 inch thick
1 inch-by-2 inch boards, 11 feet
Router on router table with 1/4-inch straight bit (optional)
Wood stain
Gloves
Cotton rag
White acrylic latex paint, flat finish
Paint brush, 2 inches wide
1 1/2-inch nails (optional if using routed boards) or 1-inch nails, 12 (18-gauge if using a cordless brad nailer)
Cordless brad nailer or pneumatic nail gun
Drop cloth
Spray paint, gloss finish
Tacky craft glue
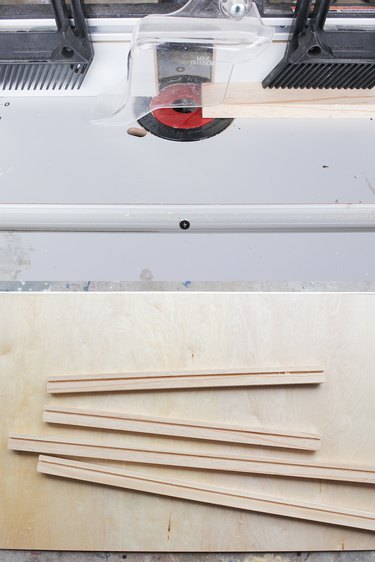
Step 1: Cut Boards
If you're using the routed boards method to attach the boards to the plywood, cut two boards at 25 inches and two boards at 35 1/2 inches. If not, cut two boards at 24 inches and two boards at 33 inches.
Video of the Day
Step 2: Route Boards (optional)
Set the router depth to 1/4 inch and set the fence on the router table to 1/2 inch. Lay the boards widest side down and run them through the router. This will create a 1/4-inch-deep groove in the boards that the plywood can slide through when assembling later.
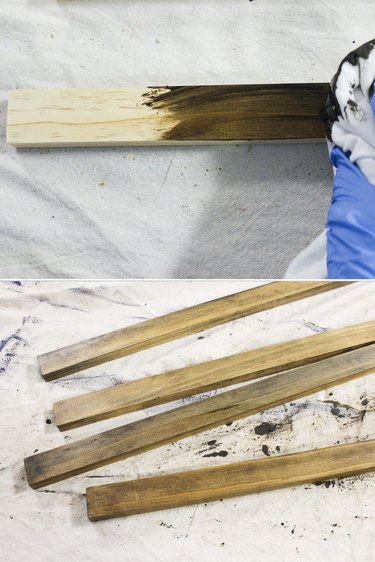
Step 3: Stain Boards
Using gloves to protect your hands, dip the cotton rag in the wood stain (dark walnut color used here) and rub a generous amount on all four sides of the boards and both ends. Wipe the excess off after a few minutes and let dry completely.
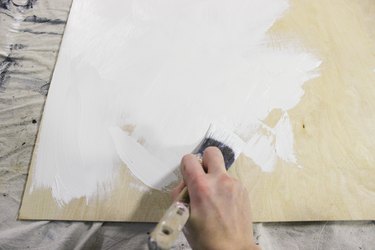
Step 4: Paint Plywood
With a 2-inch-wide paintbrush, paint one side of the plywood white with the acrylic latex paint. Apply two coats and let dry completely.
Step 5: Attach Stained Boards to Plywood
If using the routed boards method, slide the long boards onto each long side of the plywood. There should be a 1/4-inch overhang on both ends of the plywood. Slide the short boards onto that 1/4-inch overhang until both ends are flush. Using a cordless brad nailer (or pneumatic nail gun) secure the short board to the long board with three 1-inch nails on each corner.
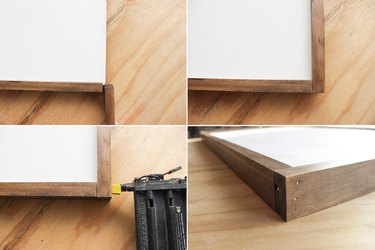
If you're not using the router method, place one short board on top of the short side of the plywood, so the board is flush with the ends. Nail in place from the back with 1-inch nails. Place the two long boards on either side of the long sides of the plywood, making sure they are flush with the plywood and also butt up against the short board that was just attached. Nail them in place using 1-inch nails from the back. Then, attach the last short board to the remaining side of the plywood and nail from the back.
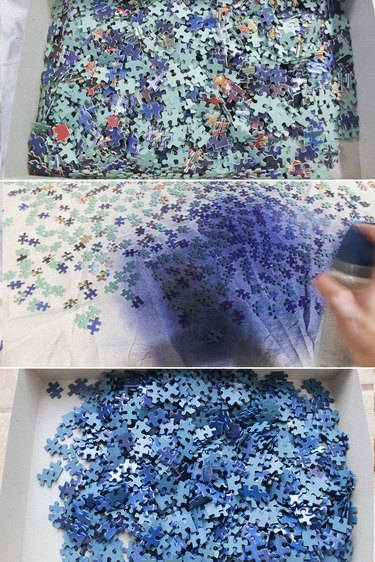
Step 6: Paint Puzzle Pieces
Lay out the puzzle pieces on a drop cloth in a well-ventilated area. Make sure none of the pieces are overlapping, and spray all the pieces with the blue (or desired color) spray paint. Let dry several hours, flip them all over and spray the other side. Let them dry completely.
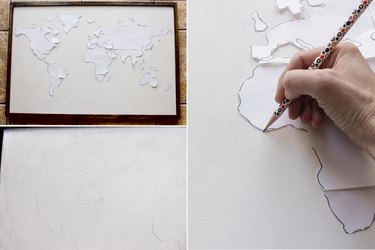
Step 7: Draw World Map Outline
Print out a rough outline of a world map image and make sure the print settings are set to match the dimensions of the plywood.
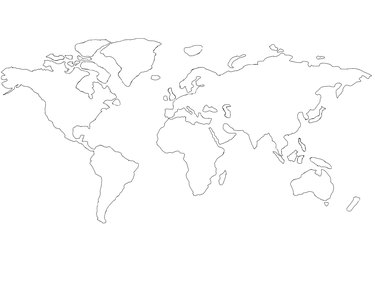
Cut out the continents and large islands (small islands are not necessary), and place them centered on the white plywood. Use the map image as a reference so placement is accurate. Lightly trace the outline of each with a pencil, and then remove the templates.
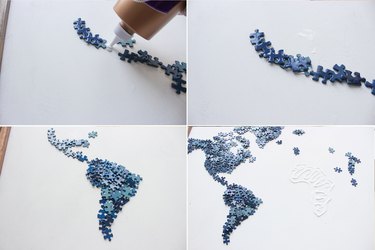
Step 8: Glue Puzzles Pieces on Outline
Use tacky craft glue to place the painted puzzle pieces inside of outlined continents and islands. Use at least two layers of puzzle pieces to cover most of the white background inside the continents and islands. Place glue on the inside of the outline for the first layer, then place glue on individual pieces as you place them on top of the first layer. Let dry completely.
Tip
Alternate the placement of both sides of the puzzle pieces so that the shiny side and dull side are both visible. Because they have the same color but the sheen is the only difference, it offers an interesting texture in contrast to the flat white background.
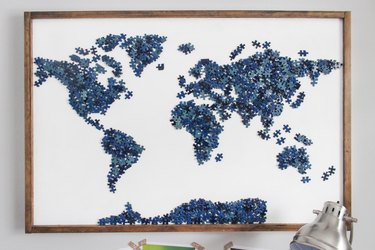
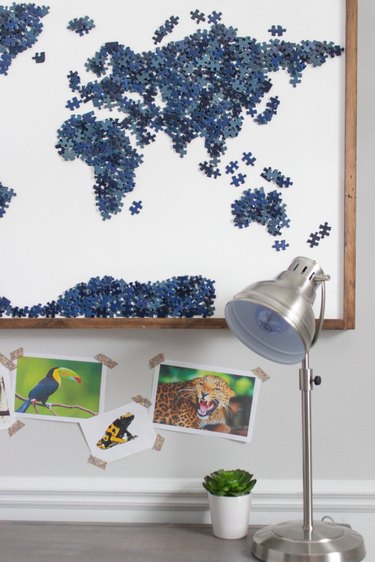
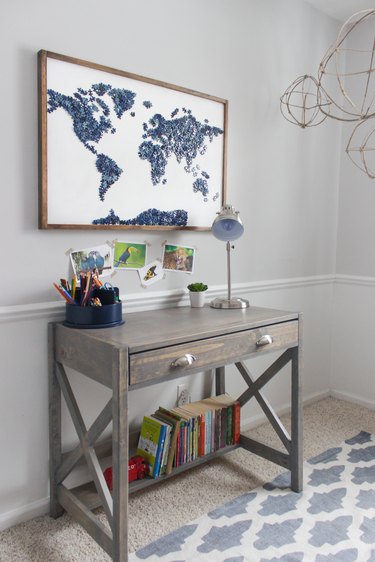
The finished puzzle map wall art can be displayed in a kid's room over a desk or in a living room over a sofa as statement art. The tutorial and free downloadable build plans for this X-frame desk are also available here on eHow.