Things You'll Need
Fascia
Level
Tape measure
Hammer
Nails
Chalk line
Vinyl siding cutting jig
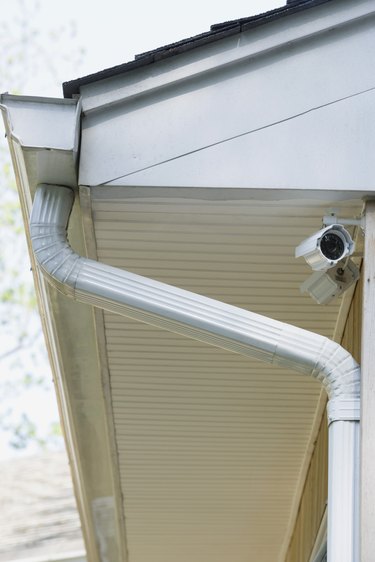
The fascia runs around a home's perimeter directly under the roof. This is the board that the gutter gets mounted to. Directly underneath the fascia is the soffit panel. The soffit panel is held in place by two F-channels. One F-channel gets installed along the fascia's bottom edge and a second F-channel gets installed directly to the side of the house. The soffit panel then slides into the F-channels' grooves; however, the soffit panel must be installed before the fascia.
Step 1
Lift a short piece of fascia up to the roof and position it. Place an F-channel against the bottom edge. Ask a friend to hold it in place. Hold a level against the F-channel's bottom edge. Adjust the level so it is straight and mark the side of the house where the level's top edge hits. Set the level and fascia aside.
Video of the Day
Step 2
Draw a straight line along the side of the house indicating where the F-channel will be fastened using the mark you made in Step 1 as a guide. If you have a straight roof, this will be as straight forward as using the level to draw a straight line along the house. If you have a sloped roof, measure the distance from a roof truss down to the mark. Move down 3 to 4 feet and measure the same distance down from the roof truss and place another mark. Work your way along the house in this fashion. When you are done, use the level as a straight edge and connect each measurement mark.
Step 3
Line up the F-channel's edge with the line you made in Step 2. The F-channel's groove must be on the top facing toward you. Hammer nails through the slots in the F-channel's bottom edge every 6 to 12 inches.
Step 4
Measure the distance from the side of the house to the end of a roof truss and subtract 1/4 inch. Transfer this width measurement to the soffit panel in two locations. Hold a chalk line along the soffit panel, intersecting the two measurement marks, and snap it. Cut the soffit panel along the chalk line with a vinyl siding cutting jig.
Step 5
Measure the length from the first roof truss to the last roof truss. Soffit panels come in 10 foot lengths, so divide the measurement by 10 to determine how many panels you will need. Connect the panels end to end to create a long panel. Ask a friend to help you lift the panels into the F-channel. Nail the soffit to the end of each roof truss.
Step 6
Set an F-channel against the fascia's bottom edge. The groove should open toward the house and when the fascia is in position, it should match the height of the groove of the F-channel nailed to the house. Hammer nails through the F-channel groove's top lip and into the fascia every 12 inches.
Step 7
Lift the fascia up to the roof. Fit the F-channel around the soffit panel's outer edge. Hammer nails through the fascia and into each rafter end to hold it in place.
Video of the Day