Things You'll Need
Measuring tape
2-by-3 lumber
2-by-2 furring strips
Circular saw
Nails
Hammer
3-inch screws
Drill
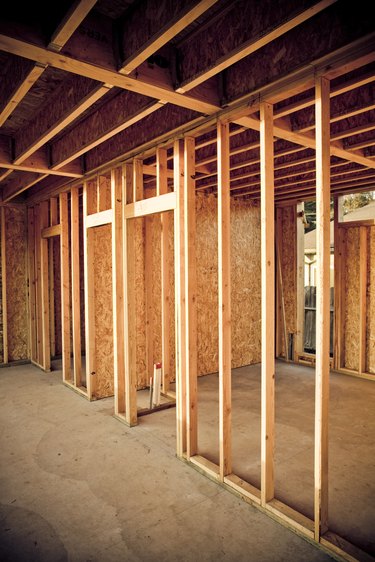
Framing around basement I-beams is not complicated when you understand the proper way to do it. I-beams can't be moved because they are holding up your house, but they can be made to look a lot better with a little work. Because the bottom of the I-beam is lower than the rest of the ceiling, you need to build a box around the I-beam to hide it from view.
Step 1
Measure the length of the I-beam across the section of the basement where you want to frame it in using a measuring tape. Because the box that you will be building around the I-beam isn't load-bearing, you don't need to build it out of full-sized lumber. Making it out of 2-by-3 lumber and 2-by-2 furring strips will allow the box to take up less space and save you money. Cut four pieces of 2-by-3 to the measurement that you took using a circular saw.
Video of the Day
Step 2
Measure the height and width of the beam. These dimensions will be the inside dimensions of the box that you build. Cut enough pieces of 2-by-2 to these lengths so that you can use them as ribs on the box every 16 inches along the length of the I-beam.
Step 3
Nail through the 2-by-3s and into the ends of the furring strips to create a U-shaped box. The 2-by-3s should run perpendicular to the U-shape, and the furring strips should make the U-shape, separated by 16 inches.
Step 4
Hold the assembly in place around the I-beam. Screw it into the ceiling by driving 3-inch-long nails through the top 2-by-3s and into the underside of the ceiling joists.
Video of the Day