Things You'll Need
3 straight pins
5-inch ballpoint needle, often called a doll-making needle
Embroidery floss
Scissors
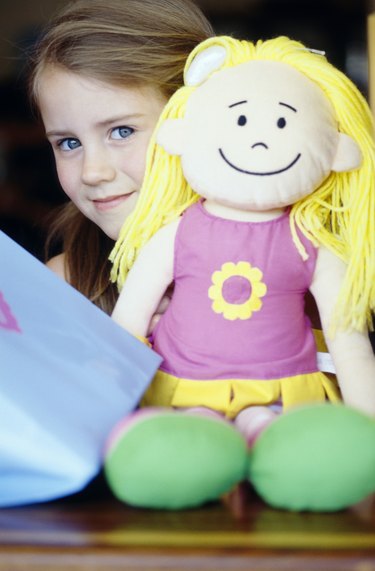
A handmade doll is made with love, not in a distant factory by machines. Adding the face to the stuffed doll or animal is key to creating the toy's identity. Embroidering a stuffed toy takes a little more attention than embroidering a flat piece of material. However, embroidering a stuffed toy allows you to ensure proper and even placement of facial features.
Step 1
Lay the stuffed toy face up on a flat work surface. Place two straight pins to mark the placement of the eyes. The eyes should be about halfway down the face of the toy and evenly spaced on both sides of the face.
Video of the Day
Step 2
Place the third straight pin below and centered between the first two straight pins. If you were to draw lines connecting the three pins, they would make an equilateral triangle.
Step 3
Cut a 36-inch piece of embroidery floss in the color you desire the eyes to be. Place the embroidery floss through the eye of the doll-making needle. Pull the floss through the needle until approximately 5 inches of floss are on one side of the needle and the remaining 31 inches are on the other side of the needle. Do not knot the thread, because knots weaken the fabric and eventually poke through the toy's face.
Step 4
Insert the doll-making needle through the back of the toy's head. Bring the tip of the needle up a quarter inch to the left of the straight pin marking the left eye. Pull the needle all the way through until there is only a 1-inch tail of embroidery floss extending from the needle's original entry point into the toy's head. Hold the 1-inch tail of embroidery floss against the back of the head with your nondominant hand.
Step 5
Place the tip of the needle 1/4 inch to the right of the straight pin marking the left eye. With the tip of the needle angled toward the left, push it through the fabric and poke it back out 1/2 inch to the left. Pull the needle all the way through to create a 1/2-inch-long stitch for the toy's eye.
Step 6
Place the tip of the needle just to the right of the right end of the 1/2-inch stitch. The needle should be bordering the right end of the stitch, but not pointing in the same hole. If you use the same exact entry and exit holes for the needle, you will pull out the first stitch.
Step 7
With the tip of the needle angled toward the right, push it through the fabric and poke it back out a quarter inch to the left of the straight pin marking the right eye.
Step 8
Release your nondominant hand from the 1-inch tail of embroidery floss at the back of the head. The stitches made for the left eye have locked the floss in place.
Step 9
Place the tip of the needle 1/4 inch to the right of the straight pin marking the right eye. With the tip of the needle angled toward the left, push it through the fabric and poke it back out 1/2 inch to the left. Pull the needle all the way through to create a 1/2-inch-long stitch for the toy's eye.
Step 10
Place the tip of the needle just to the right of the right end of the 1/2 inch stitch. The needle should be bordering the right end of the stitch, but not pointing in the same hole. Push straight through the fabric and out at the back of the toy's head.
Step 11
Pull the needle until the thread is tight, and use the scissors to clip the thread as close to the back of the toy's head as possible. Repeat for the original 1-inch tail of embroidery floss. The floss should pull inside the toy's head when snipped and will not be visible from the outside.
Step 12
Remove the excess embroidery floss from the needle. Cut a 36-inch piece of embroidery floss in the color you desire the mouth to be. Thread the needle in the same way as you did to stitch the eyes.
Step 13
Insert the needle through the back of the toy's head. Bring the tip of the needle up 3/8 inch to the left of the straight pin marking the mouth. Pull the needle all the way through until there is only a 1-inch tail of embroidery floss extending from the needle's original entry point into the toy's head. Hold the 1-inch tail of embroidery floss against the back of the head with your nondominant hand.
Step 14
Place the tip of the needle 3/8-inch to the right of the straight pin marking the mouth. With the tip of the needle angled toward the left, push it through the fabric and poke it back out 3/4-inch to the left. Pull the needle all the way through to create a 3/4-inch long stitch for the toy's mouth.
Step 15
Place the tip of the needle just to the right of the right end of the 3/4-inch stitch. The needle should be bordering the right end of the stitch, but not pointing in the same hole. Push straight through the fabric and out at the back of the toy's head.
Step 16
Pull the needle until the thread is tight and use the scissors to clip the thread as close to the back of the toy's head as possible. Repeat for the original 1-inch tail of embroidery floss.
Step 17
Remove the straight pins from the stuffed toy.
Tip
Increase or decrease the stitch length to create eyes and a mouth that are a suitable size for the stuffed toy. Determine an appropriate size for the eyes, then multiply by 1.5 to determine the mouth size.
Video of the Day