Things You'll Need
1 1/4 yards 60-inch material
Wide double-fold seam binding
Matching thread
Scissors
Dressmakers' pins
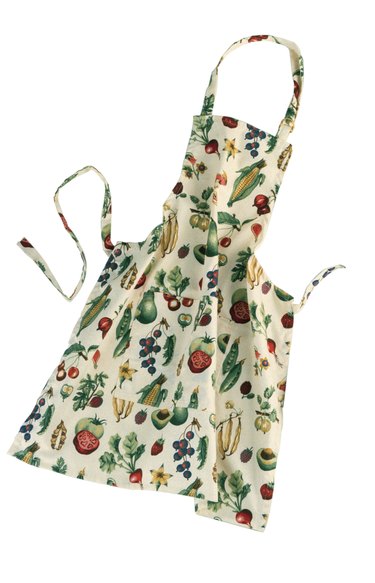
An apron is an excellent project for anyone learning to use a sewing machine. You can make an apron with or without a pattern, although a full-coverage bib apron is easier with a pattern. Materials used range from sturdy denim to lace and organza. For beginning sewers, a good fabric choice is a cotton-polyester blend. A bib apron with ties at the waist and neck that reaches mid-thigh, a typical barbeque apron, is practical and simple to sew.
Step 1
Cut out the pieces according to pattern directions. Basic pieces should include the body of the apron, which is all one piece, and a large, square pocket.
Video of the Day
Step 2
Turn under the top edge of the pocket 1/4 inch and sew a straight stitch with the sewing machine. The pattern should indicate a hemline along the upper pocket edge. Turn the fabric to the outside along this line. Stitch around the raw edge of the pocket 5/8 inch from the edge. This will also stitch down the ends of the top hem.
Step 3
Trim a triangle of material off the top corners, close to but not cutting through the stitching, then turn the hem to the inside. Press the material under along the stitching all around the pocket. Position the pocket on the front of the apron, right side up, and pin it in place. Sew a straight seam along the outside through the pocket and apron about 1/4 inch from both side edges and the bottom edge, leaving the pocket top open.
Step 4
Finish the hem along the top of the apron bib. Turn under 1/4 inch and sew a straight stitch, then turn the hem to the inside along the pattern hemline mark and hand stitch in place. Hem the lower sides and bottom of the apron by turning under 1/4 inch and ironing with a hot iron to crease. Turn again and stitch with a straight stitch. Make neat corners by sewing to mid-corner, lifting the presser foot, turning a 90-degree angle, then lowering the presser foot and continuing to stitch.
Step 5
Measure purchased seam binding for the curved upper sides of the apron. You will need two strips of seam binding the length of the upper curved portion of the apron, plus about 14 inches for the top ties, and 24 inches for the waist ties. The seam binding will extend beyond the apron to form the ties.
Step 6
Finish the apron by pinning the seam binding over the raw edges. Double-fold seam binding has one edge slightly narrower than the other. The narrow side goes to the back of the apron. Sew a straight stitch on the sewing machine along the narrow side of the binding, through all thicknesses. Once you attach the binding to the apron, sew the seam binding together along the length and across the ends of the ties.
Video of the Day