Things You'll Need
Sample board
Miter box
Hand saw
Construction adhesive
Caulk
Drill
Screws
Screwdriver
Wrench

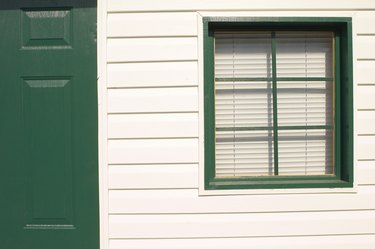
The exterior placement and size of your windows makes a big impact on the appearance of your home. If you have uneven windows or short windows, there are some remedies you can use to make them look substantially larger. A taller window can give the illusion of a grand home, and it is often worthwhile to invest in architectural detail to create this illusion. Not only will your house look better from the street, it will also have more value.
Add to Window Height With Trim Moldings
Step 1
Request a sample board from your home improvement center showing all of the plastic trim moldings available for exterior home trim. Plastic trims are an excellent choice for decorative moldings because they are easy to install and not subject to the rotting problems of wood.
Video of the Day
Step 2
Compare the molding styles to the exterior front appearance of your home. In most cases, you should add the same molding to all of the windows and doors on the same elevation. Sometimes molding sizes will vary from the second to the first floor along the top edge of the second story window due to the fascia board.
Step 3
Add height to the appearance of the windows by adding substantial trim above the top of the window. Typically the top trim is the largest, the side trims are next largest in size and the bottom trim is the smallest. Measure all of your windows and doors and order the molding to size. This will keep you from making almost any cuts.
Step 4
Cut plastic molding with a miter box and hand saw. It cuts easily. If you measured properly, you may only have a few cuts around obstacles like exterior light fixtures or existing trim. Many houses do not have any existing trim molding. If you have molding that you are replacing, take it off prior to installing your new moldings.
Step 5
Install your new moldings over the clean exterior of your home. Usually you can simply glue the moldings in place with construction adhesive. Use the type of adhesive recommended for your molding material.
Step 6
Caulk around the moldings to give them the best finished appearance.
Add Flowerboxes
Step 1
Give the illusion of additional window height by installing window boxes below your windows.
Step 2
Secure window box brackets into the wall studs or mortar of your siding using the recommended size of bolts to support the weight of the window box. Use a drill, screwdriver and wrench.
Step 3
Mount the window box to the brackets using small screws through the bracket and into the window box material.
Tip
Add shutters that are nearly as tall as your finished molding to add more support for the height of the windows. Paint your trims, window boxes and shutters to match the trim color of the house.
Video of the Day