Whether you're a bona fide '90s kid or simply a fan of nostalgia, there's a good chance you've jumped on the hair clip trend—and that you've got a healthy appreciation for all things Barbie. If you'd like to add a retro touch to any outfit (and make good use of all those long-forgotten plastic Barbie shoes boxed up in your parents' basement), check out our trio of DIY hair clips inspired by the iconic Barbie doll.
Video: These Barbie-Inspired Hair Clips Add Pep to Any Outfit
Video of the Day
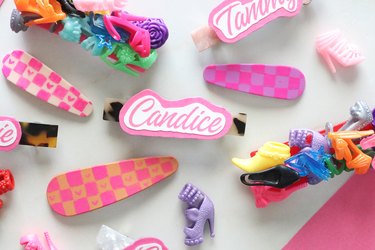
Our tutorial will show you how to make hair clips with bright, bold designs: One sports Barbie doll shoes, one has personalized Barbie script names and another calls for retro checkered patterns. Each style is also highly customizable, so no two creations will be exactly alike.
Ready to live out your Barbiecore dreams? You Ken do it in just a few simple steps! Read on to learn how to make Barbie hair clips for yourself and all the Barbie fans in your life—we've even included tips for crafting coordinating DIY Barbie jewelry.
Design 1: Barbie Shoe Hair Clips
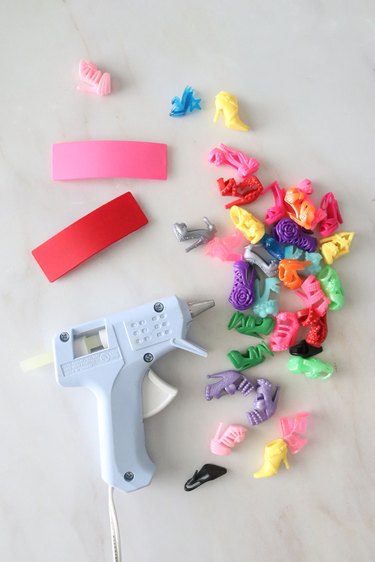
Things You'll Need
Barbie doll shoes
Large hair clips
Hot glue gun
Tip
If you don't have any of your own Barbie shoes tucked away in storage, you can find them (and Barbie accessories in general) on Amazon. Check eBay and Etsy if you'd rather go the vintage Barbie accessories route. Fashion doll shoes might also be available at retailers that sell toys, such as Walmart or even the dollar store.
1. Glue first layer of shoes
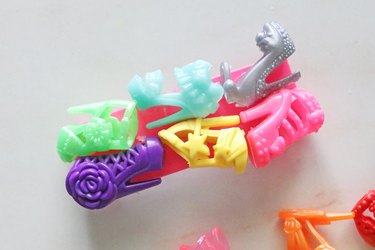
Arrange a single layer of Barbie shoes on hair clip, but don't glue just yet. Try your best to "interlock" the shoes, as this will help make the most of available space. Precise layout and design will depend on your specific shoes.
When you're happy with shoes' placement, glue them to hair clip.
Tip
Chunkier shoes, as well as those with bigger heels, tend to do best on the first layer.
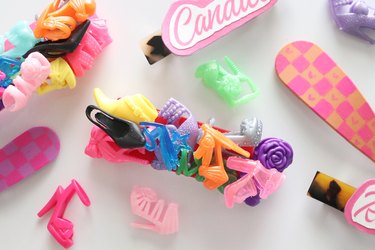
2. Add second shoe layer
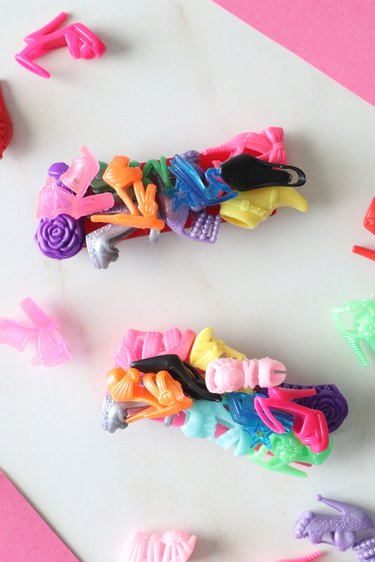
Fill in gaps by applying a bit of hot glue, then placing a shoe on top. Again, don't be afraid to tuck heels of shoes into others. It will enable you to place shoes in different directions for a purposeful (and fun) clustered look.
How's that for an easy hair clip makeover?
Design 2: Barbie Script Hair Clips
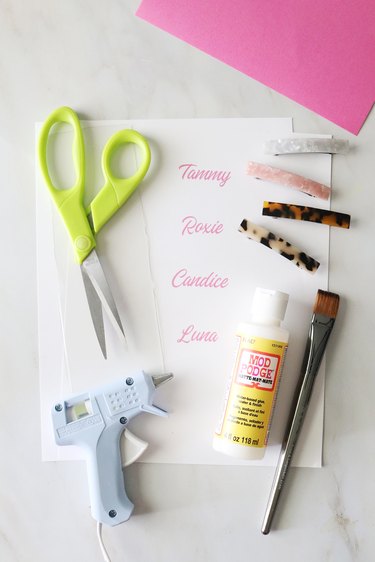
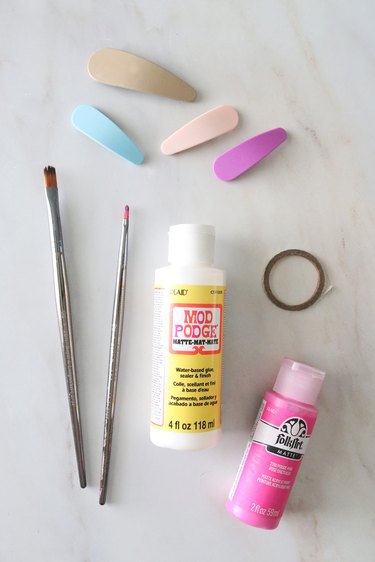
Things You'll Need
Printed names on white card stock (instructions below)
Scissors
Pink card stock
Decoupage (glossy or matte)
Paintbrush
Clear plastic scraps from produce packaging
Hot glue gun
Hair clips
1. Print Barbie script names
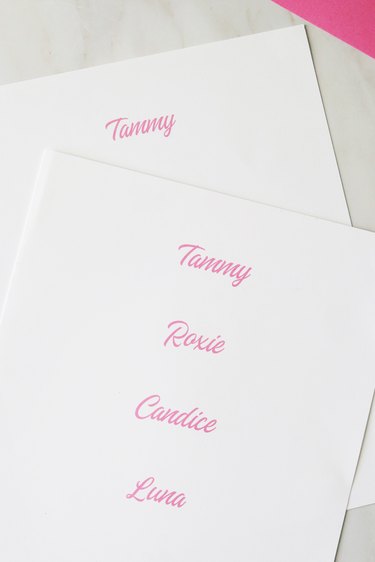
To print names in a Barbie-style script, download the Sangharia Font from Da Font. This is a free font for personal use only. Install font onto your computer. (Here are instructions for Mac and Microsoft.)
Next, in a blank document, type names using font. Use a hot pink color for that classic Barbie look. Print document on a sheet of white card stock.
Tip
This font is similar to the one used by Mattel, but it’s not exact. Feel free to use any other script font if desired. Just be sure to print in that classic Barbie pink!
2. Make name plates
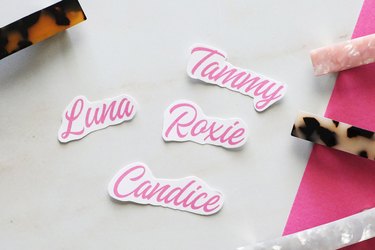
Cut out each name, leaving a thin white border around each.
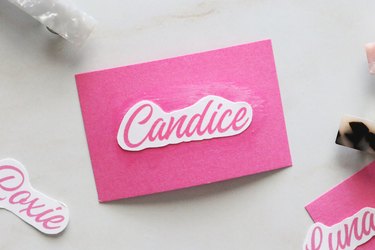
Using decoupage, stick name onto pink card stock. Add a layer of decoupage on top to protect name. Let dry to the touch, about 15 to 20 minutes.
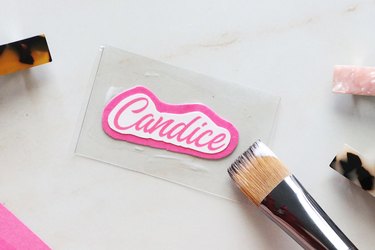
Cut out name again, leaving a thin pink border around perimeter. Using decoupage, stick name to scrap plastic from produce packaging. Brush another layer of decoupage on top once more, then let dry for 15 to 20 minutes. Once dry, cut name out, just around pink border.
3. Add names to clips
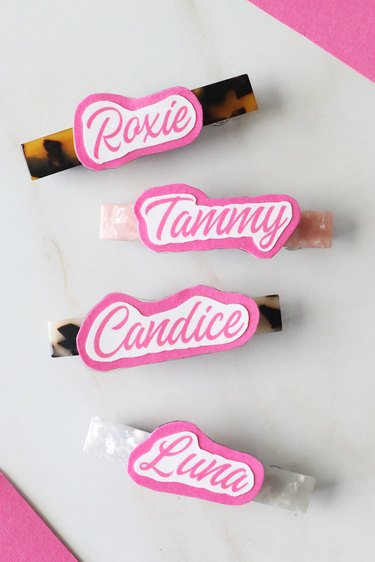
To complete Barbie doll accessory, hot-glue names onto hair clips. This project makes an exceptionally cute gift for a group of best friends who aren't afraid to match. So sweet!
How to Make Barbie Jewelry
Techniques used for making Barbie hair accessories can also be used to make jewelry. Here are a few ideas to get you inspired:
Barbie earrings: For an easy pair of statement earrings, attach extra Barbie shoes to earring hooks. Not a fan of dangling jewelry? Make stud earrings by gluing shoes to earring posts, which you can find in craft store jewelry sections.
Barbie necklace: Of course, no Barbie earrings are complete without a necklace! Attach extra shoes to a strand of chain for a funky necklace. The chain can be as long or as short as you’d like; make it on the shorter side for a nostalgic choker.
Another option is to turn the Barbie script name into a pendant necklace. Simply decoupage name to scrap of plastic like usual—but instead of cutting along the pink border, leave extra material near top corners of the name. This will allow you punch holes in the plastic and attach the name to a chain necklace with jump rings. Style the piece with a beaded pearl necklace for a fun fashion doll–inspired outfit.
Barbie bracelet: Make an instant charm bracelet by attaching Barbie shoes to a strand of chain. Pair with chunky bangles for the ultimate '90s look.
Design 3: Retro Checkered Hair Clips
Things You'll Need
Washi tape
Hair clips
Hot pink acrylic paint
Paintbrushes
Decoupage (glossy or matte)
Tip
If possible, use washi tape that doesn’t have a strong adhesive. This will limit how much paint it removes.
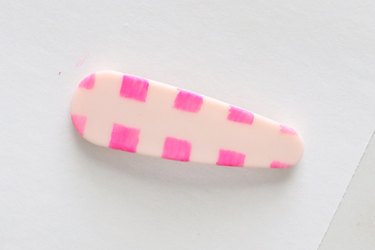
1. Paint checkered pattern

Add strips of washi tape to hair clip in a grid pattern.
Apply a light layer of pink acrylic paint—your brush should be almost dry. Avoid adding too much paint, which might seep under the tape.
Tip
Typically, acrylic paint doesn’t stick very well to plastic or smooth surfaces. So the purpose of this step is to make a basic pattern. You’ll be able to fill in gaps later on!
Let paint dry for 20 to 30 minutes, then carefully remove washi tape.
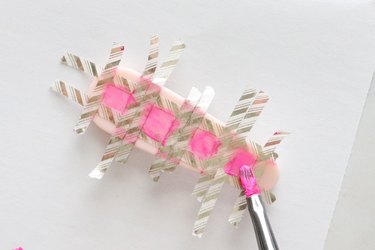
Add strips of washi tape atop existing painted squares. Apply paint in gaps.
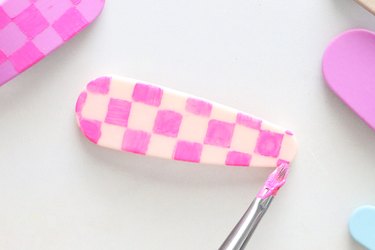
Let paint dry for 20 to 30 minutes. Once dry, remove tape. Now you can go back in and fill in checkered pattern with more paint.
2. Add hearts
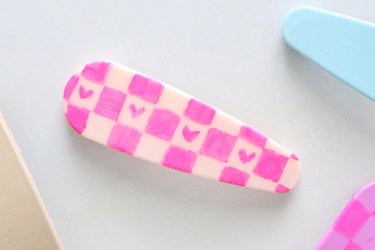
For an extra retro touch, paint small hearts in amid checkered pattern. You can do this by dabbing a thin paintbrush at an angle.
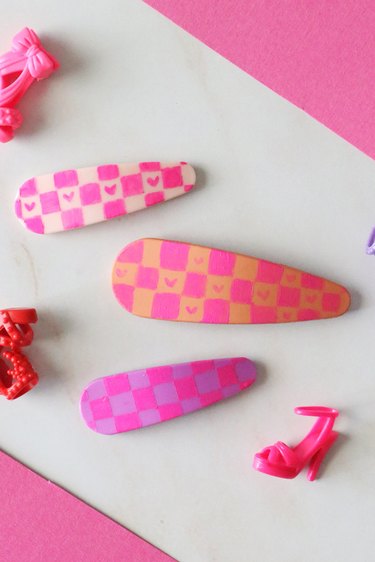
Remember, less is more when it comes to paint! And with that, your clips are complete.
This fun trio of Barbie-themed hair clips will make you the talk of every pool party, '90s movie night or retro-themed get-together. Barbie herself might even be a little jealous of your colorful look!