
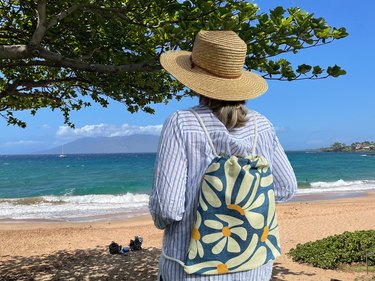
Ready to bring a stylish spin to your next beachfront adventure? Heading out for a day along the shore (or even just a day on the town) usually calls for a whole lot of, well, stuff. With our DIY drawstring bag tutorial, you'll have a wearable and functional way to stash everything from sunscreen to snacks to that extra pair of sandals you definitely need to bring.
Not only is our design beachy and beautiful but it's also lightweight and spacious enough to carry the essentials. Whether you're planning a casual afternoon of sightseeing or steering away from traditional purses as the weather warms up, this step-by-step tutorial will spruce up your wardrobe while keeping you organized.
Video of the Day
Grab your sunglasses and dive into this fun, easy sewing project!
Video: A Bright & Beachy Drawstring Bag to Carry the Essentials
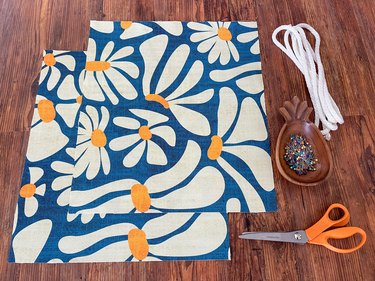
Things You'll Need
Two 18-in. by 16-in. pieces of fabric, fabric scraps or fat quarters
Rotary cutter
Iron
Straight pins
Large safety pin
3 yards of cotton cord or lightweight rope
Part 1: Assemble Backpack
1. Fold and press casing
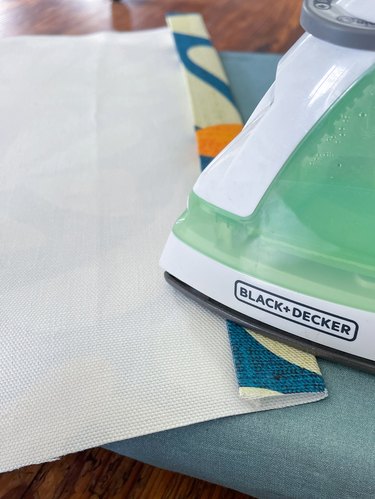
After cutting 18 x 16-in. pieces of fabric with a rotary cutter, take the top of each rectangle of cotton fabric (the side that's 16 in. long) and fold over a quarter inch toward the wrong side (back side) of the fabric. Get your iron nice and hot and then press down to make sure it stays. Next, fold over by an inch again toward the wrong side of the fabric and press with the iron.
2. Sew casing
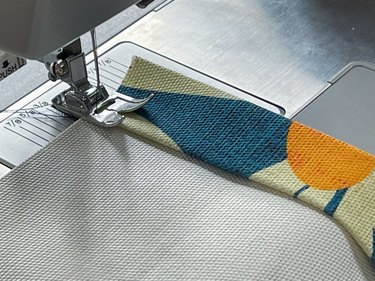
Now it's time to stitch up the bottom edge of the folded seam on both rectangular fabric pieces. Just make sure to use a 1/4-in. seam allowance as you sew it up.
3. Pin together
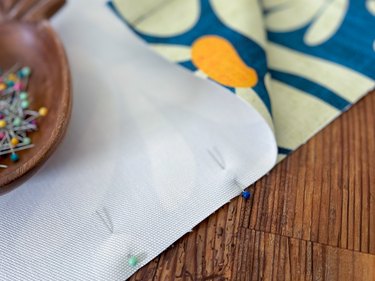
Grab both fabric rectangles and join them together with the right sides (or printed sides) facing each other. Make sure to line up the top edge, side of the bag and bottom edges perfectly. Use straight pins to hold everything in place.
Tip
When it comes to stopping raw edges from fraying, there are a few different tricks to consider. First, try using pinking shears to snip around all fabric edges before sewing. Another option for those who've been around the block is sewing French seams. If you're keeping things simple, add a zigzag stitch to each edge before getting started with our drawstring bag tutorial.
Part 2: Add Drawstring & Straps
1. Insert drawstring
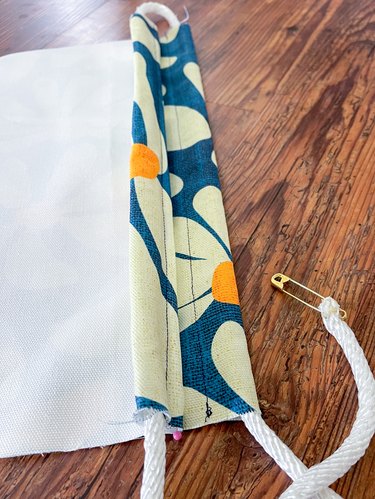
Attach a safety pin to one end of the cord. Feed through two drawstring casings at the top of the bag.
When the cord comes out the other end, loop back through the opposite side and pull it out the other end again.
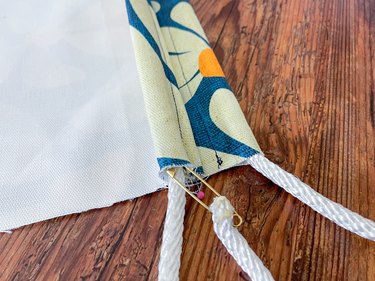
2. Create strap
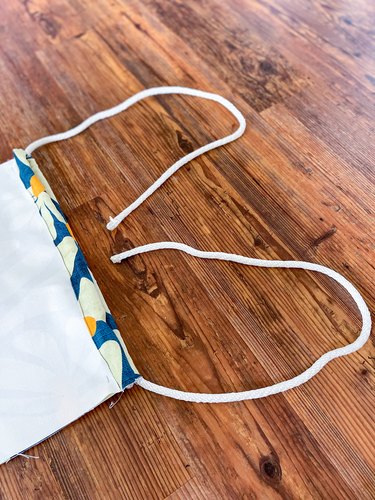
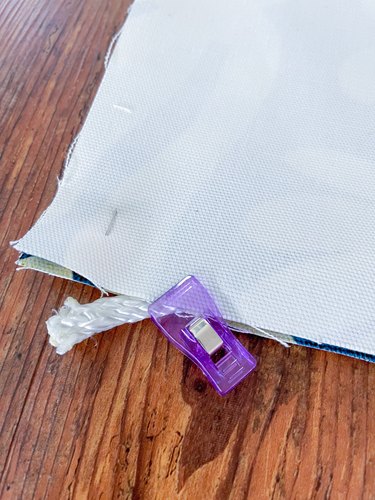
Make sure both ends of the cord are the same length. Grab the ends and push them through the bag, ensuring they come out about 2 inches from the bottom seam.
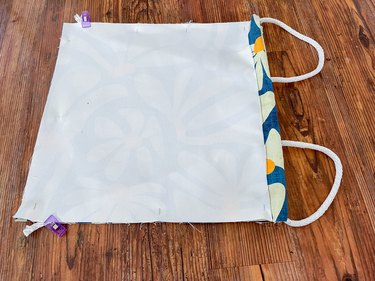
Once they're in the right spot, use clips to hold them in place.
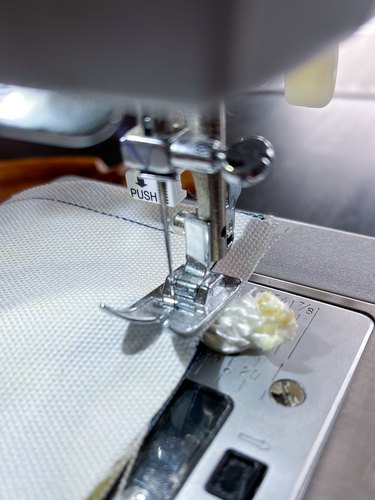
3. Sew backpack
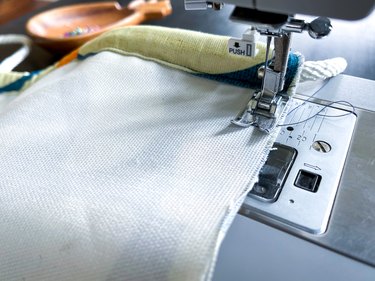
Let's get sewing! Start at the top of one side and backstitch. Then, sew side seams all the way around, making sure to get the bottom. When you reach the cord ends, sew over them a few times to secure.
Time to flip this bag the right way around! Push out the bottom corners and fill it with goodies.
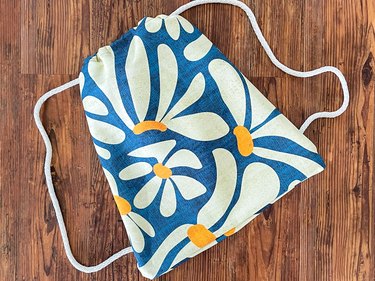
And just like that, you've wrapped up our DIY drawstring bag tutorial.
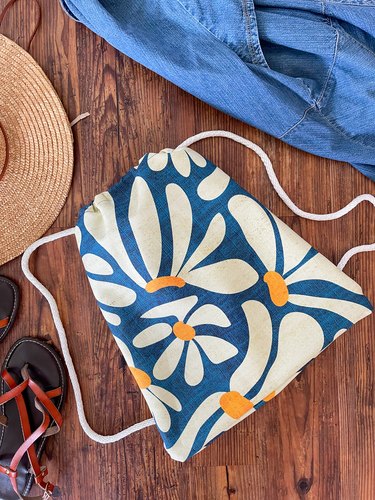
Not only did you get to flex your creative muscles but you also have a functional accessory that's perfect for adventures. And let's be real: You now have the cutest gym bag or beach bag around! Load up your tote with snacks, sunscreen and everything in between—your next fun outing awaits.