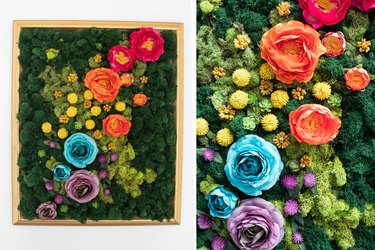
Moss art is definitely having a moment. From tiny terrariums to entire walls coated in moss, there's no shortage of inspiration for those who are enchanted by the unconventional decor material, and it's easy to see why. Moss art adds an instant dash of greenery and color to any space no matter what the weather is like outside. With a combination of cottagecore vibes and nature-inspired splendor (plus a bit of Lord of the Rings whimsy), mossy creations are downright magical.
Take this beginner-friendly moss wall art project, for example. It's made with a vintage frame, plenty of green moss and bright faux flowers in various shapes and sizes. When styled together, these materials create a whimsical wall hanging that looks like a mini vertical garden.
Video of the Day
Video: Make a Wonderfully Whimsical Moss Art Frame
The sky's the limit when it comes to floral selections for this project. Faux plants from craft stores are the most affordable option, but you can also use dried flowers if your budget allows. Alternatively, consider a color palette that complements your style and existing decor. We went for a bright rainbow gradient, though varying shades of a single color (or color family, like pastels or jewel tones) would be just as stunning.
Once you've completed your DIY moss wall art, display it in your living room, office or any space that could use an easy pop of natural beauty. (Just be sure to keep the moss frame out of direct sunlight, which can alter the color of your faux flowers!)
Are you ready to get crafty? Read on to follow our full step-by-step tutorial for this marvelous mossy wall art.
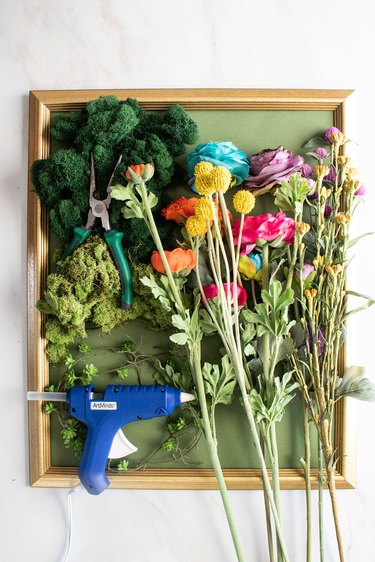
Things You'll Need
Reindeer moss (we used Forest and Chartreuse)
Faux succulents (optional)
Heavy-duty pliers or scissors
Hot glue sticks
Glue gun
Frame
Large sheet of green card stock
Tip
Reindeer moss is the best type of moss for this project, with a mixture of dark green and lighter green. That’s because it comes in clumps, which are easier to glue down. Avoid Spanish moss, which is brown and stringy.
How to make Moss Wall Art:
1. Prepare frame
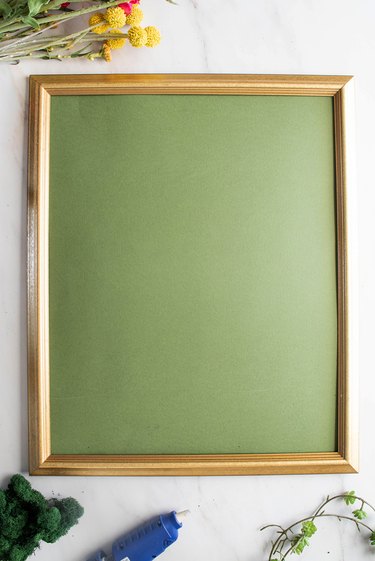
First, prepare the frame. This involves replacing existing art and inserting a sheet of thick green paper. (It's best to use a green shade, as the moss will blend in and make gaps less noticeable.)
To do this, place glass from the frame on top of paper. Trace the glass and then cut out paper and insert it into the frame. You can either replace the glass or leave it out if you plan to repurpose the frame for a future project.
Tip
Use a frame that looks best with your existing home decor. We chose a vintage gold frame, but you can also use plastic or wood. The size is up to you.
2. Cut flowers
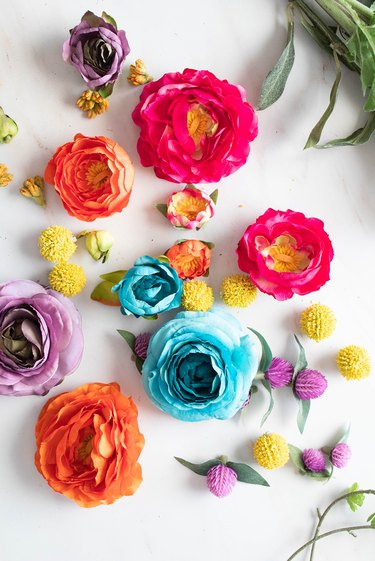
Remove faux flowers from their stems. The most convenient way to do this depends on the style of flowers used. You might be able to simply pop off the flower heads, but if not, use the cutting portion of pliers to remove them. Snip as close as you can to create a flat base under each flower; this will make them easier to glue down. Set the flowers aside.
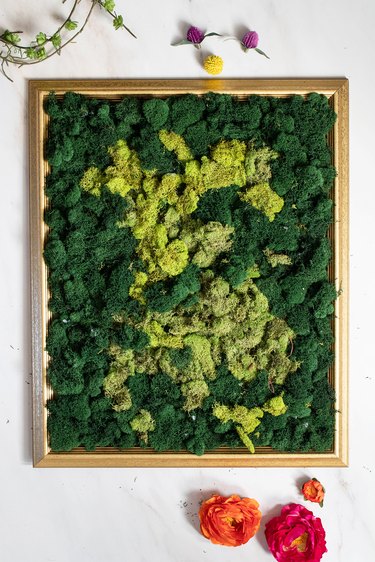
3. Cover frame with layer of preserved moss
Using hot glue, cover the inside of the frame with moss. If you're using varying shades of green, be sure to play around with color placement before gluing down the moss pieces.
4. Add flowers
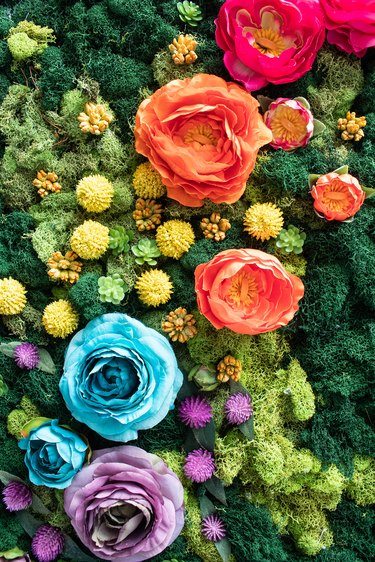
To complete your do-it-yourself project, arrange the flowers in an abstract pattern atop the moss. When you're happy with the design, adhere the flowers with hot glue.
If you're using faux succulents, add them as desired. We used charming mini faux succulents as accent pieces.
Tip
Add pieces of driftwood or twigs for a twist.
Finally, trim any stringy pieces of moss and then display the art using a hanger on the back of the frame.

Your completed piece of preserved moss wall art will give any space a quick, easy and colorful mini makeover. Ready to bring a dose of natural beauty indoors? Get gluing!